
Lane
-
Posts
1,042 -
Joined
-
Last visited
Content Type
Profiles
Forums
Downloads
Gallery
Store
Everything posted by Lane
-
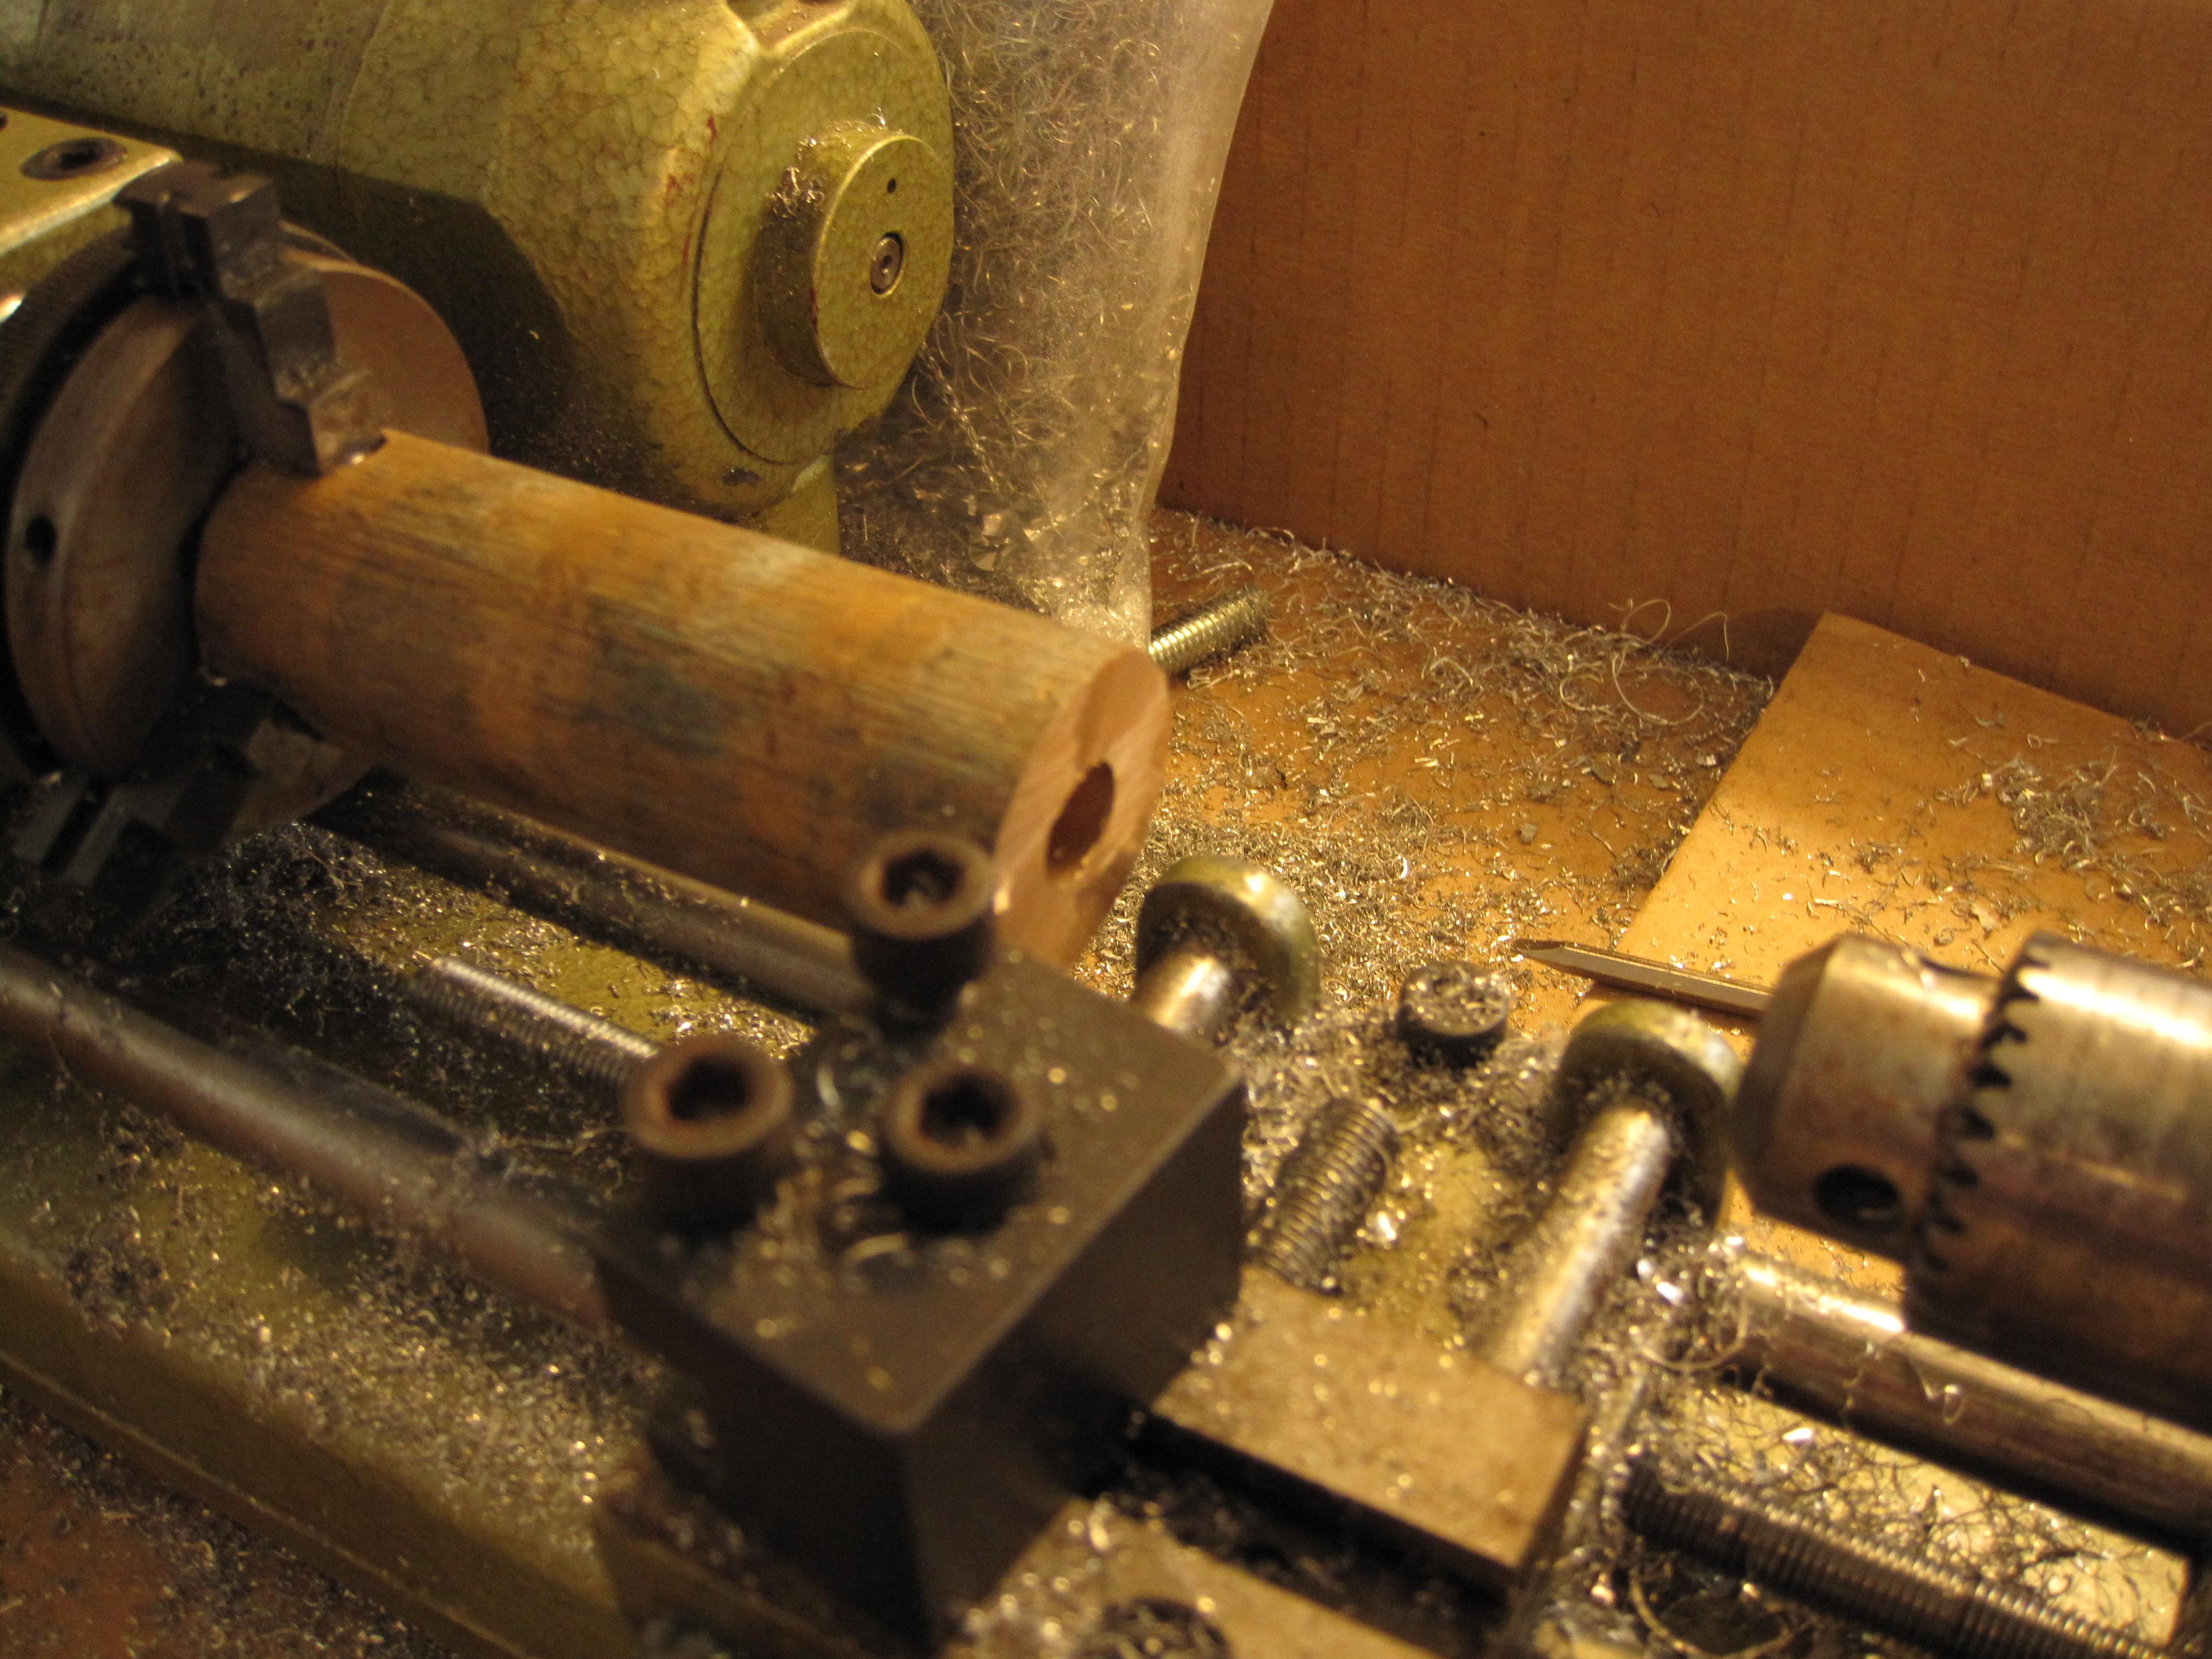
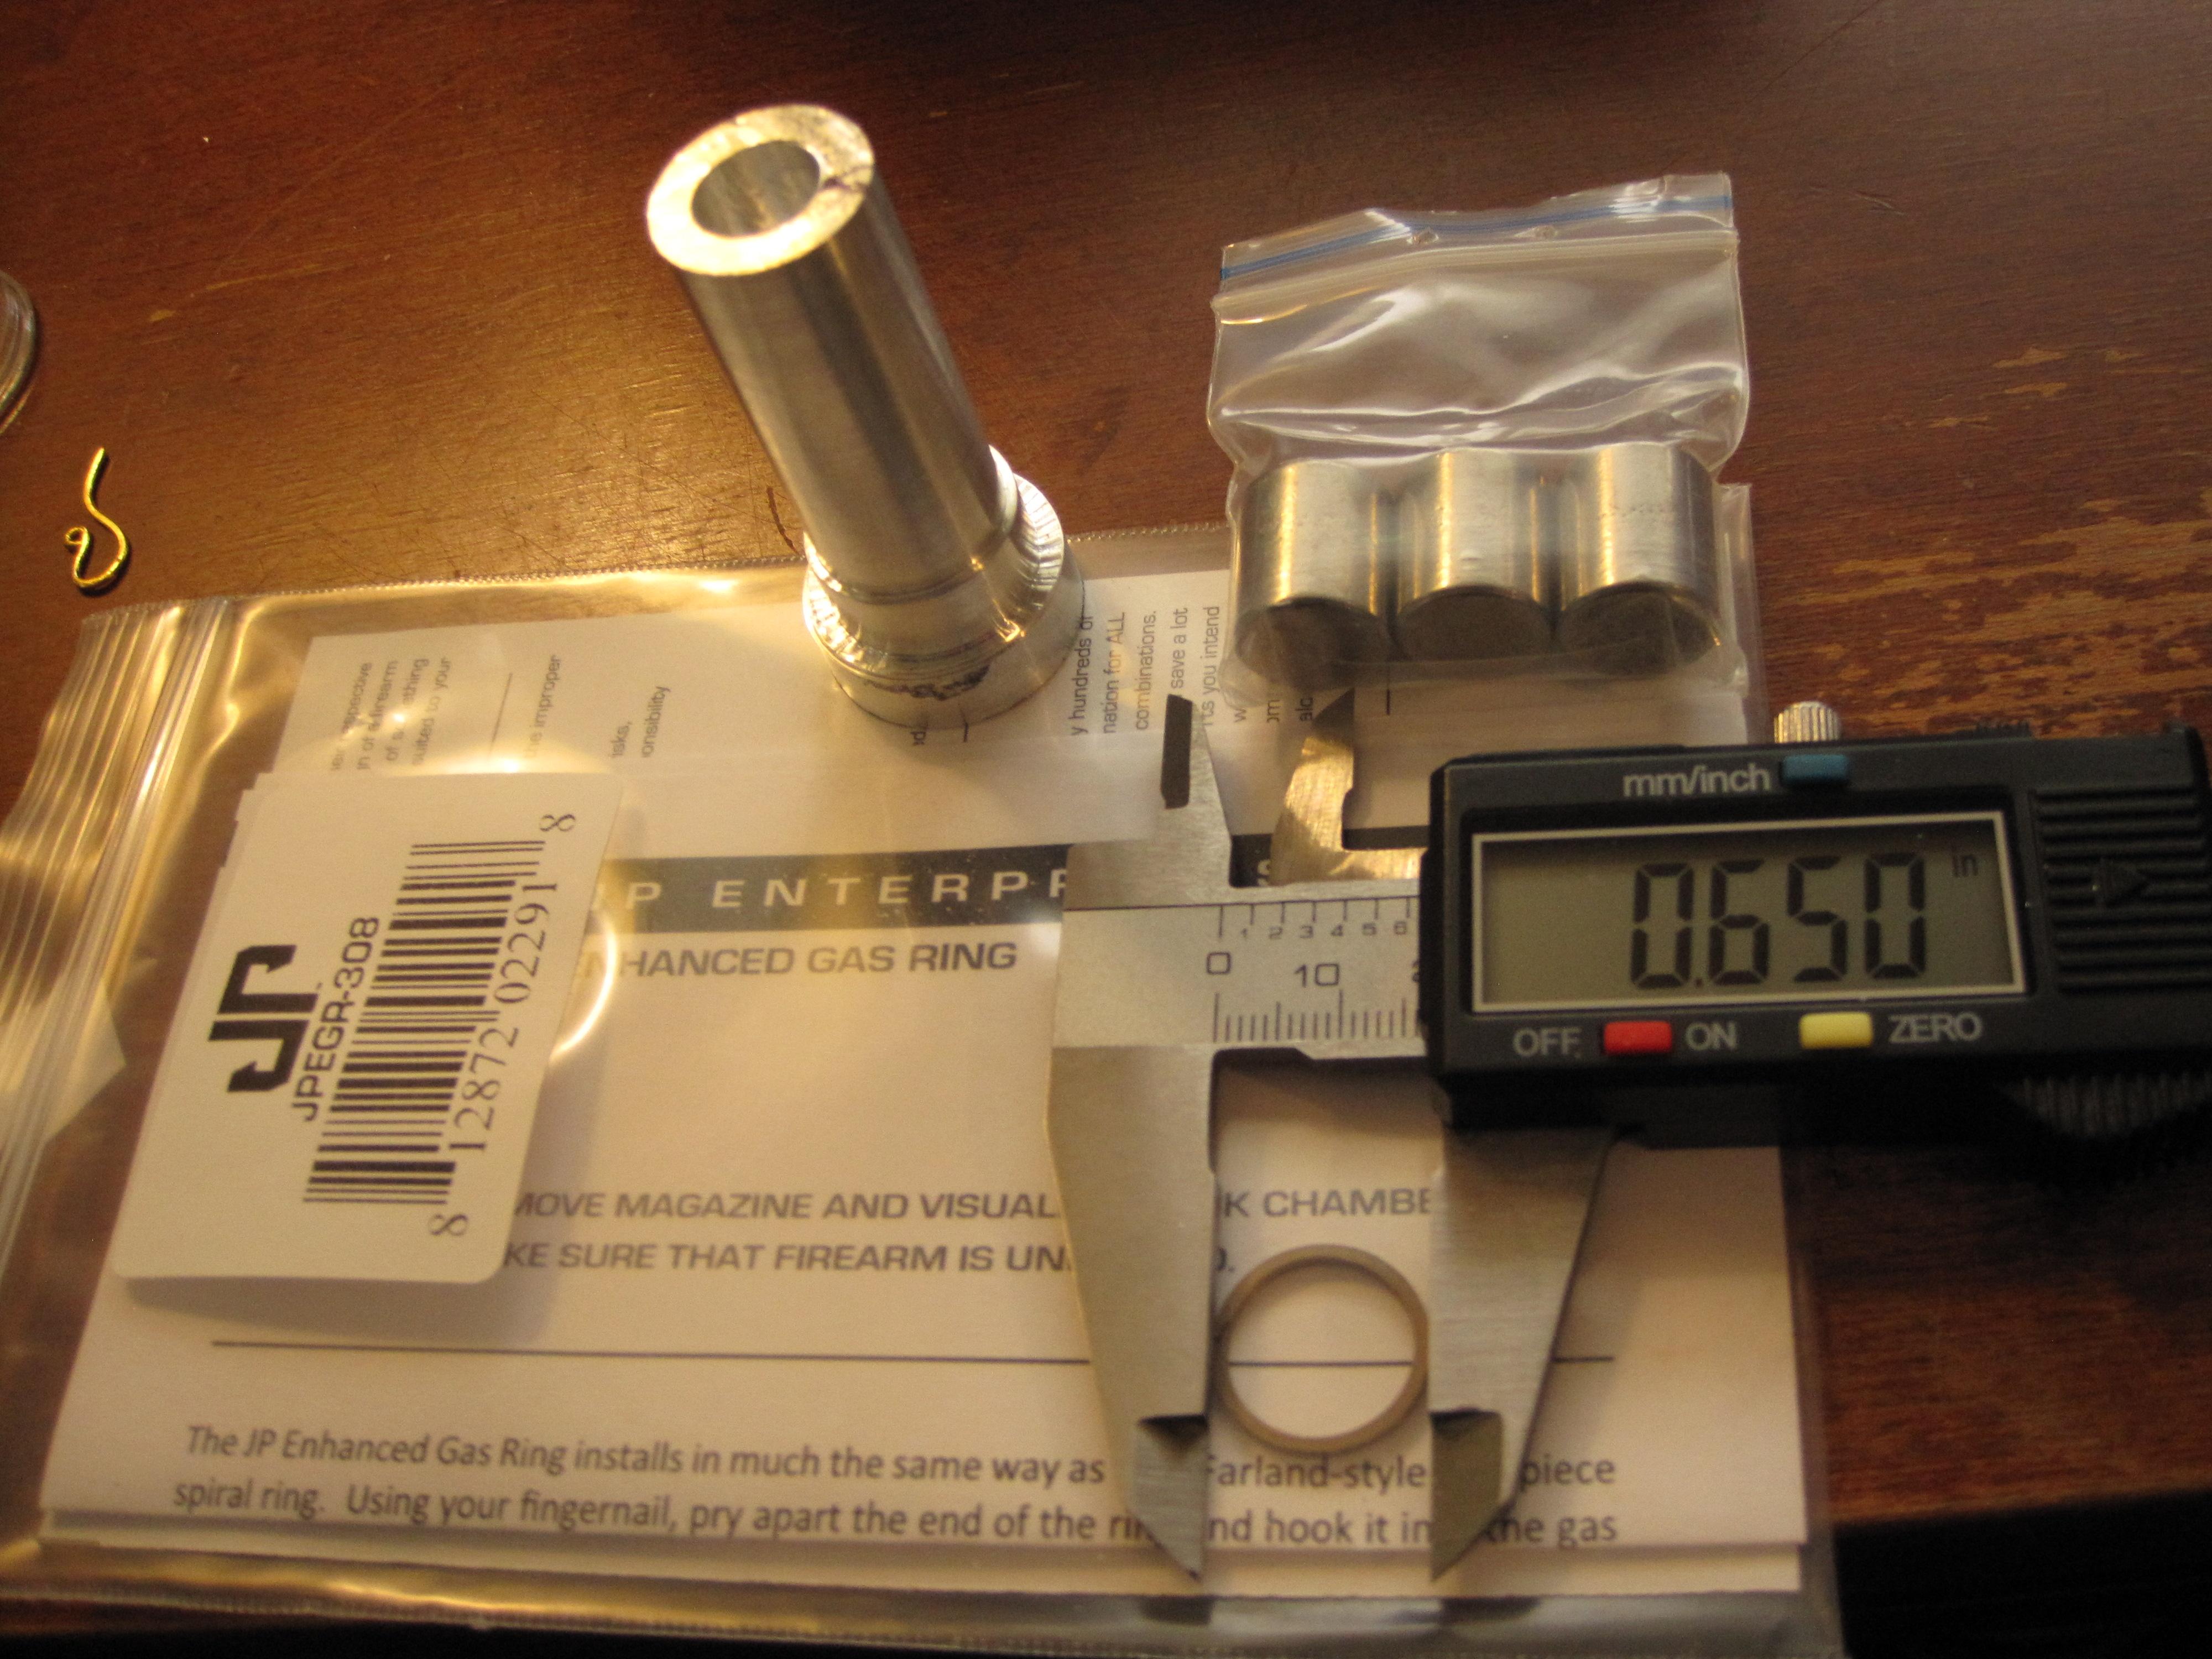
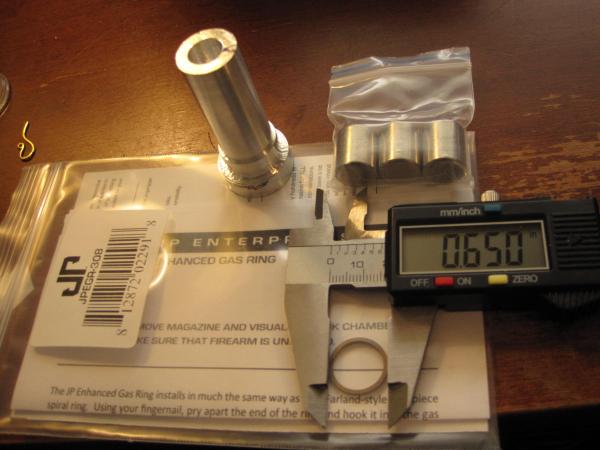
JP Enterprises gas ring showed up today and it does indeed measure 0.650", so I probably didn't need to stretch my original gas ring. The tungsten weights showed up as well so I could finish and assemble a roughly 5oz buffer with the aluminum body I have been working on. I tried to chuck up the bronze but can't find an appropriate center point to hold in the tail stock to keep it steady. That tail chuck is quite small and the hole in the bronze is close to half inch inside. I might have to stop at the hardware store tomorrow if I don't come up with anything on my own before that. The adjustable gas block should arrive early next week so I should have a few options by that time. The scope might not arrive until Friday, but that should be everything I need for hunting season. That and another $100 in ammo to waste through it of course.
-
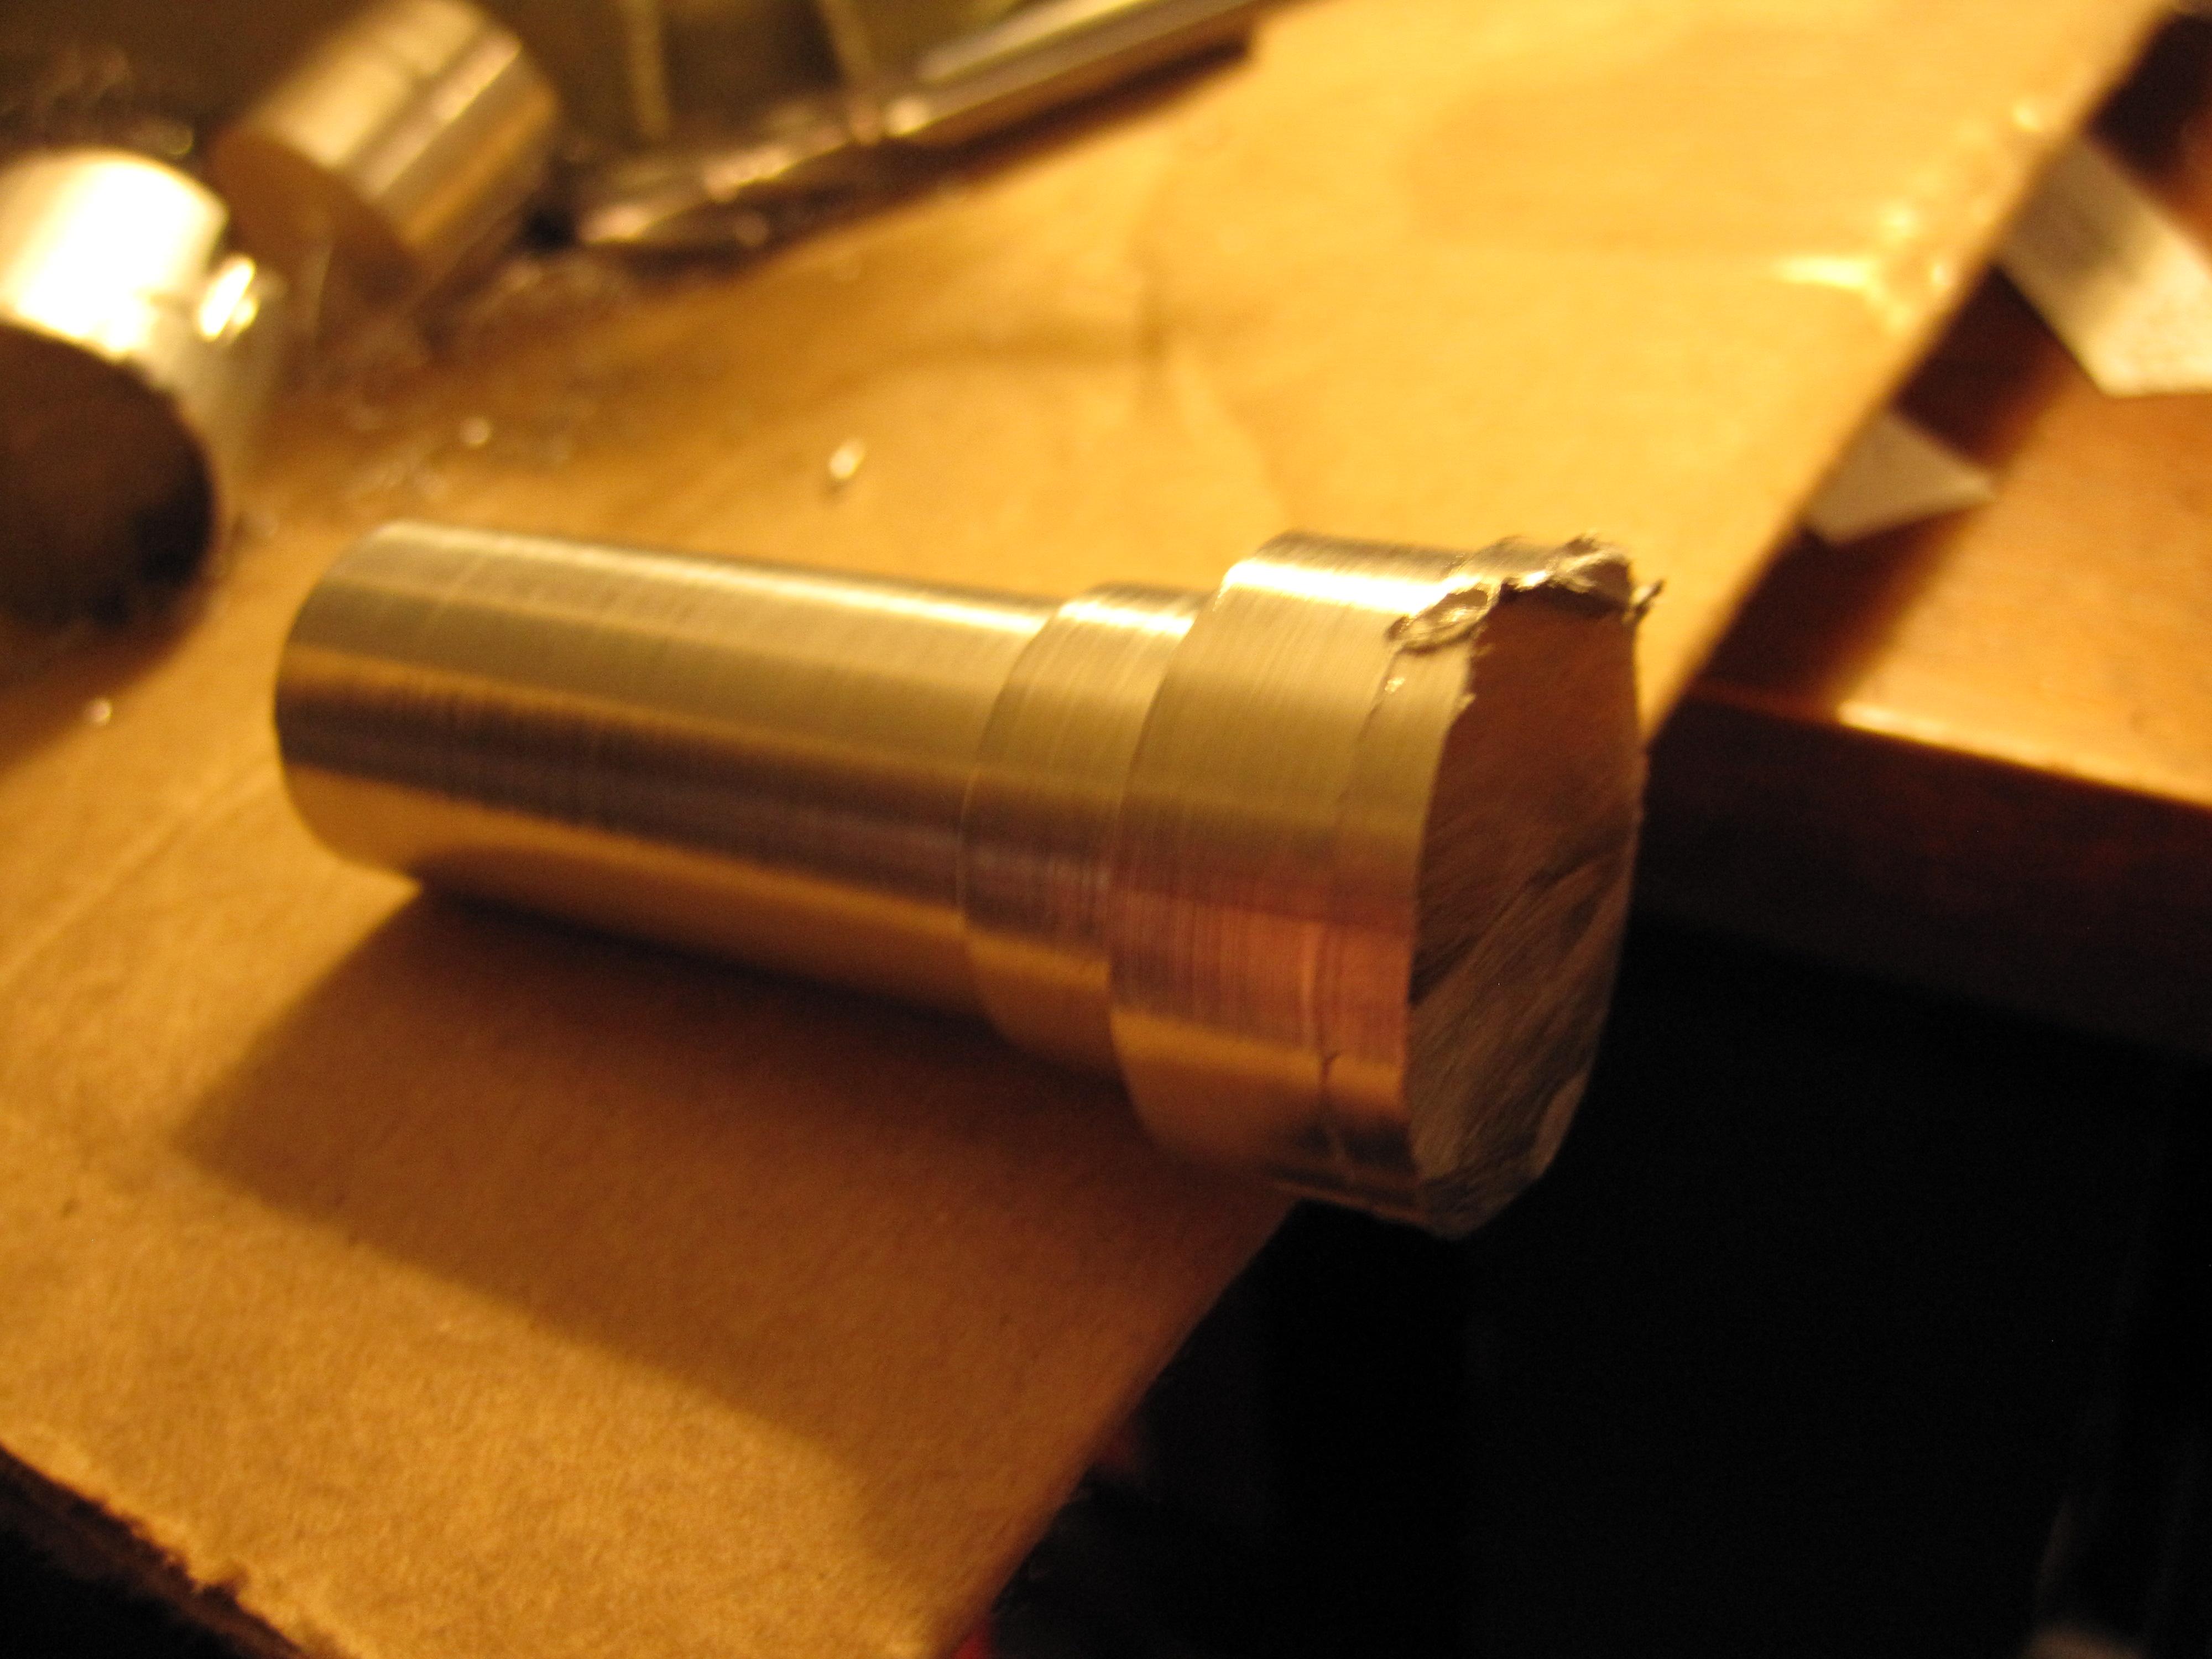
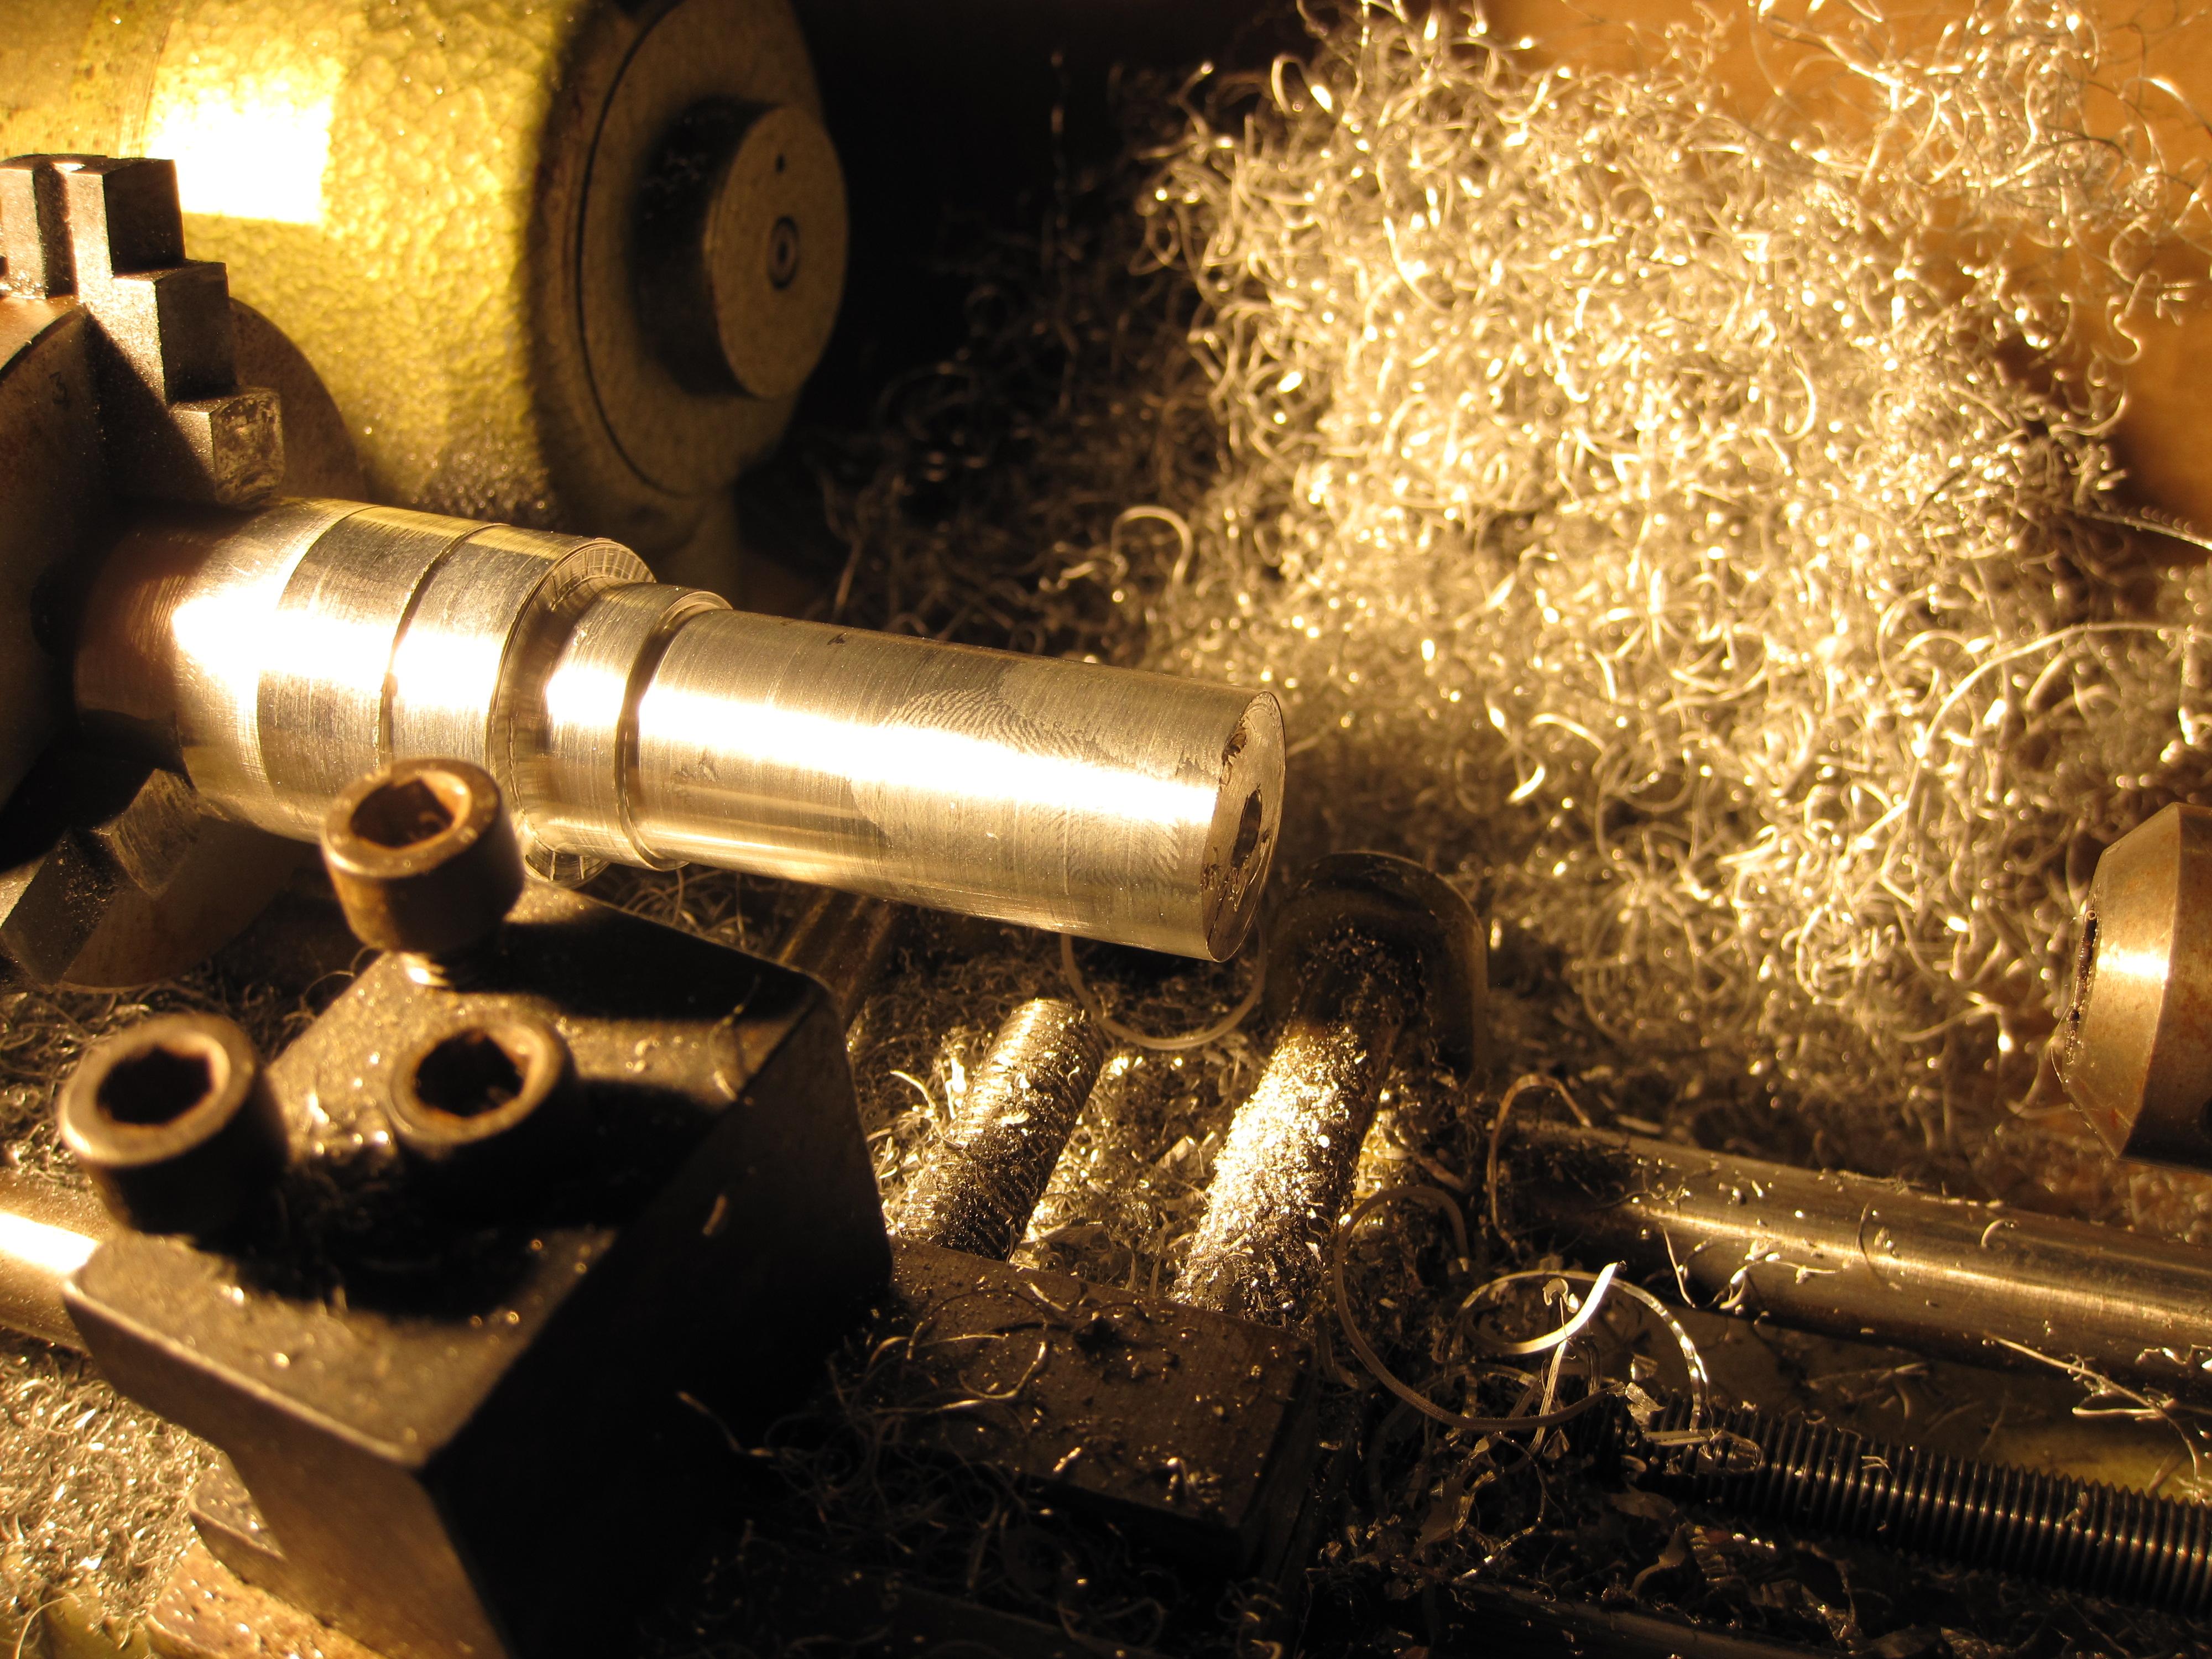
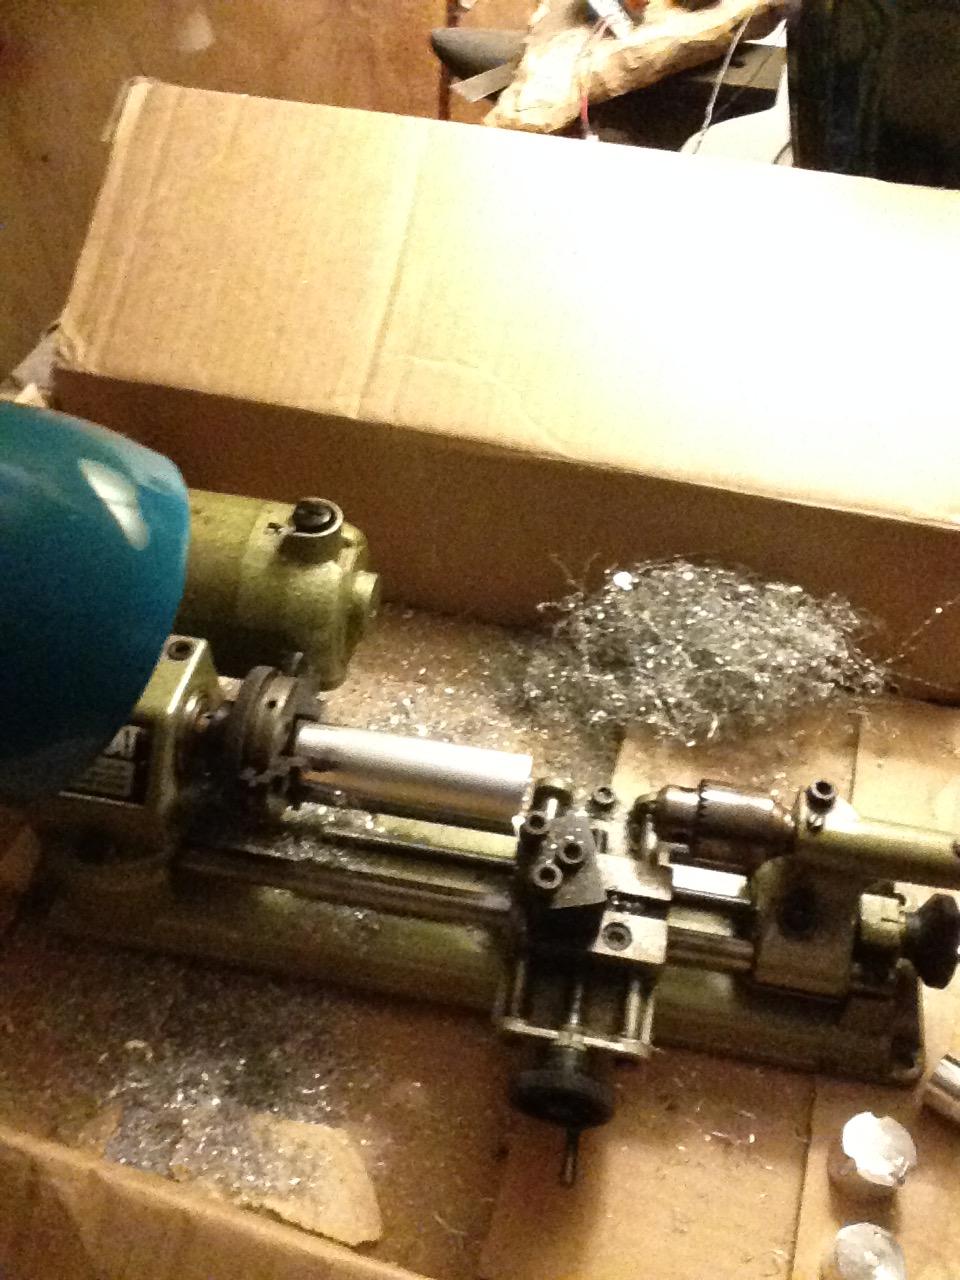
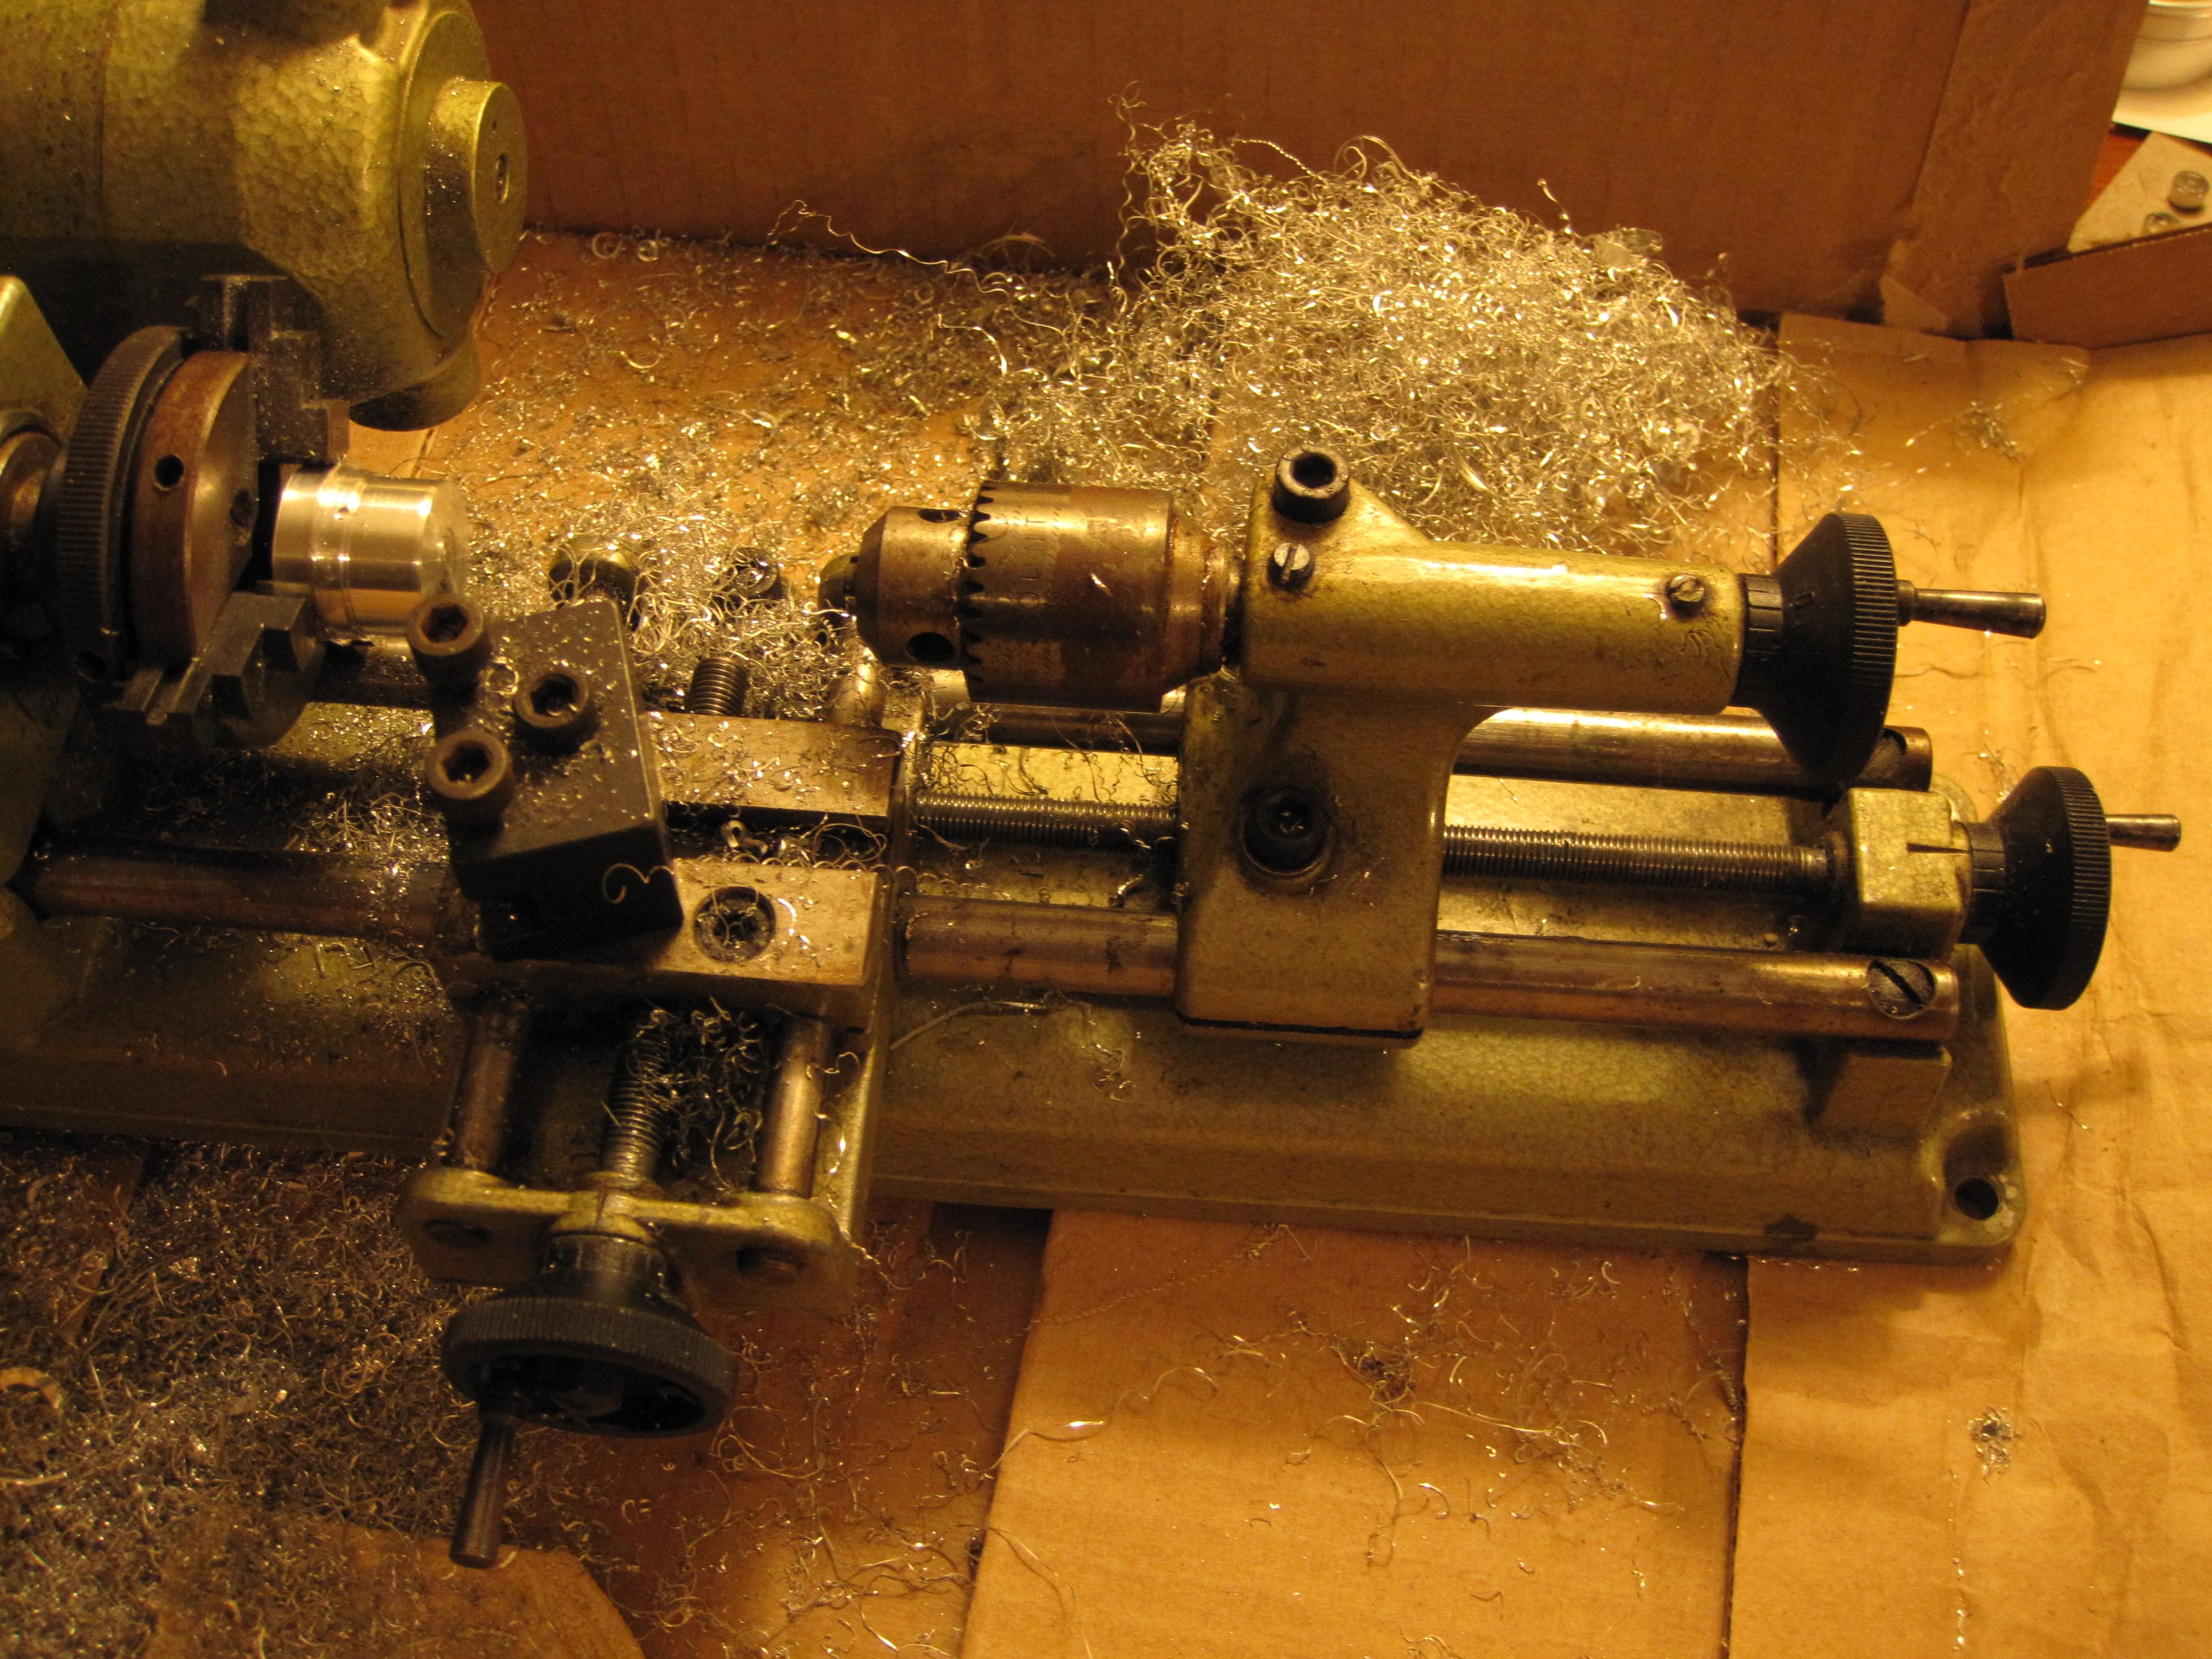
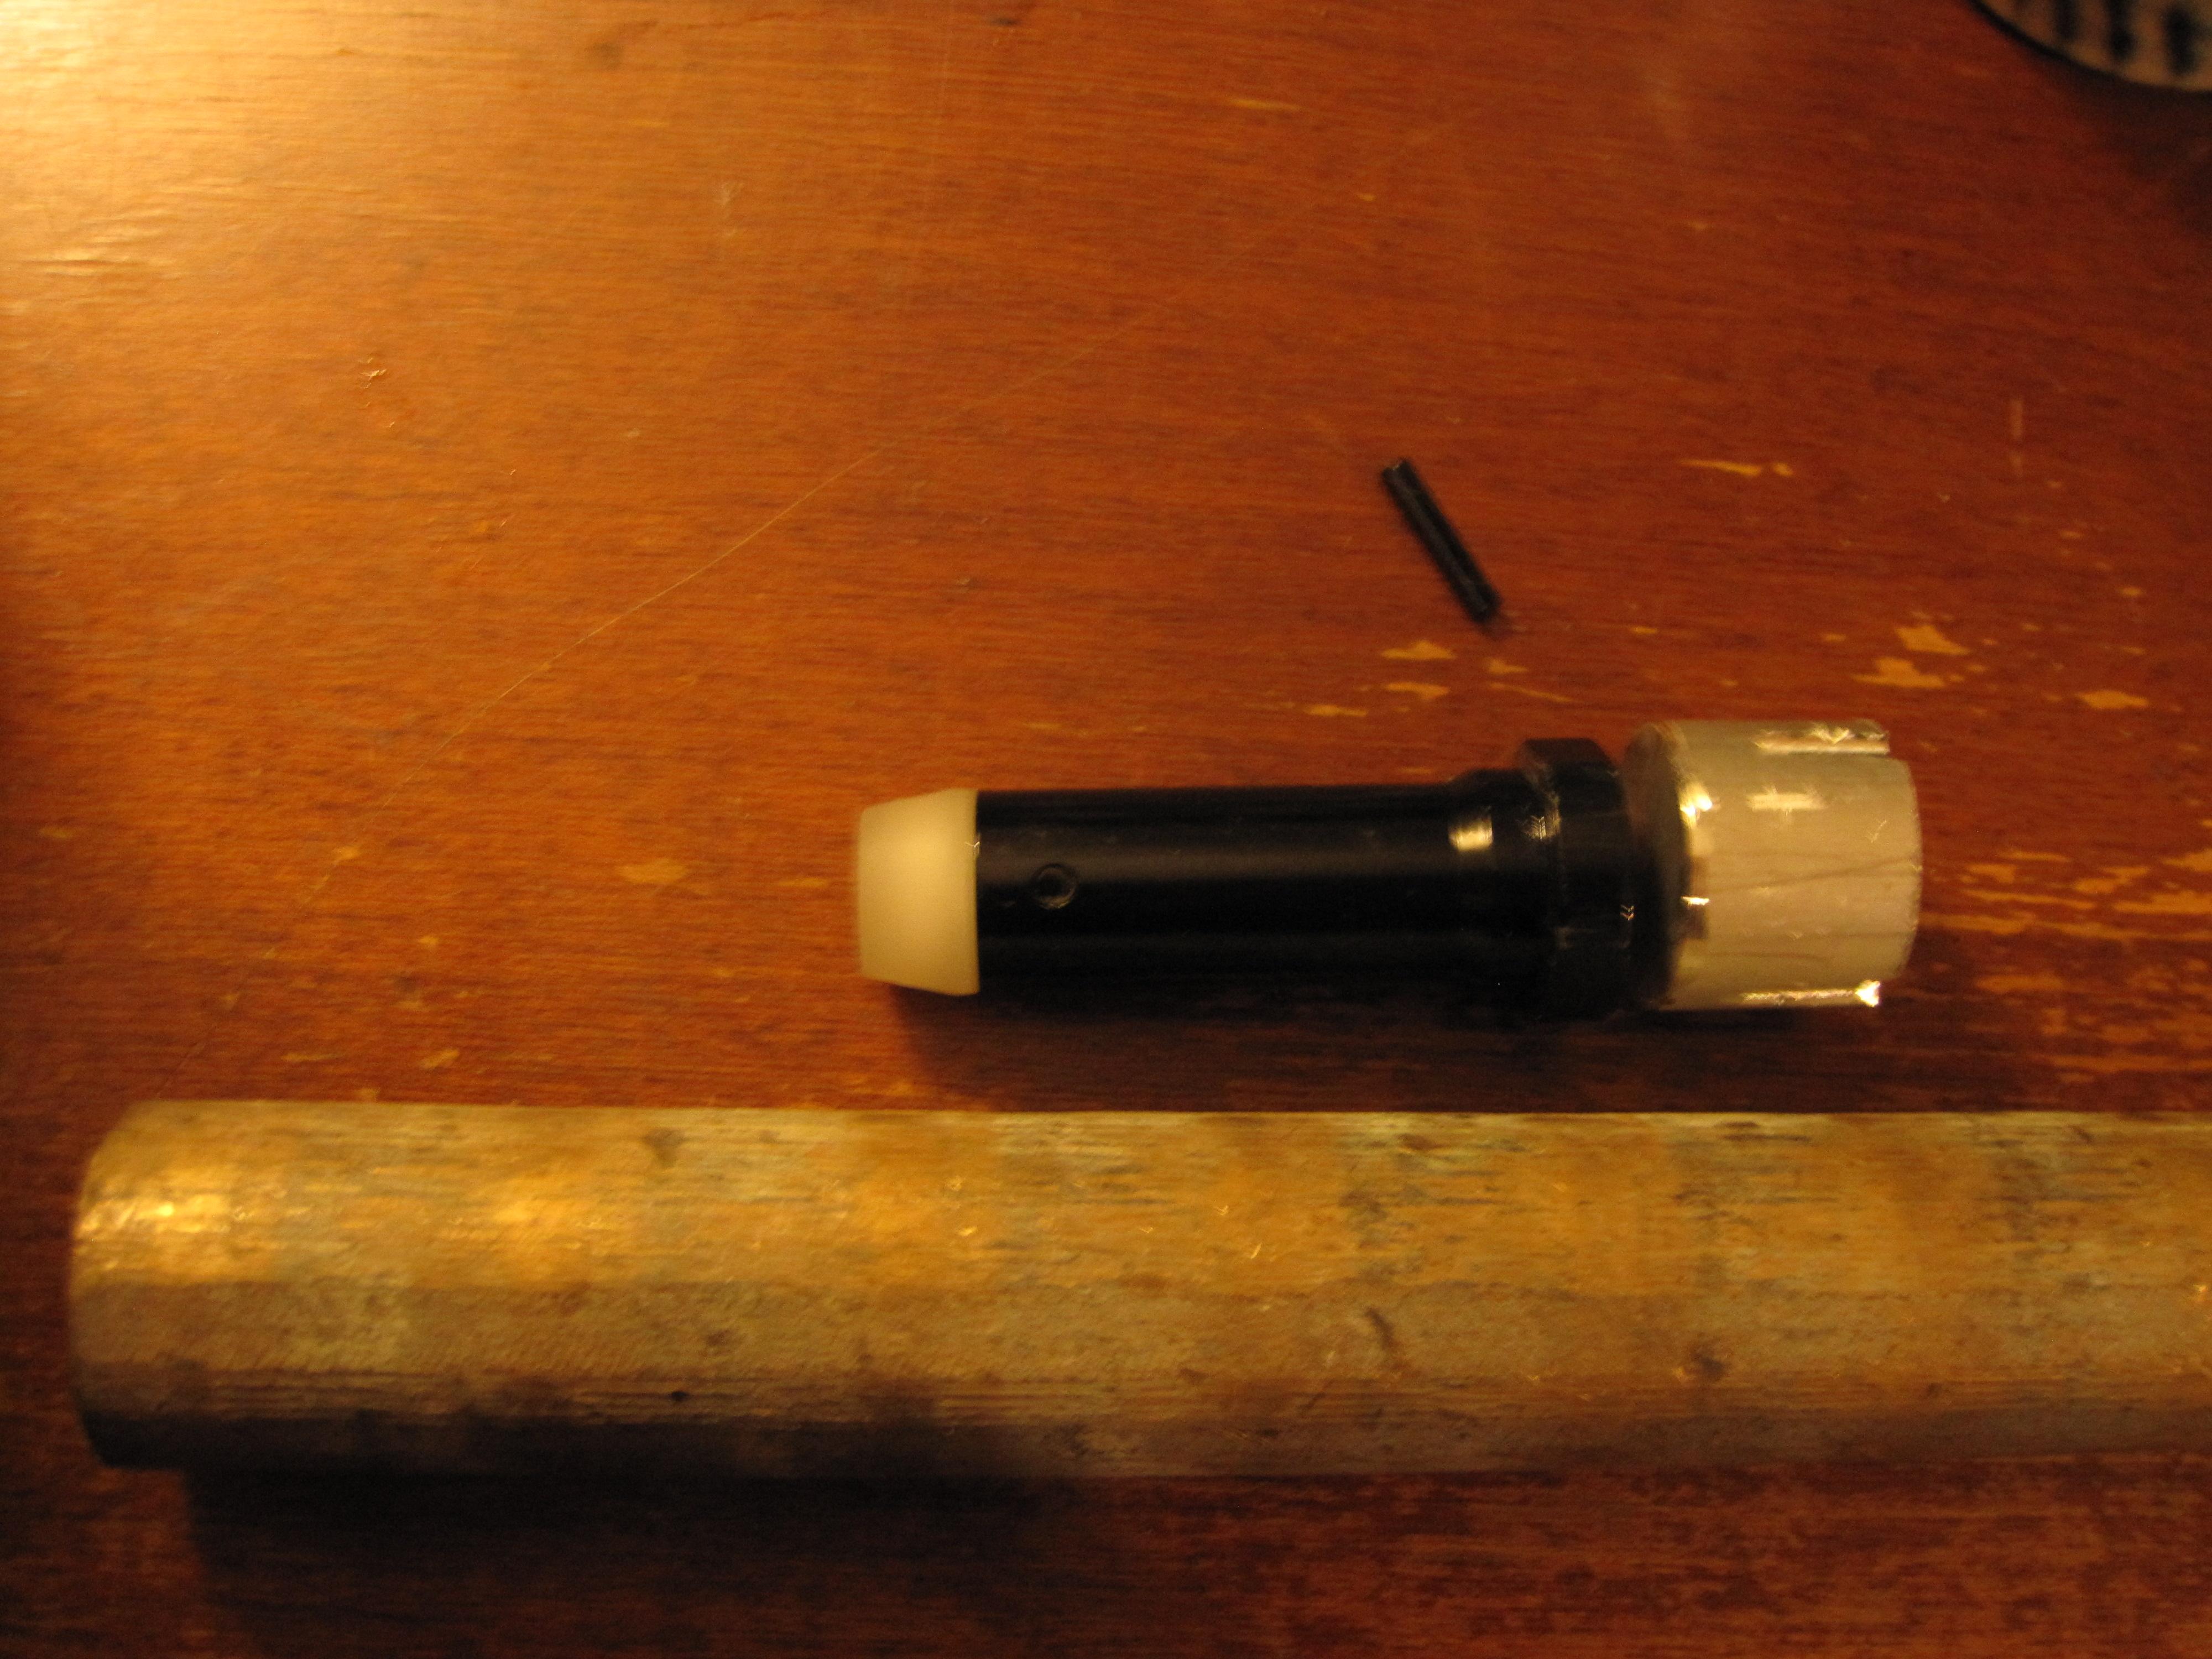
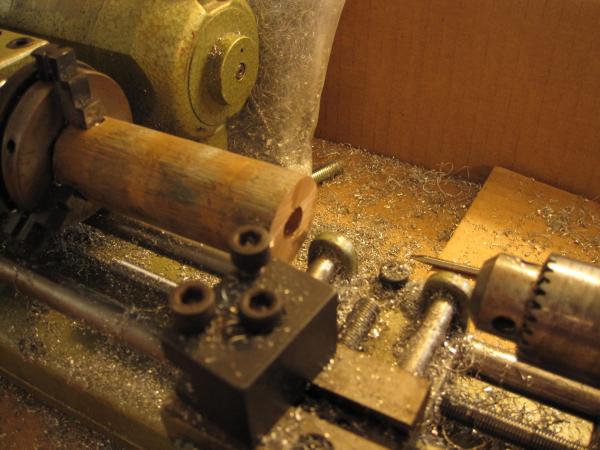
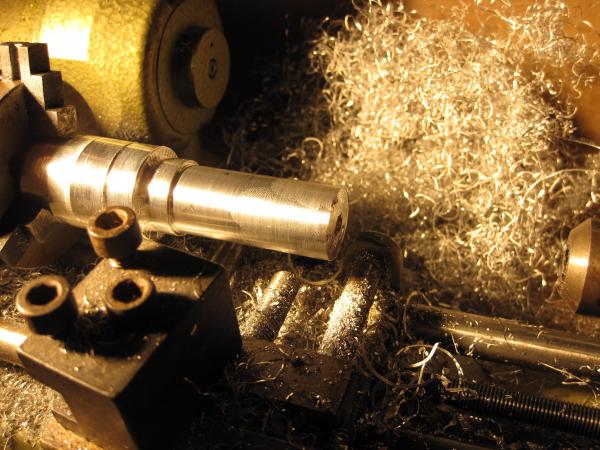
Yes; that's a Unimat, which I don't use nearly enough. I got hooked when I worked at the local makerspace, and had to have one of my own. The 1" round stock is just too much for the jaws though; they open to a bit less than 0.950". It can be a real pain to get stock this size to spin true. Here is one proof of concept aluminum body, almost finished just for the fun of it; solid it weighs about 1.5oz. Planning to do the finishing work on the drill press/mill and expect it will be well under an ounce hollow. Might try a silicon bronze one next since the density is actually higher than stainless; I've got the time on my hands. I took on this build because I couldn't find documentation of anyone who actually built one, and it seemed like a fun project. I was originally pissed off when I learned they wouldn't release the required measurements for the pocket. I'm pretty sure I would have made some mistakes without having a few measurements to go by; the pocket depth might have screwed me in particular if I weren't paying attention. I should still make up some basic blueprints to post up here as comparison; it certainly is different than anything else I had come across. The Primary Arms 4-14x40mm ACSS HUD DMR 308 scope and adjustable gas block shipped today, so things are looking good here.
-
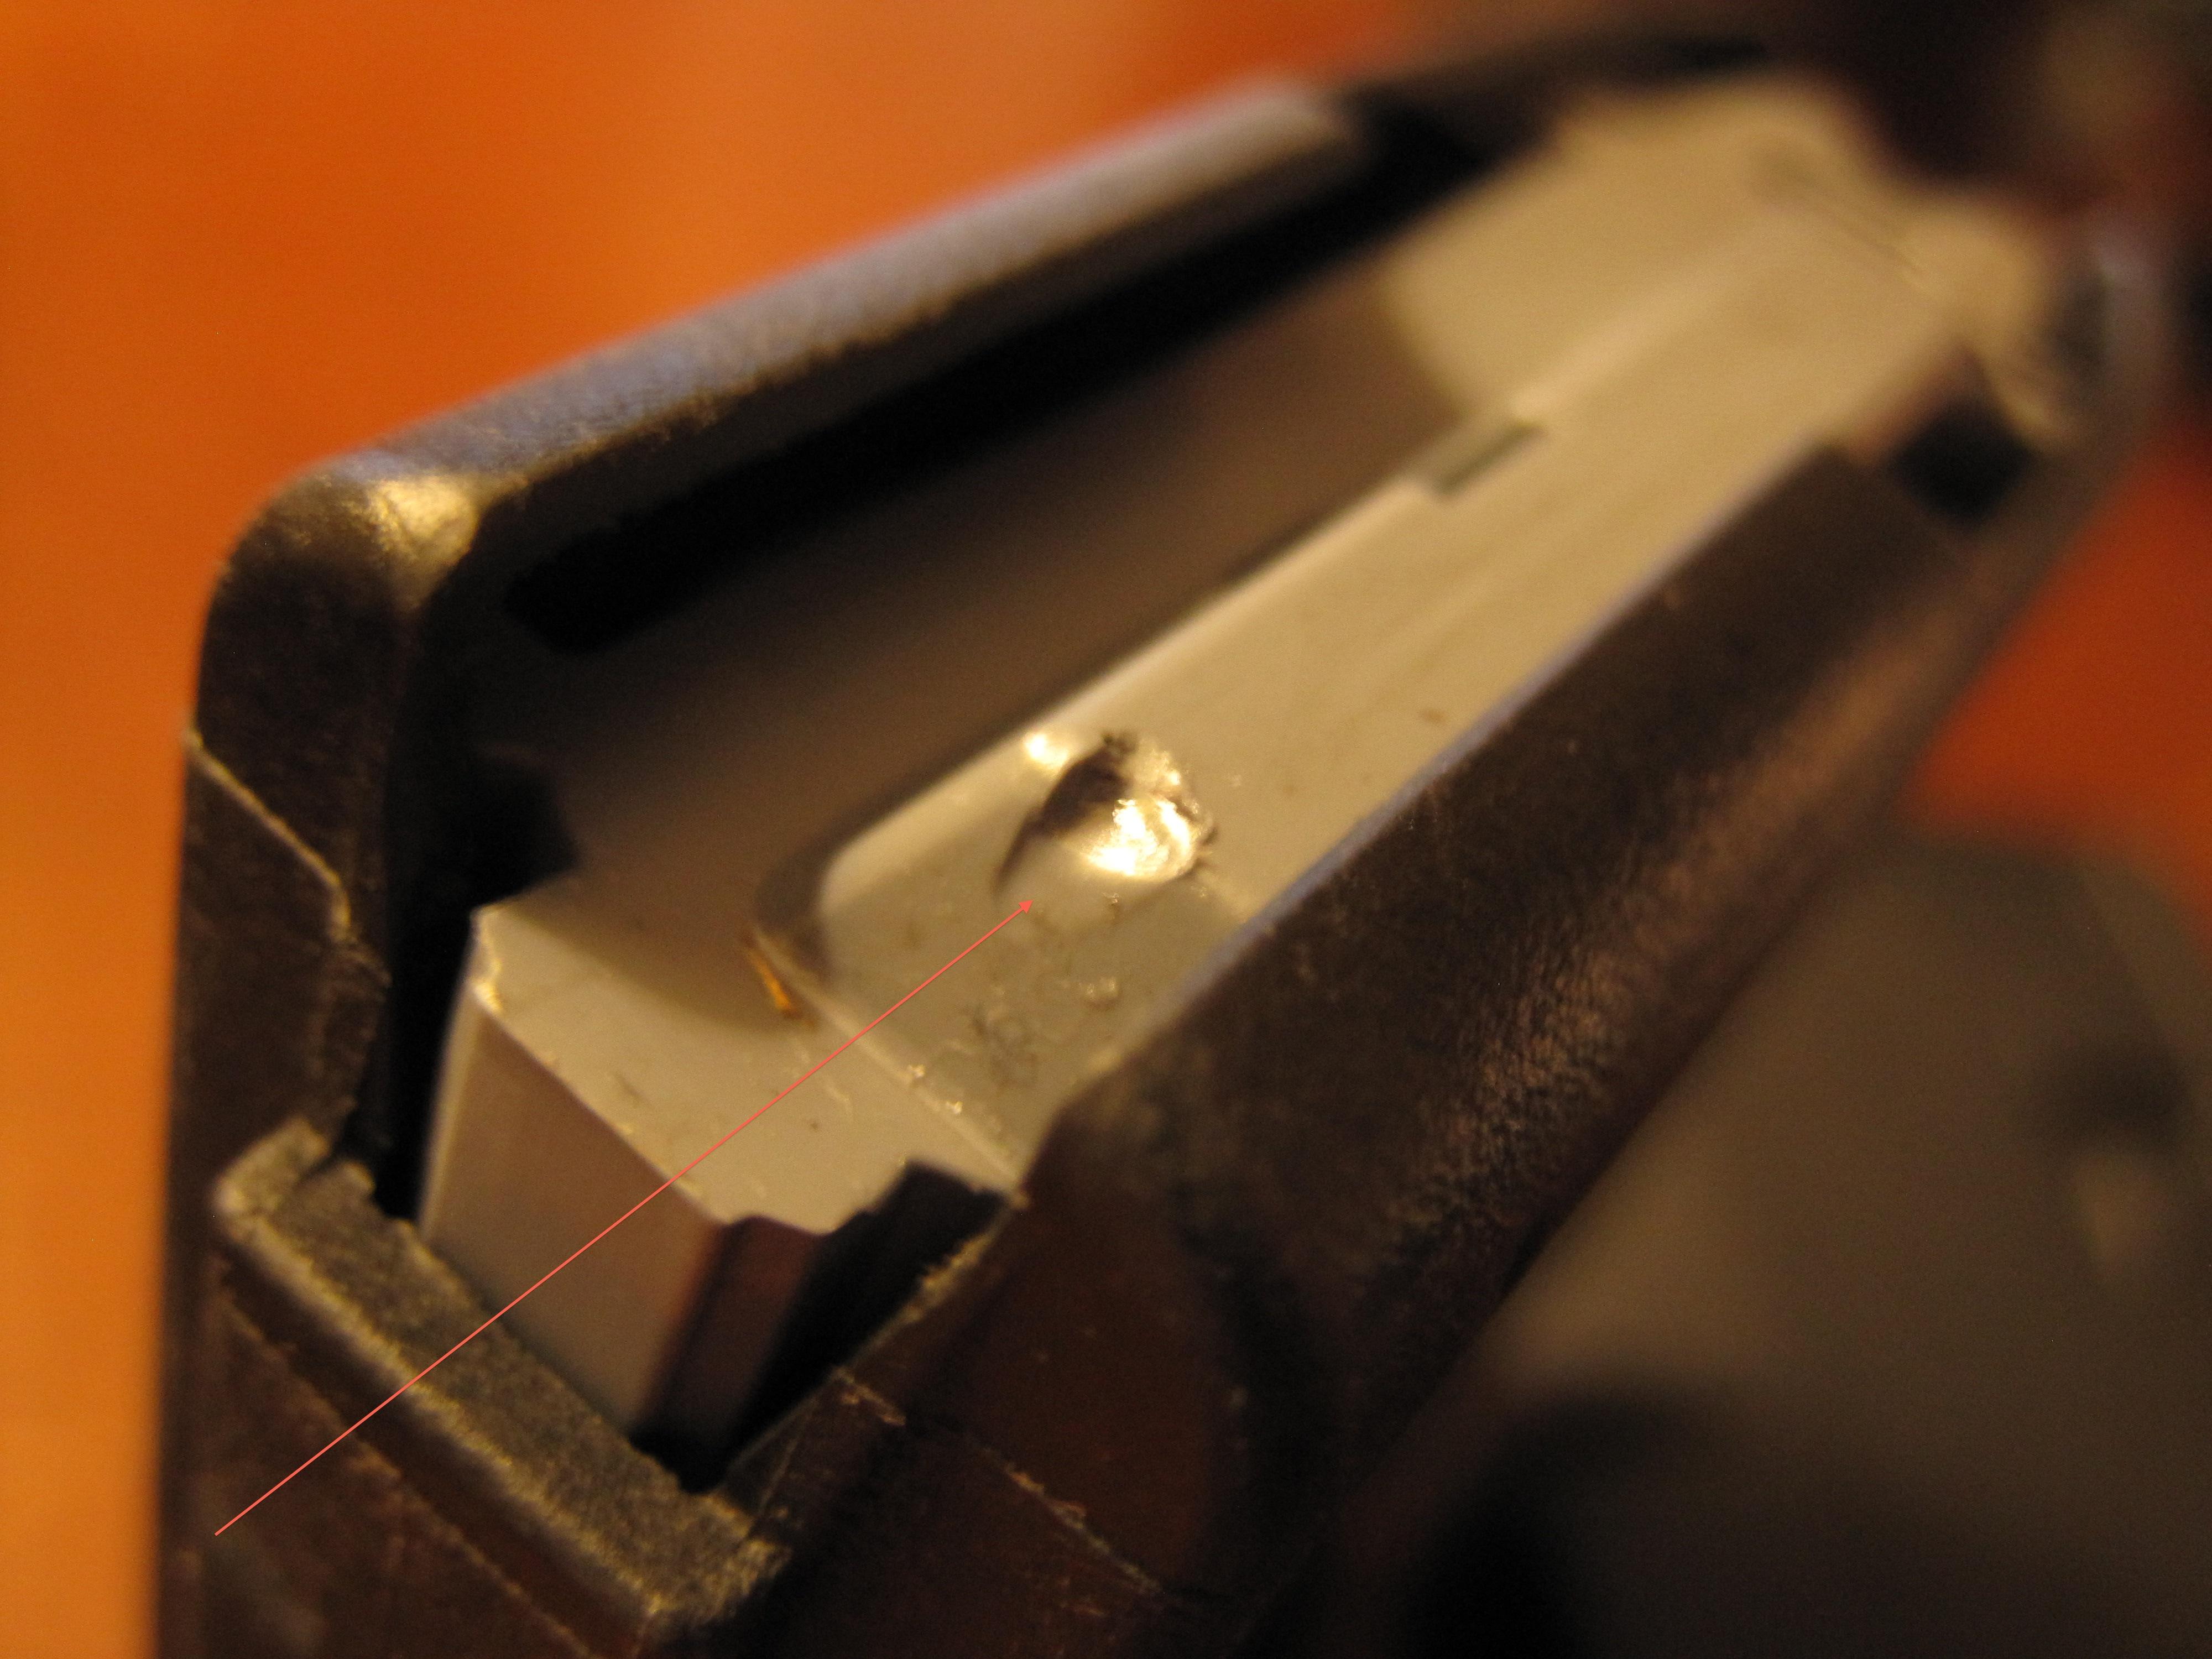
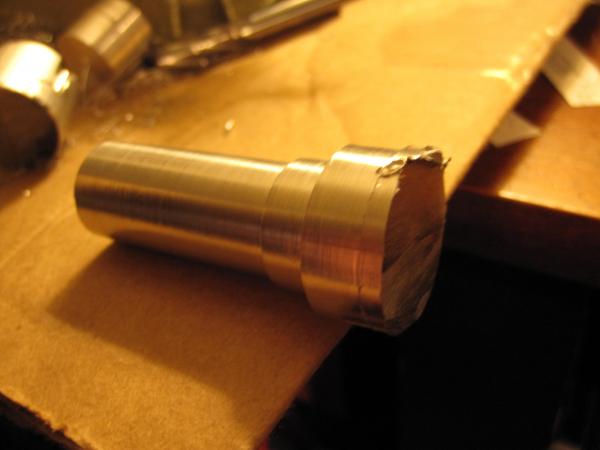
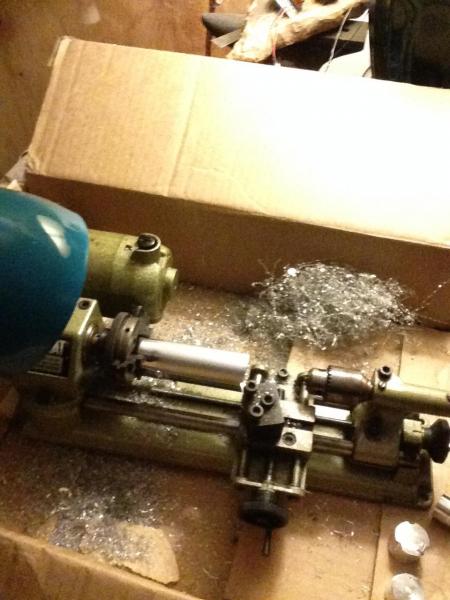
I did buy three tungsten weights. That is a decent price for the buffer; I signed up for a notification when it comes back in stock. I'm still working on making my own buffer in the mean time, just for the fun of it. I cut off a piece of aluminum stock; the hardest part is mounting it in the lathe and getting it centered. Once it's spinning true, the cutting should be quite simple. I've already taken all of the require measurements. Almost nothing I ordered actually shipped yet which is a bit strange. Seems like I have some time to kill waiting. I did install a new 5 round metal magazine in this Ceratac 308 build to use for hunting. It seems to add a bit of extra support for the bolt carrier. Much more sturdy than a P-Mag, but also a huge pain to remove the floor plate. Still; I have to stay legal for hunting season and I didn't see an easy way to block out the P-Mag given the way it is constructed. I see now that they sell a limiter, but it is about the same price this metal magazine cost me. I had written to Ceratac again about the gas ring and this time they explained it was a legal concern. Apparently the lawyers told them that providing measurements could expose them to liability issues. I hadn't fully considered that myself, but I'm pretty sure they can tell me who makes each part. I'm going to try again asking a different way to see if I can get some closure on that matter. While I don't believe it has a huge effect on my operational problems, I would like to have a means of determining what it should have been in this particular configuration as sold. It's going to be nice weather today so I was thinking about taking out an AR-15. Am I correct in believing that adding a quarter or two in the buffer tube could add enough spring force to keep it from tripping the disconnector with the hammer? I'm not ready to start cutting off the tips of hammers but that particular problem is much less severe than the 308. I suspect a heavier buffer would be a better solution (since it too has an 18" barrel), but I'm pretty sure it's also a solid mass buffer, so adding weight wouldn't be simple. At this point I'm still well below the extra costs of a jig and conversion kit on this build with all the replacement parts. Not quite the great deal I thought it would be, but I sure did learn a few things along the way.
-
I had asked about quarters in the 308 earlier, and I wasn't sure if they were appropriate for my current situation. At the moment I have a bunch of stuff coming in the mail, but don't want to annihilate my bolt carrier with the hammer smashing for no reason (it also harms the lower). Sounds like I shouldn't try this short buffer in an AR-15; at least without some compensation in terms of tube length? At this point I'm committed to whatever it takes. At the same time, I want to learn how each of these components interact with each other.
-
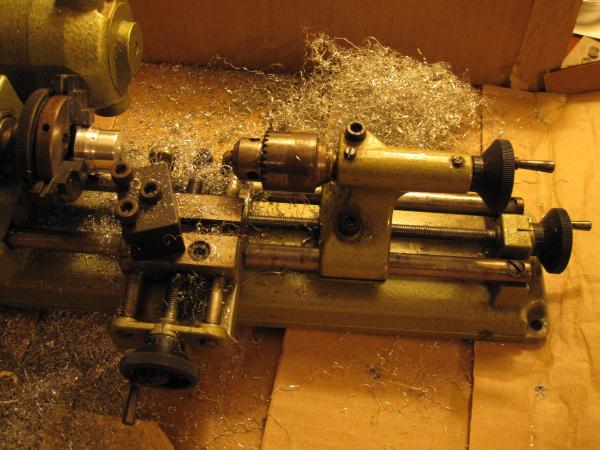
jtallen83: The center wear appears to have been caused by the tails for the slot in the bolt carrier which allows passage of the buffer retainer. They have since been polished smooth, but were originally very sharp and closed on the buffer right there every single time. Since I have a fixed magazine, that opening and closing happens a lot. The outer ring does appear to have a lot of damage too, but I'm not shocked given how violently it is being sent back being so over-gassed at the moment. Wrote this part earlier, but have been crafting it and didn't click "Submit" until just now: I have been considering my options since this buffer doesn't appear to be very serviceable (by adding weights). I didn't find a lot of empty buffers available, and heavy buffers aren't all that cheap. Since I ordered tungsten weights, I think I might try to make a few buffers while I'm waiting for other parts. I already dumped a bunch of money in gun parts and a scope earlier today. I have plenty of 1" 6061 aluminum round stock on hand, and just Tuesday a buddy of mine handed me a large piece of bronze rod for no apparent reason. My only concern is how fast I can remove material with my small lathe. It turns aluminum fairly well with a bit of patience. Not sure how it will hold up to a hulk of bronze (at least it's pretty round). It should even turn steel at an even slower rate. I have time and materials on hand; worst case is I end up with some paper weights and still have to buy a heavy buffer. I think the bronze might make tuning weights easier with less tungsten; and what good is a "build" if I didn't make some part of it? The one thing I'm still a bit unsure about is how the buffer length plays a role. It doesn't seem like the bumper is designed to be bouncing off the back end of the tube regularly. I had earlier marked my 308 buffer bumper with Sharpie and didn't see much if any wear markings, even with my current setup. Can I use a buffer that is shorter than normal in an AR-15 if the weight is correct? I'm thinking about re-appropriating this 308 buffer in one of them to resolve the same problem on a lesser scale (very light marking on the bolt carrier), those AR-15s had come with a 3 oz buffer which a bit longer than this one. I suppose I could turn an extension just the same if length actually an issue. Is the bumper actually supposed to give the end of the tube a light tap every time? I'm simply not experienced enough with tuning to know yet.
-
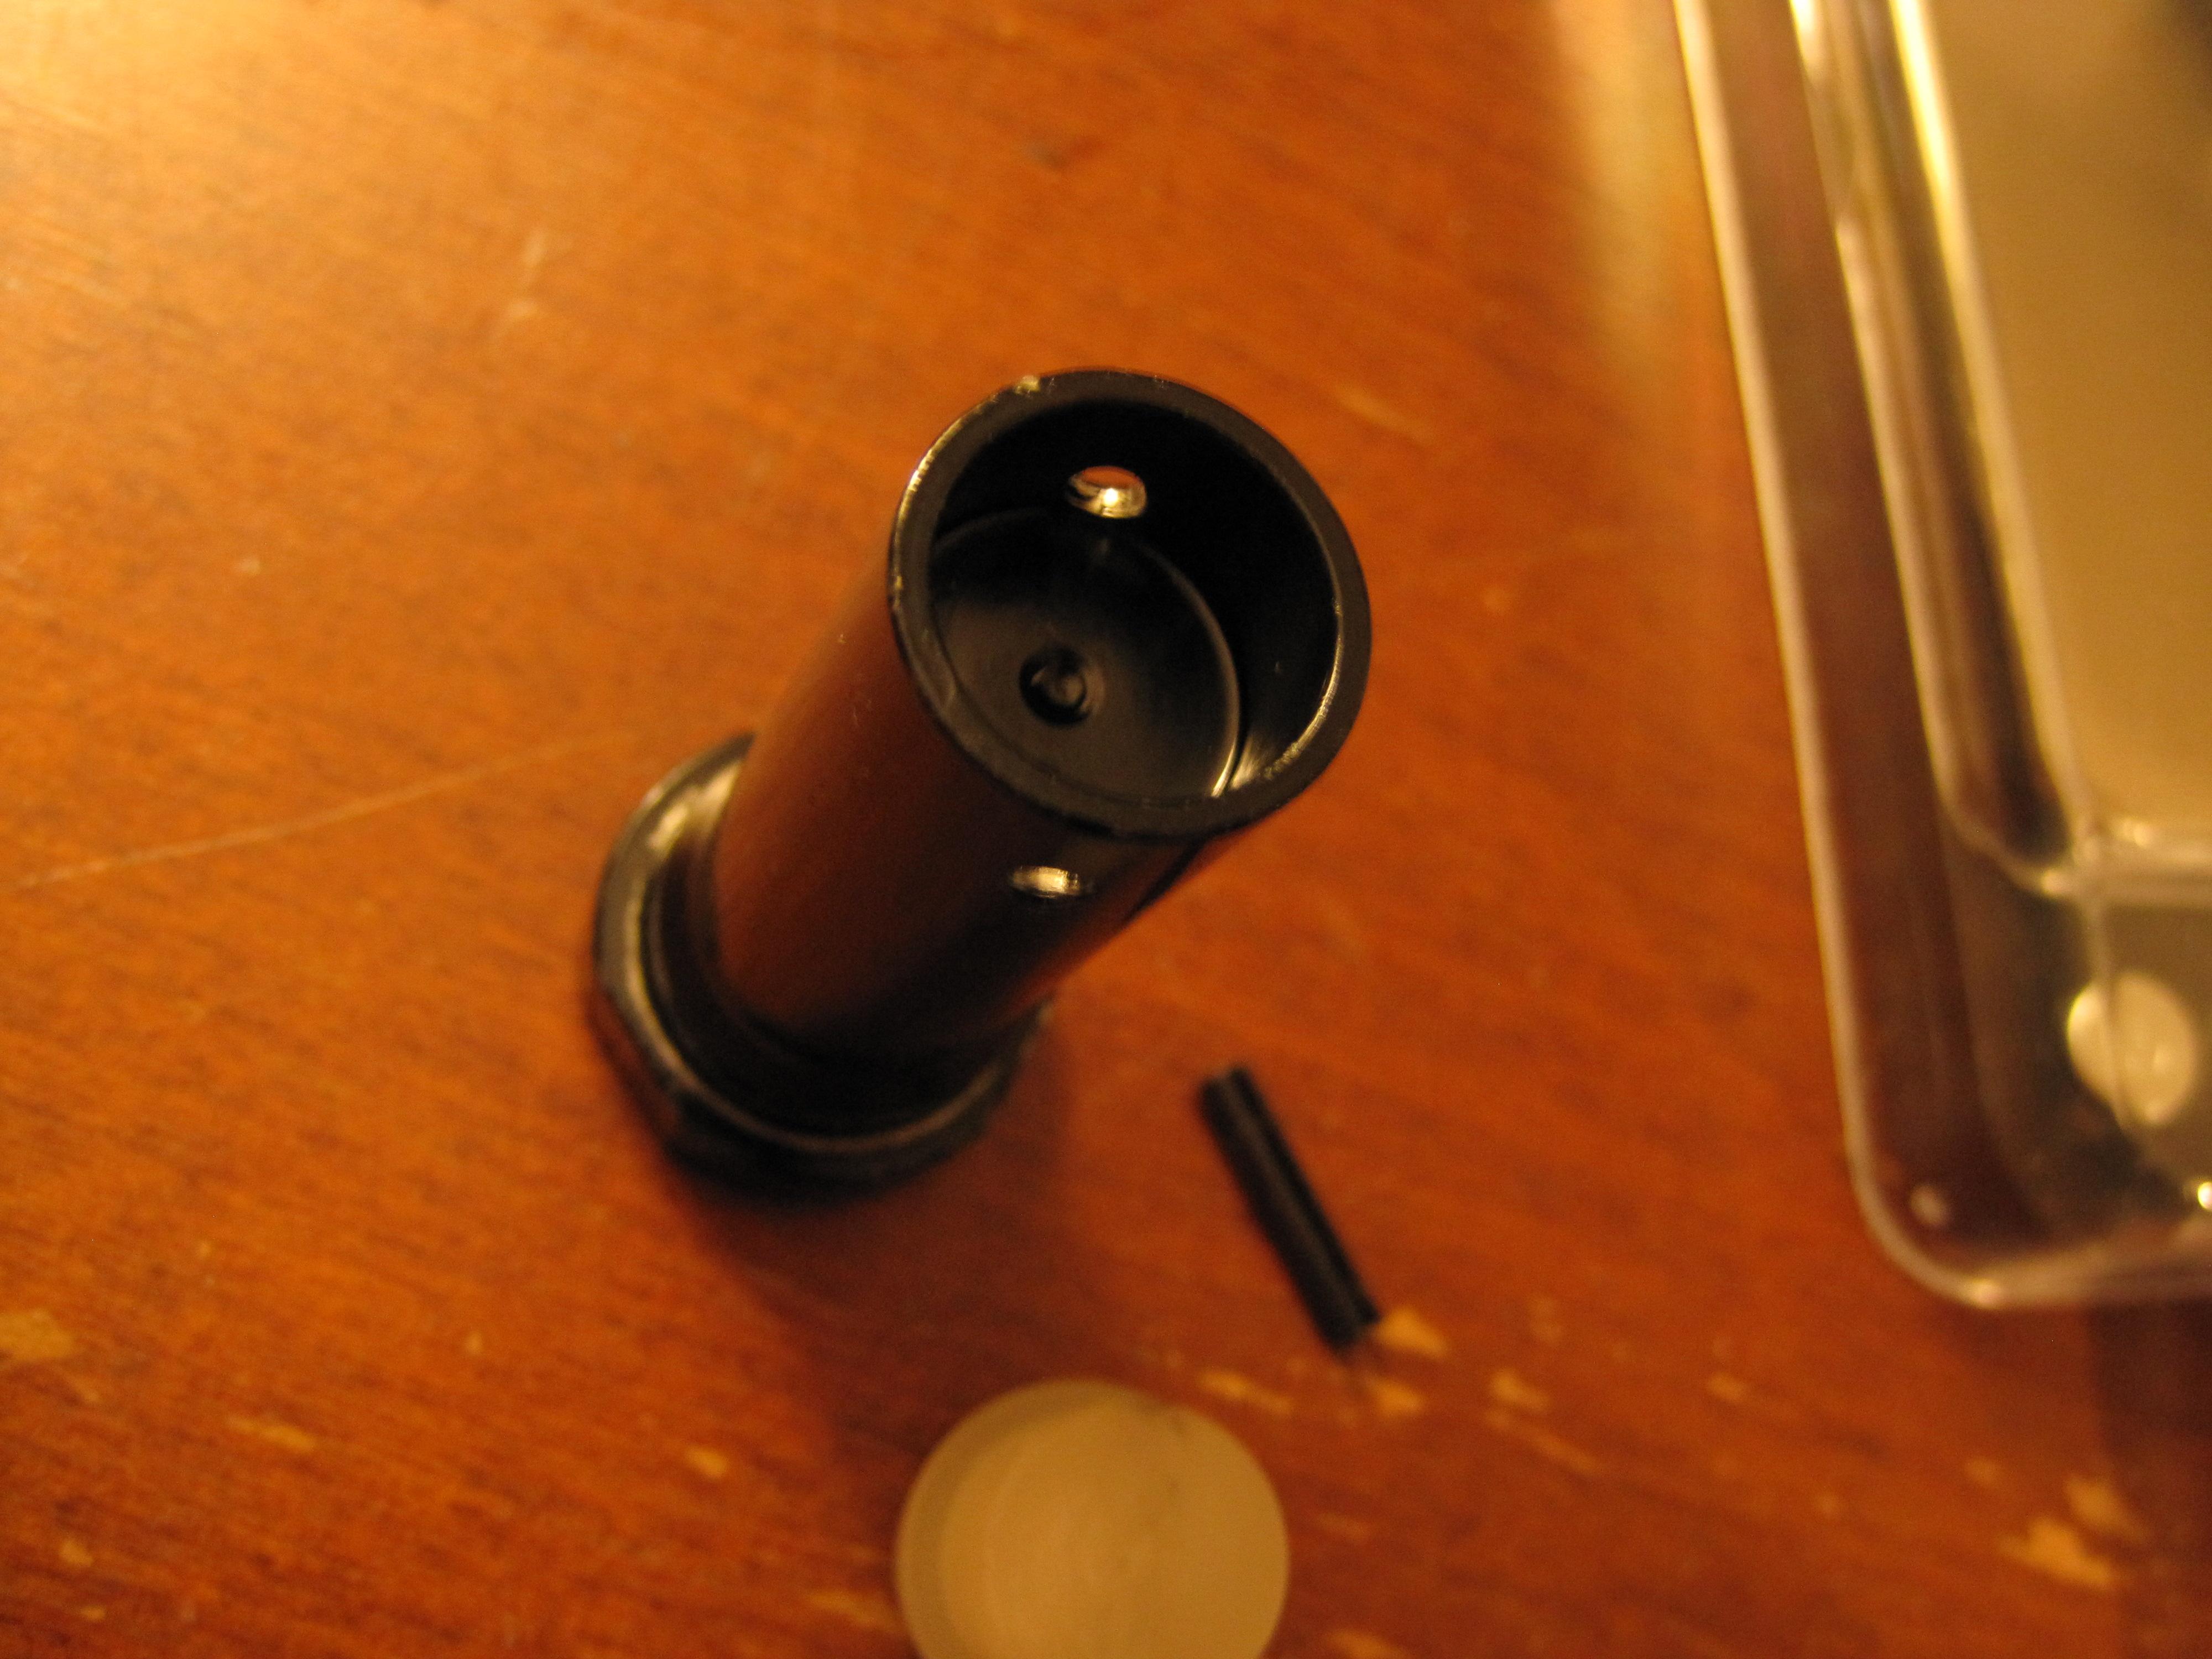
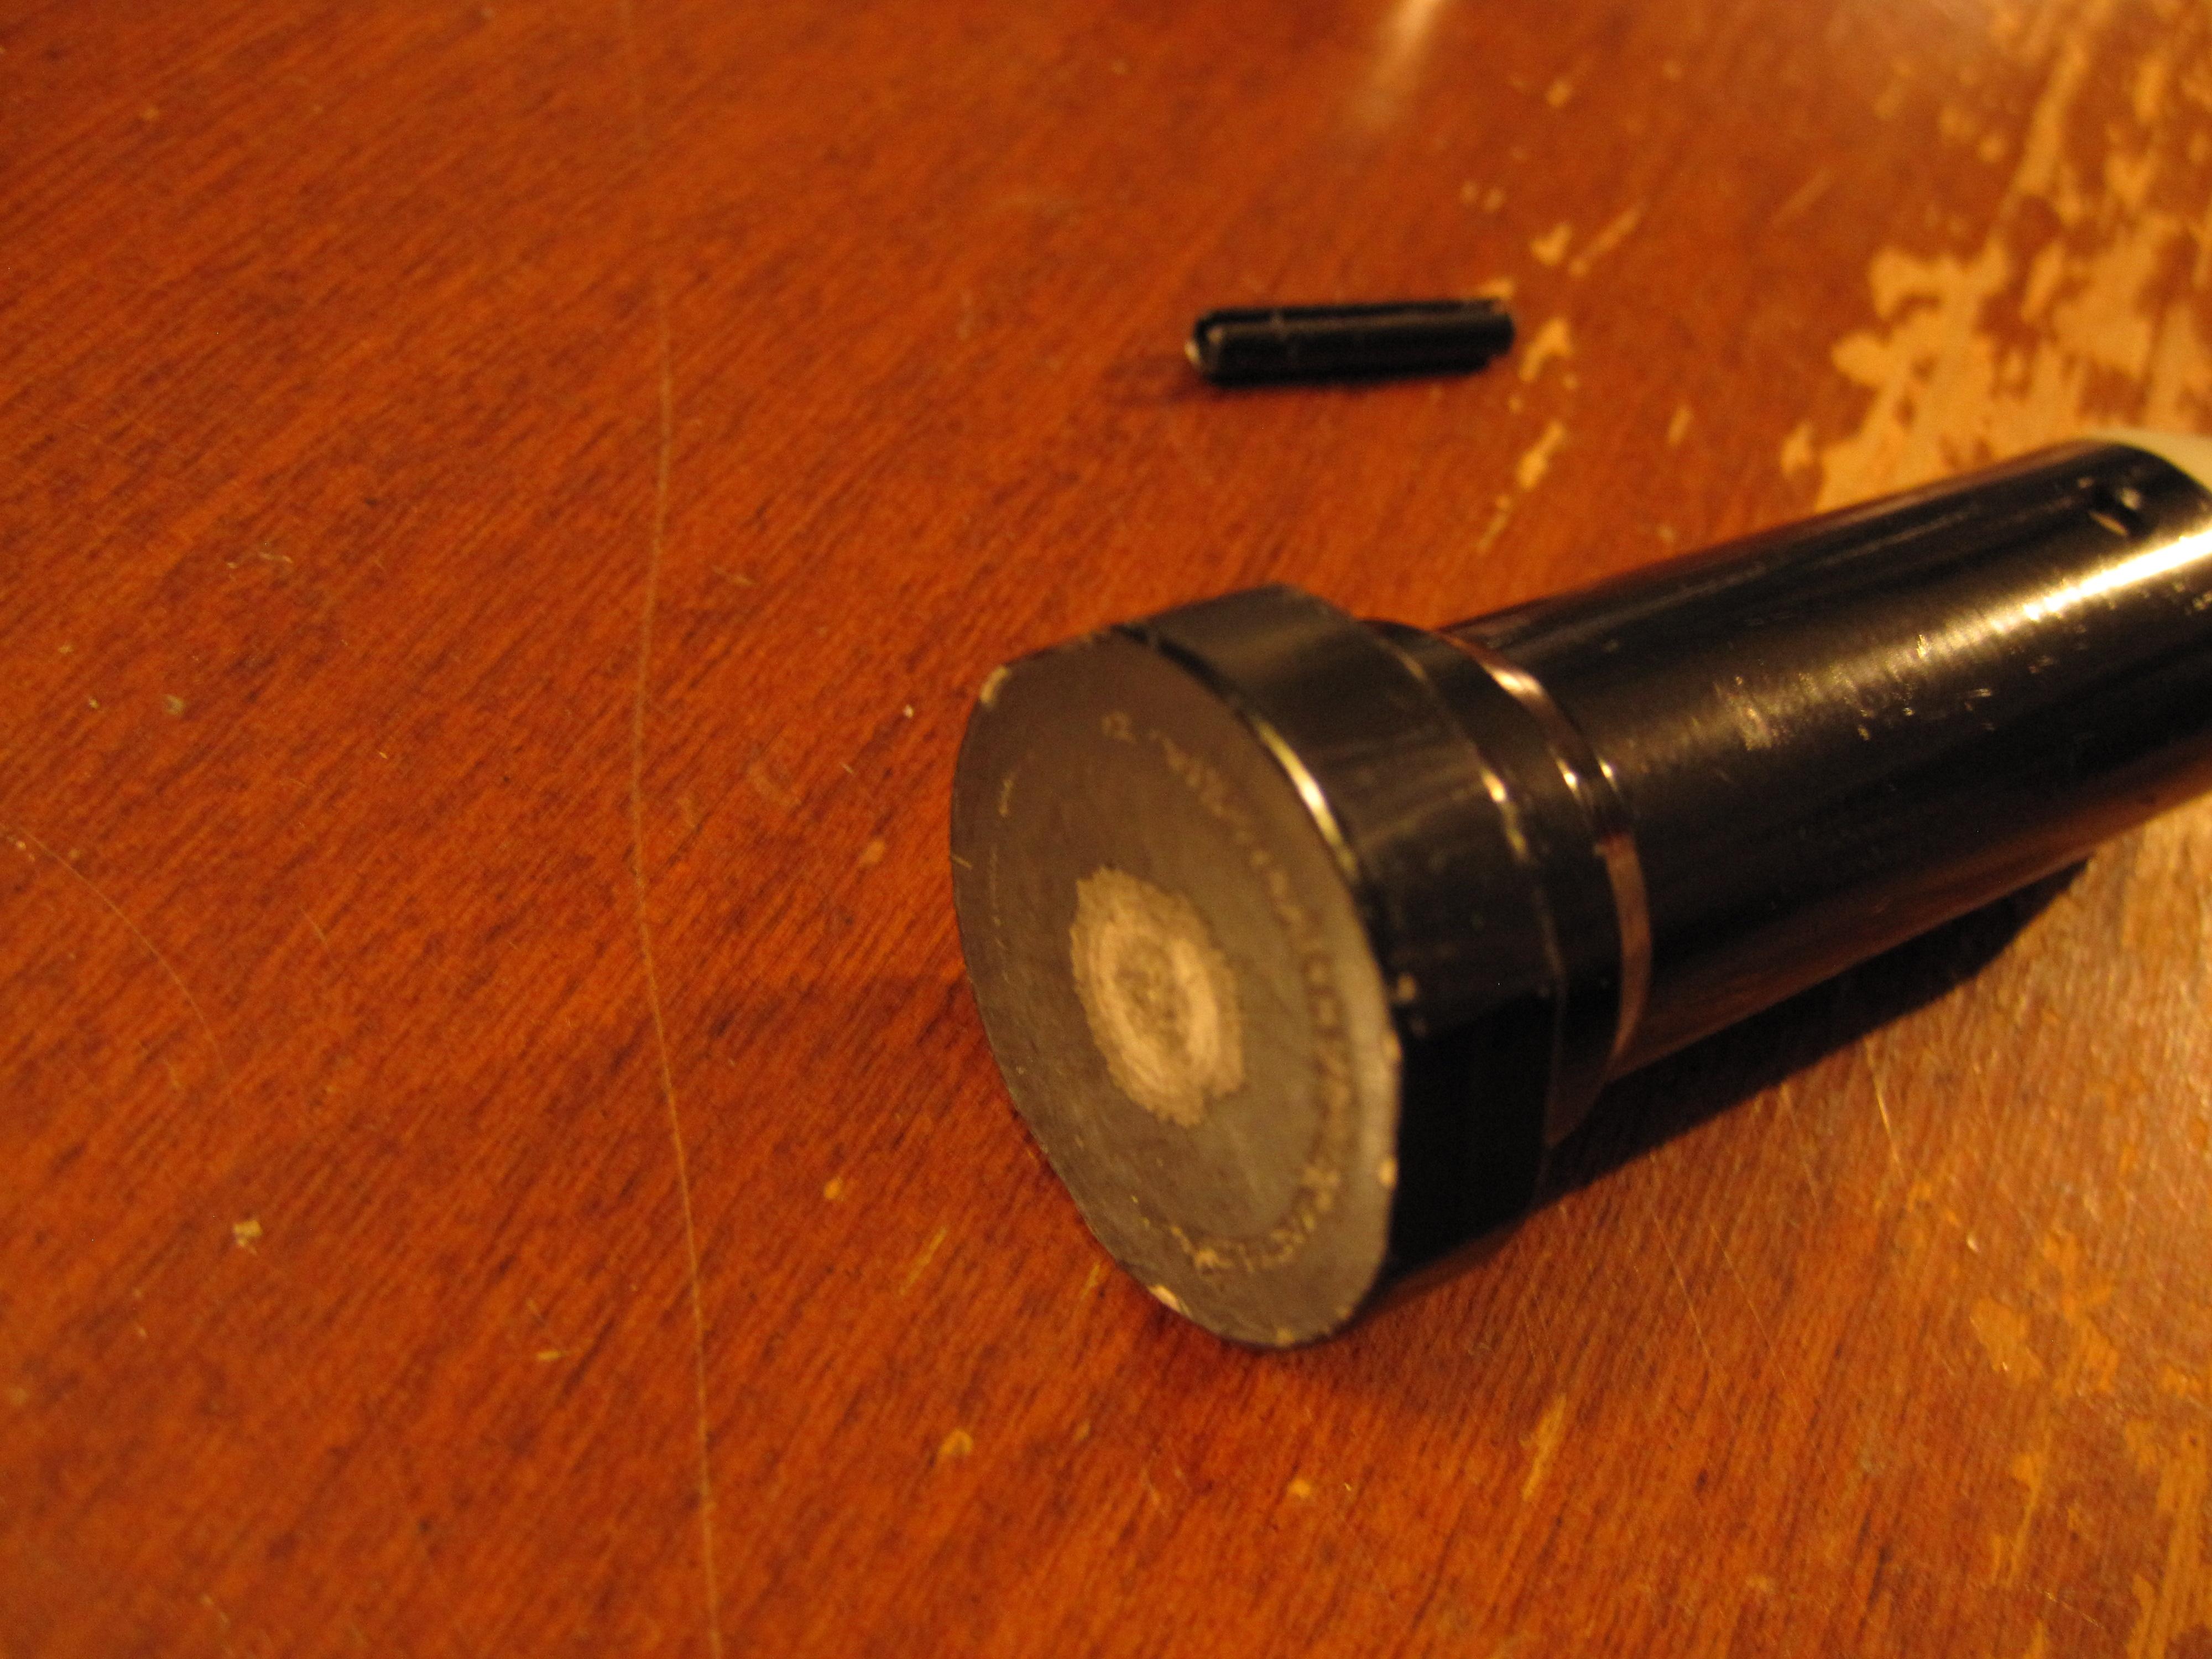
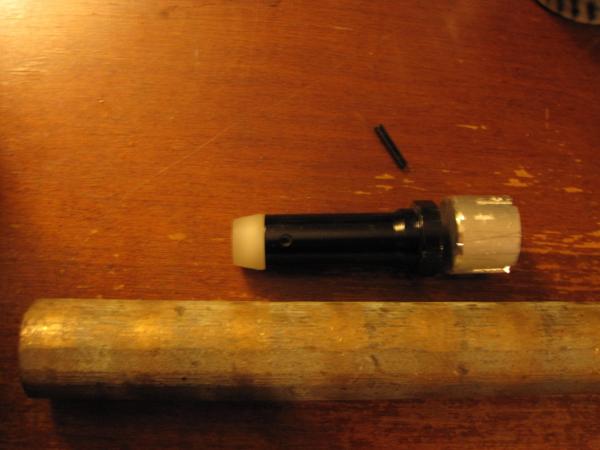
So; this looks to me like the cheapest possible parts imaginable. I punched out the roll pin and there aren't any weights inside. It is a solid mass with a bumper pinned on. It very much sticks to a magnet, and has taken enough damage to the rear end to confirm it is likely made of solid steel. Looks like simply buying weights might have been a bit premature. I have an adjustable gas block ordered and that is likely the first of the new parts to show up here. It should be pretty easy to drive out the roll pin on my existing gas block since I've already done it once before.
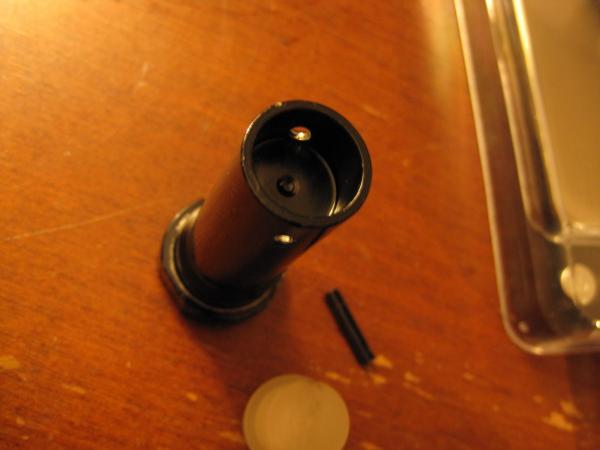
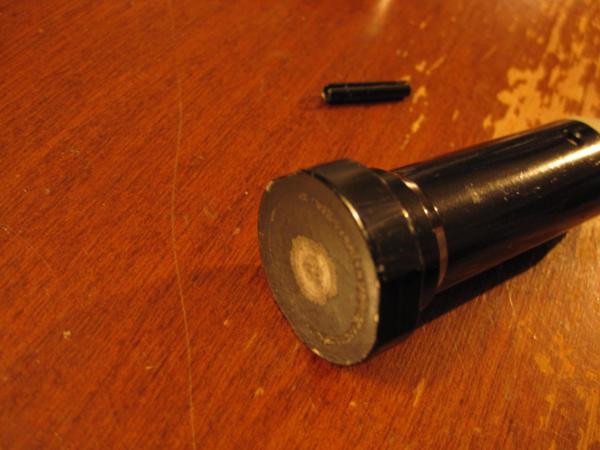
-
Sounds like I was barking up the right tree at least. Would those specs be even close to appropriate with a 16" barrel? No idea what size gas port Ceratac puts in that one. The marks on the bottom are the bolt carrier are something fierce. I can only imagine how hard it's throwing the hammer back down. I actually ordered new hammer pins because of some noticeable damage on the inside of my existing one. I got a sick bruise from only a few rounds on the first test fire day. Having fired more since, I've only made it worse. Internal buffer tube is exactly 7.00" as you mentioned; to the flat top not by the buffer retainer. Spring is exactly .072" wire diameter. Seems like just the gas ring isn't enough to throw it off this far. Perhaps it is a bad setup out of the box?
-
I am a bit curious what you think of the other options in this case. I decided to attack it from all angles since I don't know if I screwed up the gas ring or of there is something else wrong out of the box. The barrel is 18" which is an upgrade from the stock 16" and I don't believe they replace any other parts when you do that. In fact I have a 16" and 18" AR-15 build from them and nothing is different other than the barrel length and gas tube length. The AR-308 kit has a 3.8 oz, 2.55" long buffer; 11.125" spring with 35.5 coils, buffer tube 7.125" exterior with adjustable stock. They call it a mid-length gas system and the tube length is about 11-3/4 (but it is still staked in the gas block at the moment), with the 18" barrel. Gas port size measures a very consistent 0.096" from all angles. I already ordered the gas ring from JP Enterprises which is likely to be the smaller .650" diameter. I also ordered and adjustable gas block and some buffer weight. I figured it was worth trying each individually before believing the whole system broken out of the box. First gas ring (if it is indeed the smaller size and fits), then the buffer weights with my modified gas rings, and then old buffer weight with adjustable gas block. Some of those parts are likely to end up in other builds later but I want to know as much about this as possible and have it running top notch before November rolls around. I actually ordered that scope too but from a third party company who claimed to have a single one in stock. Primary Arms is backordered until sometime in November and I can't wait that long with hunting season approaching. I'm not sure it's going to actually show up though; it didn't ship out today like I expected it would. If it is indeed unavailable I will have to get a refund and pick something else in the short term. Let me know if I need to look at anything else. I left everything apart after measuring the gas port size. No plans to fire it again for another week given the number of marks on the bolt carrier. I'm thinking of using Dykem to cover them up for later testing before I go wild and polish them off (once it's working right). That other parts are all about a week out at this point.
-
Looks like I might have screwed myself with my gas ring fix. It appears JP Enterprises sells an "enhanced" gas ring similar to the McFarland but looser; listed for DPMS/KAC builds. No diameter specs that I can find, but that explains a lot of things. Too bad Ceratac didn't want to provide the specs (even when they replied Monday), because all I could do was guess. I think I'm going to have to buy one and measure it. I suspect it could fix my disconnector/hammer contact issue by letting more gas blow by. Will find out later this week I hope.
-
anybody have a go- no go w/field gauge they'd be open to renting out?
Lane replied to MikeD's topic in Building a .308AR
If anyone else wants to borrow them after MikeD that is fine with me. Just post in here and PM your address as needed. I won't need them again this calendar year. -
I am back here to answer my own question and ask another. I inspected things a bit more closely and found similar damage on an AR-15 with a new lower attached. What do you know, they both have damage to the tail of the disconnector where the hammer hook is hitting. Seems like that trips the disconnector long enough to bounce the hammer back off the bolt carrier group. Searching for that problem indicates they are likely over-gassed and could be resolved with an adjustable gas block, heavier buffer, or stiffer spring. Are these good candidates for a stack of quarters? How will I know when I have enough? I also have to place a few parts orders, so I'm not opposed to any of those other solutions.
-
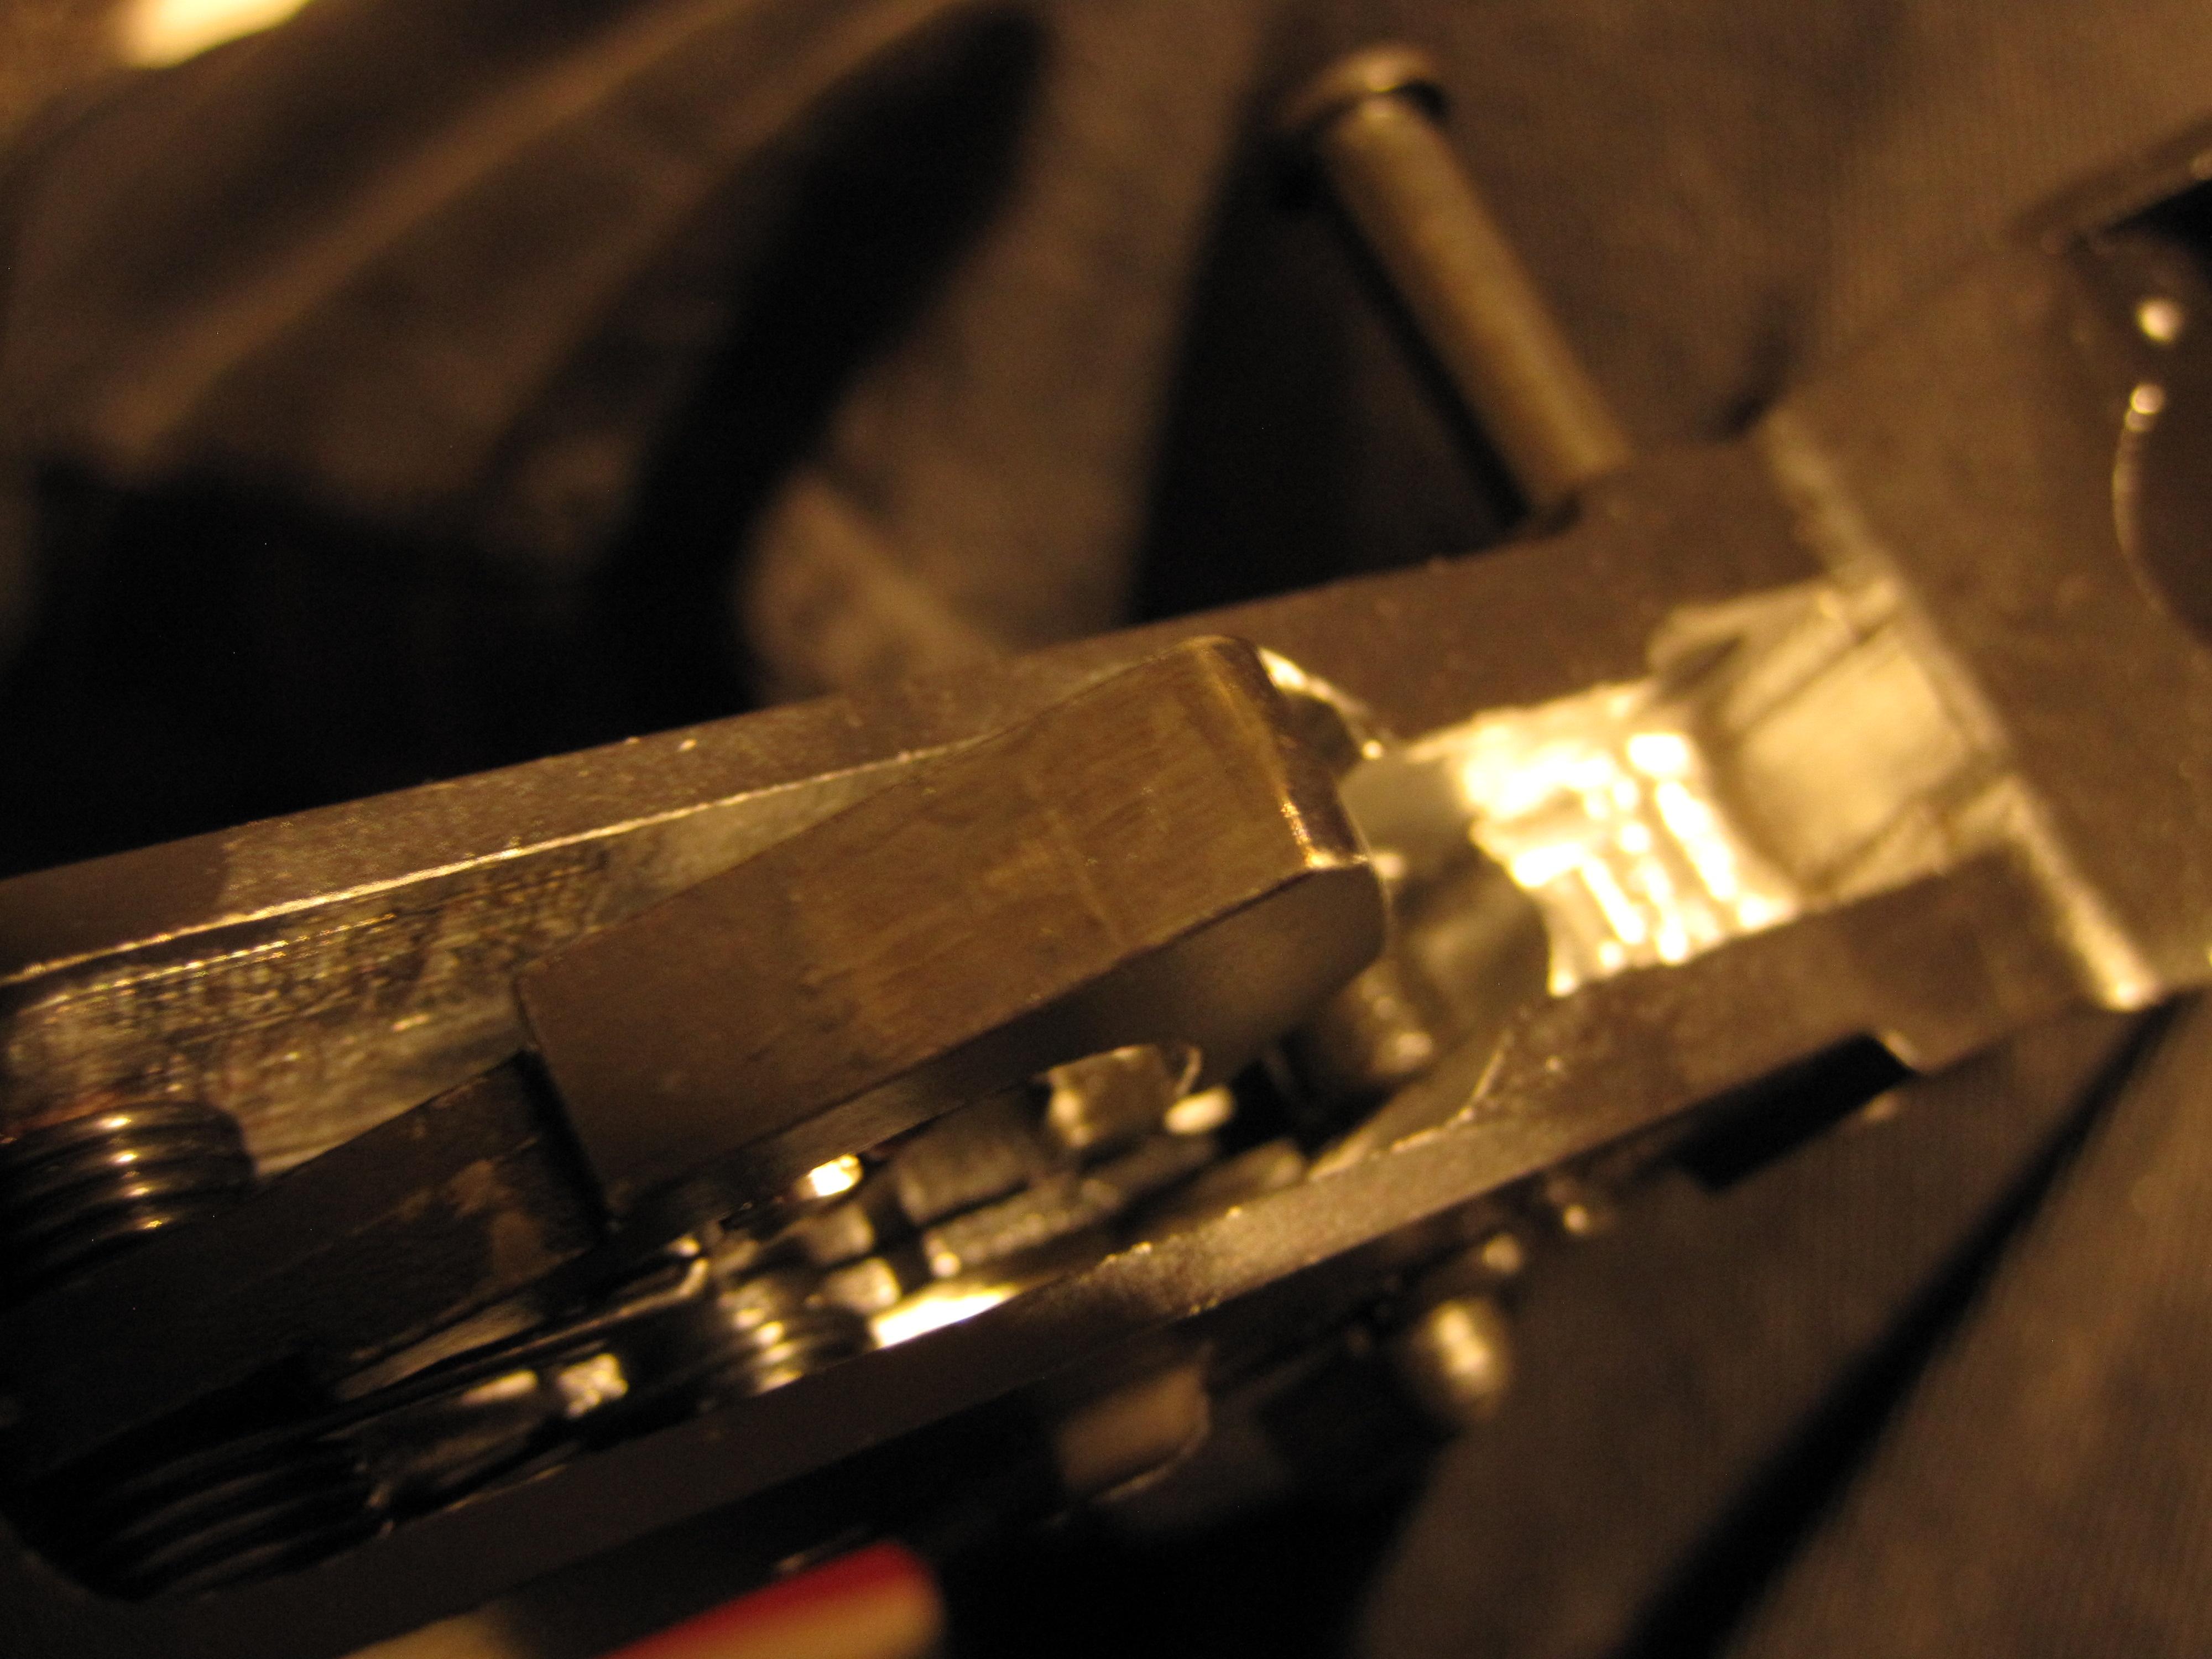
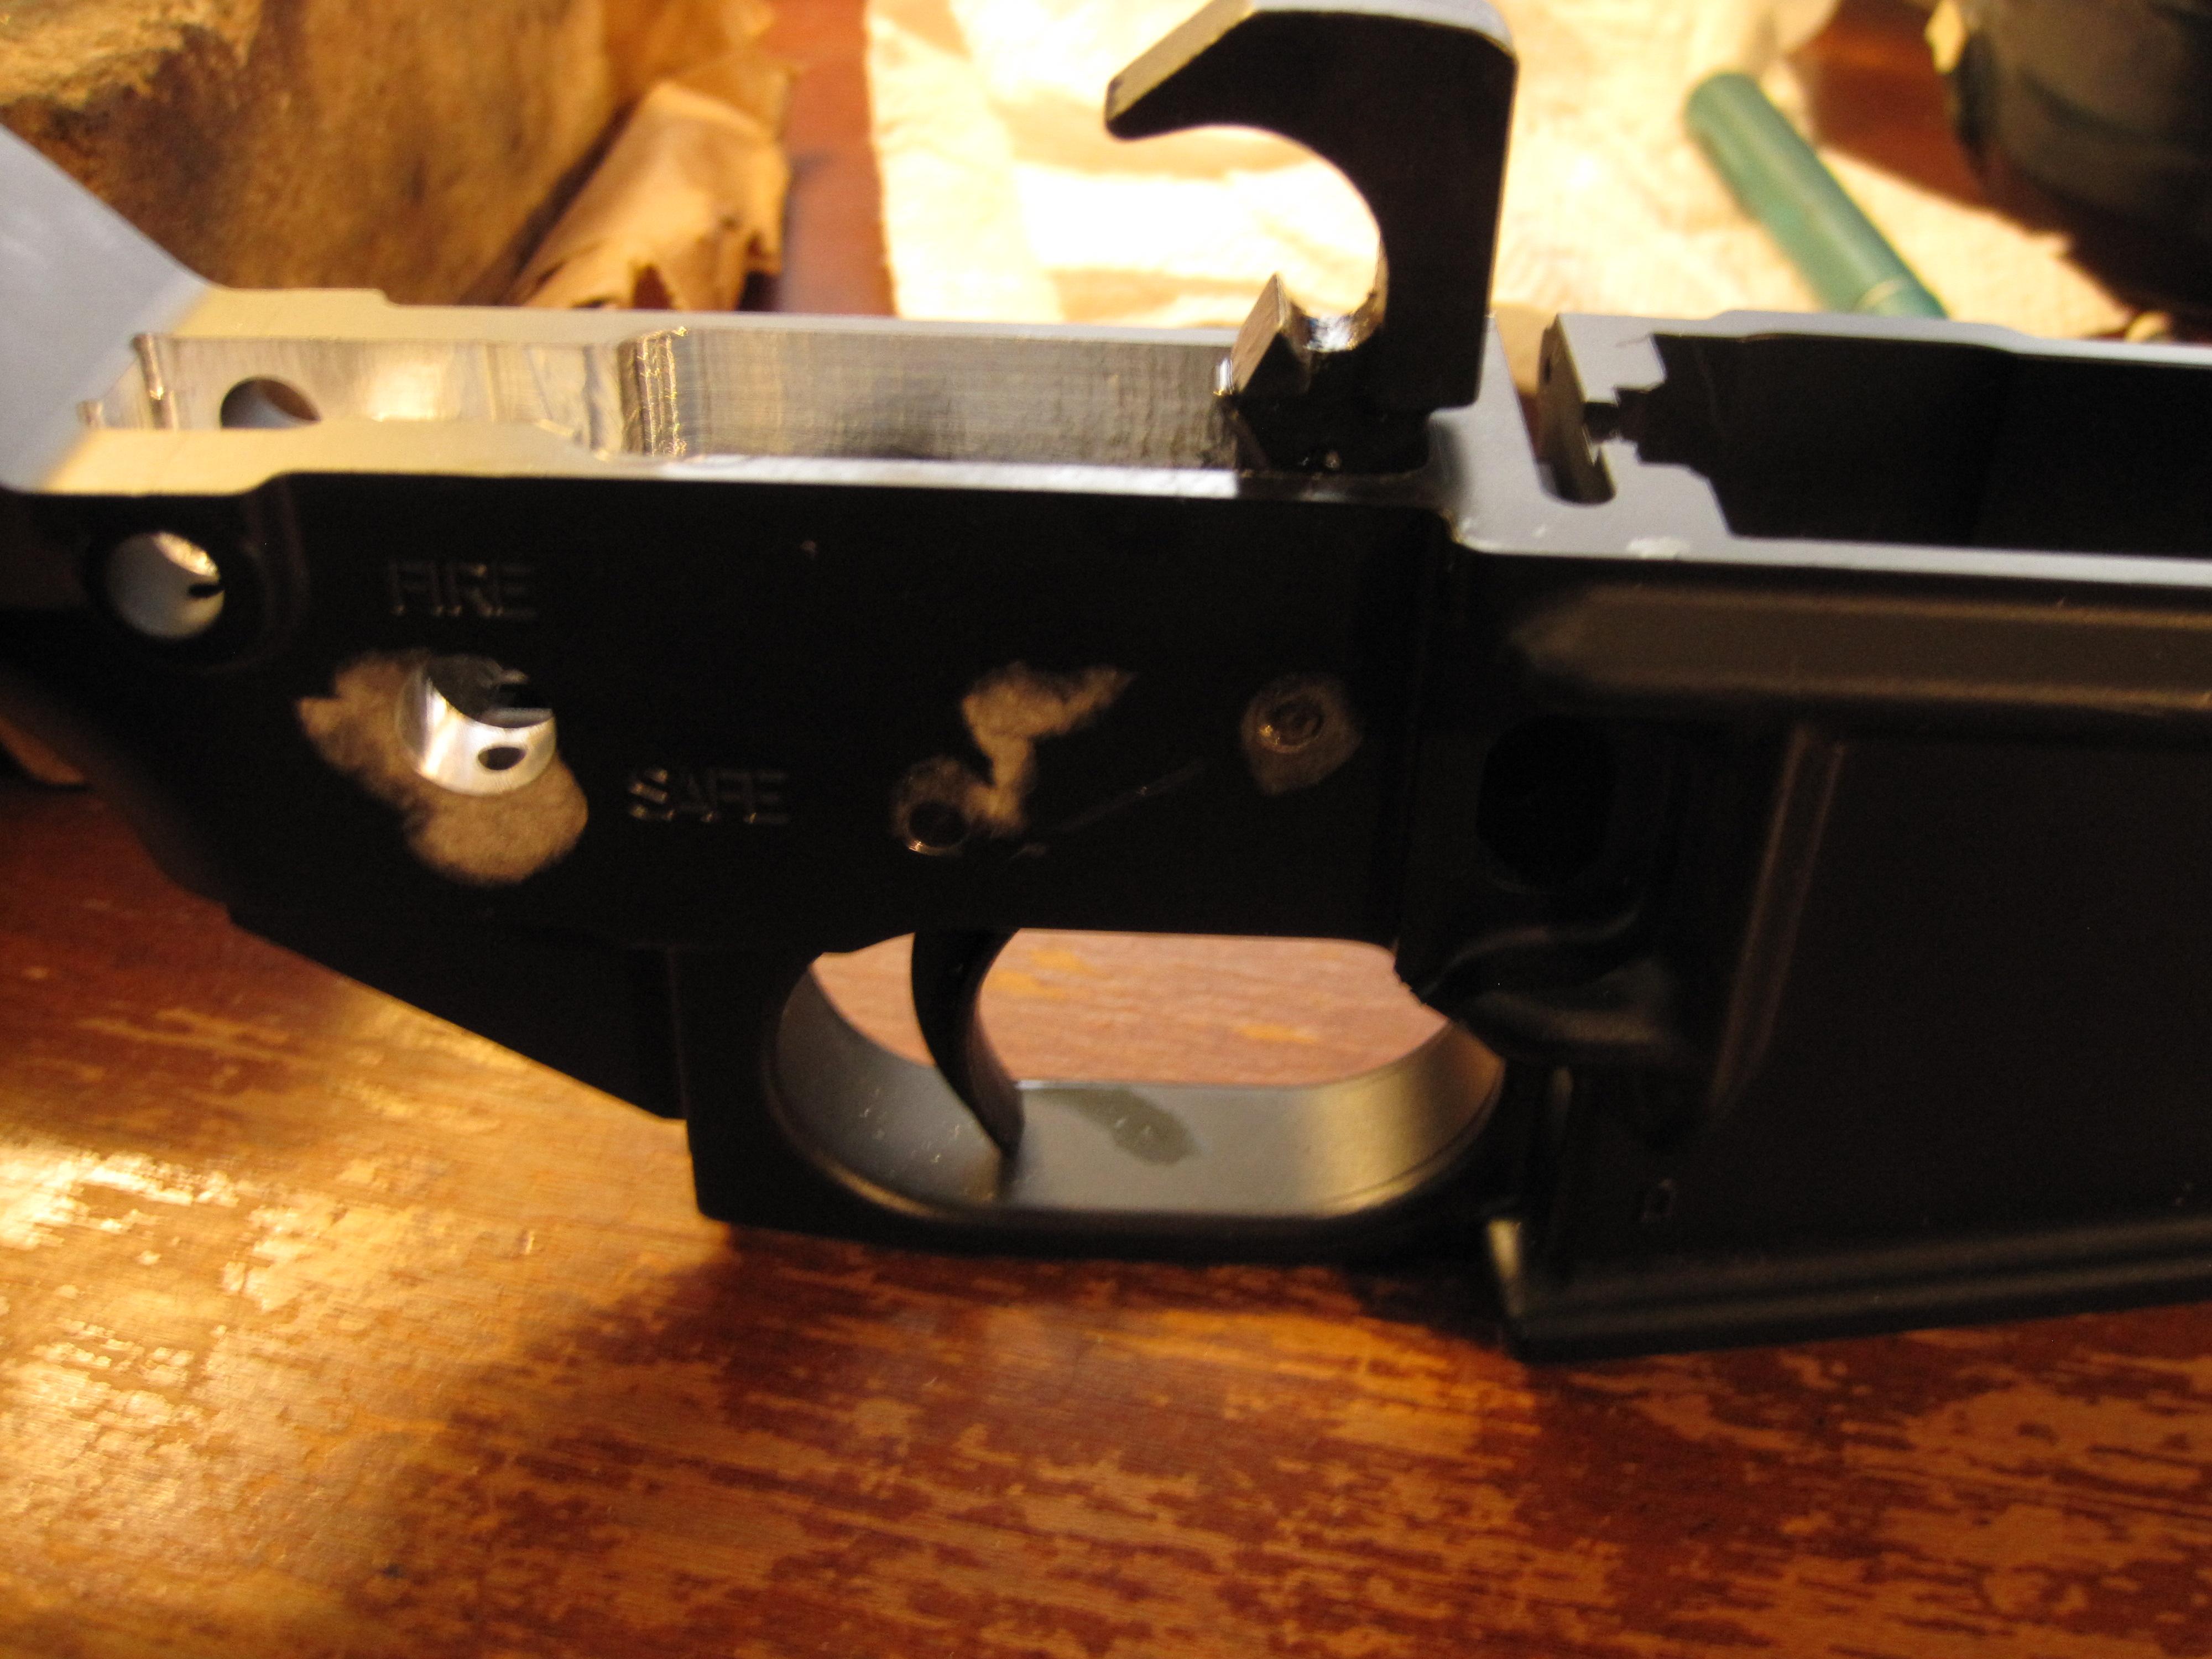
Short update here. I have still been trying to figure out what is going on with my bolt carrier and why it's getting slammed by the hammer. I found this thread over in another forum and it's really the only thing I've found so far: https://www.ar15.com/forums/ar-15/Bolt_Carrier_Hammer_issues/66-555373/ Near the bottom; the post on 12/8/2011 show a picture of a hammer with an L cut at the top. Has anyone seen this before? I'm still not entirely clear even after reading the thread what is actually happening. Perhaps the initial bolt carrier group cycling back is bumping the hammer a bit; then the hammer returns, hits the bottom of the carrier and rides it before finally cocking on the trigger or catching the disconnector? They seem to indicate that some damage could be done but I'm just not sure what the deal is here. I've included pictures of my firing pin in the carrier, and the hammer to compare with those other pictures. I put some Dykem on the hammer, closed the upper an pulled the trigger while it was still wet. Looks like the hammer is hitting the firing pin square and then drags on the rounded edge of the pin before hitting the ramp when manually charging. Obviously all that happens faster with a bullet cycling the bolt carrier. Any thoughts? Has anyone seen this before? Should I just notch the trigger and call it a day? The last reply I got from Ceratac Monday was pretty cagey in regards to the gas ring problem; they refused to offer specs and said it needed to be measured with precision equipment. They did offer to RMA the bolt carrier group but I declined since I already fixed the problem. I'm not sure what they would say to me about this considering I didn't buy their jig. It's certainly not something that would go away even if the hammer were a few tenths of an inch lower (which it really couldn't be). In other news I think I got a bad box of Tula ammo; had four fail to fire out of a box of 20 which has a date code of 09 02 90.
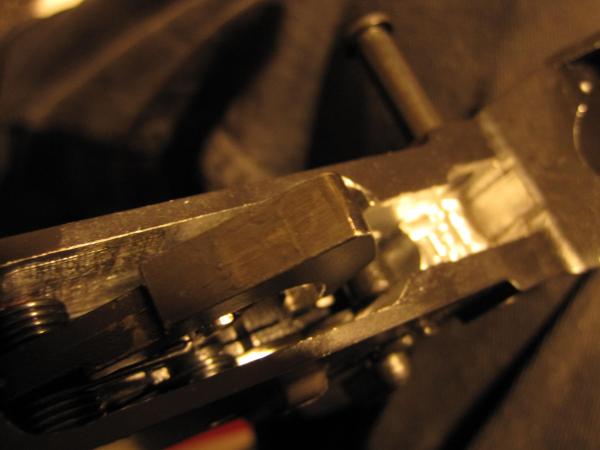
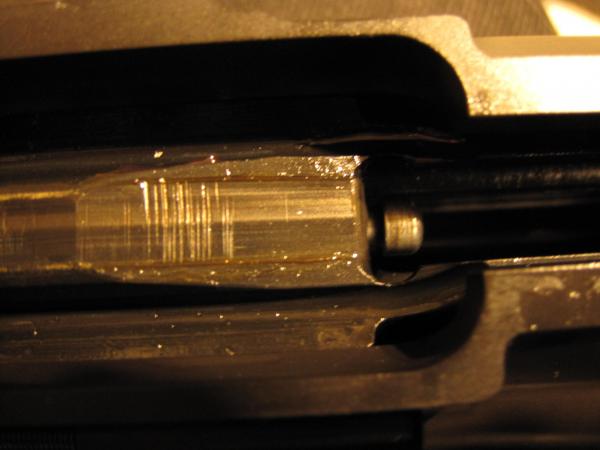
-
Thanks 98Z5V! I very much appreciate all of your help and support along the way. I doubt I would have completed it already without you. Here is a link to my build log with pictures over in the Member's section to make this thread more complete: https://forum.308ar.com/topic/16723-ceratac-ar-308-build/
-
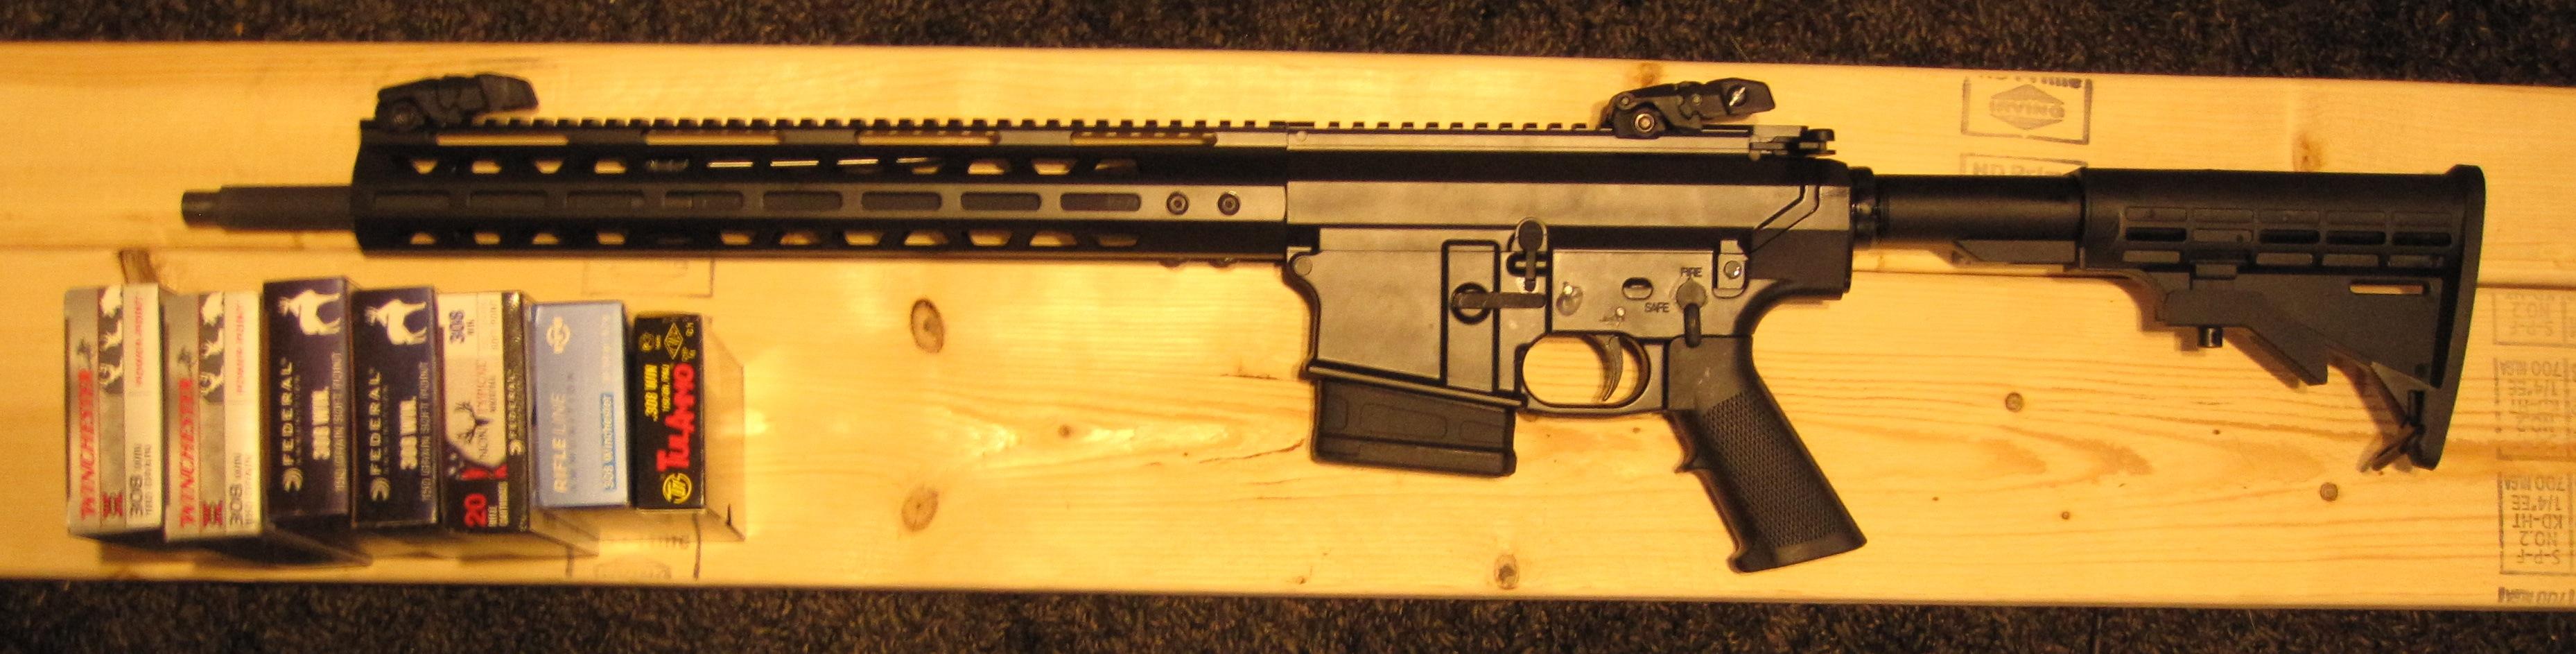
I thought I would take a few minutes to update this original Ceratac thread now that I have one up and running. I did not use the jig conversion kit that Ceratac offers because I don't have a 5d tactical jig to attach it to. I can now say with reasonable confidence that the lower is a copy of the early Matrix Aerospace (and compatible; SR-762, KAC, LMT, Mega, etc). All that is thanks to 98Z5V who got me some critical measurements from his Matrix to get me started milling the FCG pocket. First and foremost I would stress that you get what you pay for. The Ceratac kits contain roughly the cheapest parts money can buy. That said; I would still check over every part just as thoroughly if I had paid twice as much and haven't had many problems to speak of over a number of Ceratac builds. I will outline in detail what I ran into with this particular AR-308 kit build (my first 308) and let you be the judge. None of these matters bothered me, as I knew roughly what I was getting myself into before I made the purchase. So in no particular order, these were the issues I noticed with my kit: The original hammer that came with the kit appeared to have a hole coming out at a crooked angle. I asked for a replacement and they shipped one along with a pre-paid return envelope. The replacement looks and works ok, but has a very tight J spring which holds a death grip on the pivot pin. All but one of the hand guard attachment screws were missing from the kit. Had I asked for the missing hand guard screws they would have sent them, but I didn't notice until a later date and found a solution at the local hardware store (had to cut off longer M5 0.8 screws). The bolt catch was floppy in the slot (which comes already milled in the 80% lower) and wouldn't catch the bolt without milling down the rear surface slightly. I would personally replace this part with another one that fits better in the future, and adjust that one's catch face accordingly as well. It appears that the charging handle stops don't allow the bolt to be pulled back far enough by hand, but it does seem to work fine during firing operation to hold the bolt back on an empty magazine. The McFarland gas ring installed on my bolt was too small by 0.006" which doesn't sound like much, but it didn't contact the bolt carrier without adjustment. I stretched mine oversize on a ring mandrel until it relaxed to the correct size which matches the AR-10 spec (.656"-.659"). I had some trouble pounding in the gas tube roll pin, in hindsight I probably should have cleaned out the hole in the gas block first. The gas tube itself really didn't want to feed into the upper receiver without considerable tweaking once the barrel nut was installed. I would guess the upper also had some extra coating in that slot, but in the end I was able to flex the tube enough to clear. It was the mouth of the gas tube that didn't want to go straight in; the rest of the gas tube fit just fine. The cam pin on the bolt carrier group rotated counter-clockwise during early live fire testing and took a nick out of the upper receiver's cut away near the gas tube. This may or may not have caused other problems for me, but I can say for sure it only showed up after firing the first few live rounds. I polished the firing pin, the corners of the cam pin, and added lubrication before more live fire testing; it seems to be resolved now. The paw on the forward assist appears to have been too long (or the bolt carrier group too floppy in the upper), and took some early damage. When function testing I could make it contact the bolt in a number of places without pressing the button at all. I added oil all over that area and worked the bolt to wear the paw down so it is no longer a problem. The upper and lower mating lines (especially near the buffer tube attachment) aren't perfect. This really doesn't bother me, especially given the price; but some other people might not appreciate it. There were a few extra parts in my kit. An extra gas tube roll pin (which I ended up using), an extra buffer retainer, and a roll pin of unknown use. They also upgraded my hand guard to a 15" M-LOK style for free, and I paid extra for an 18" barrel. With an 80% lower (which isn't an option NOT to buy on the website), it cost me $444.97 (with a $20 off sale over Labor Day weekend), plus shipping. For the price, I would absolutely do it again and may in the future. I also enjoy the process of building and troubleshooting any problems that come up. I personally can't speak to how it compares to the problems with other AR style 308 kits on the market.
-
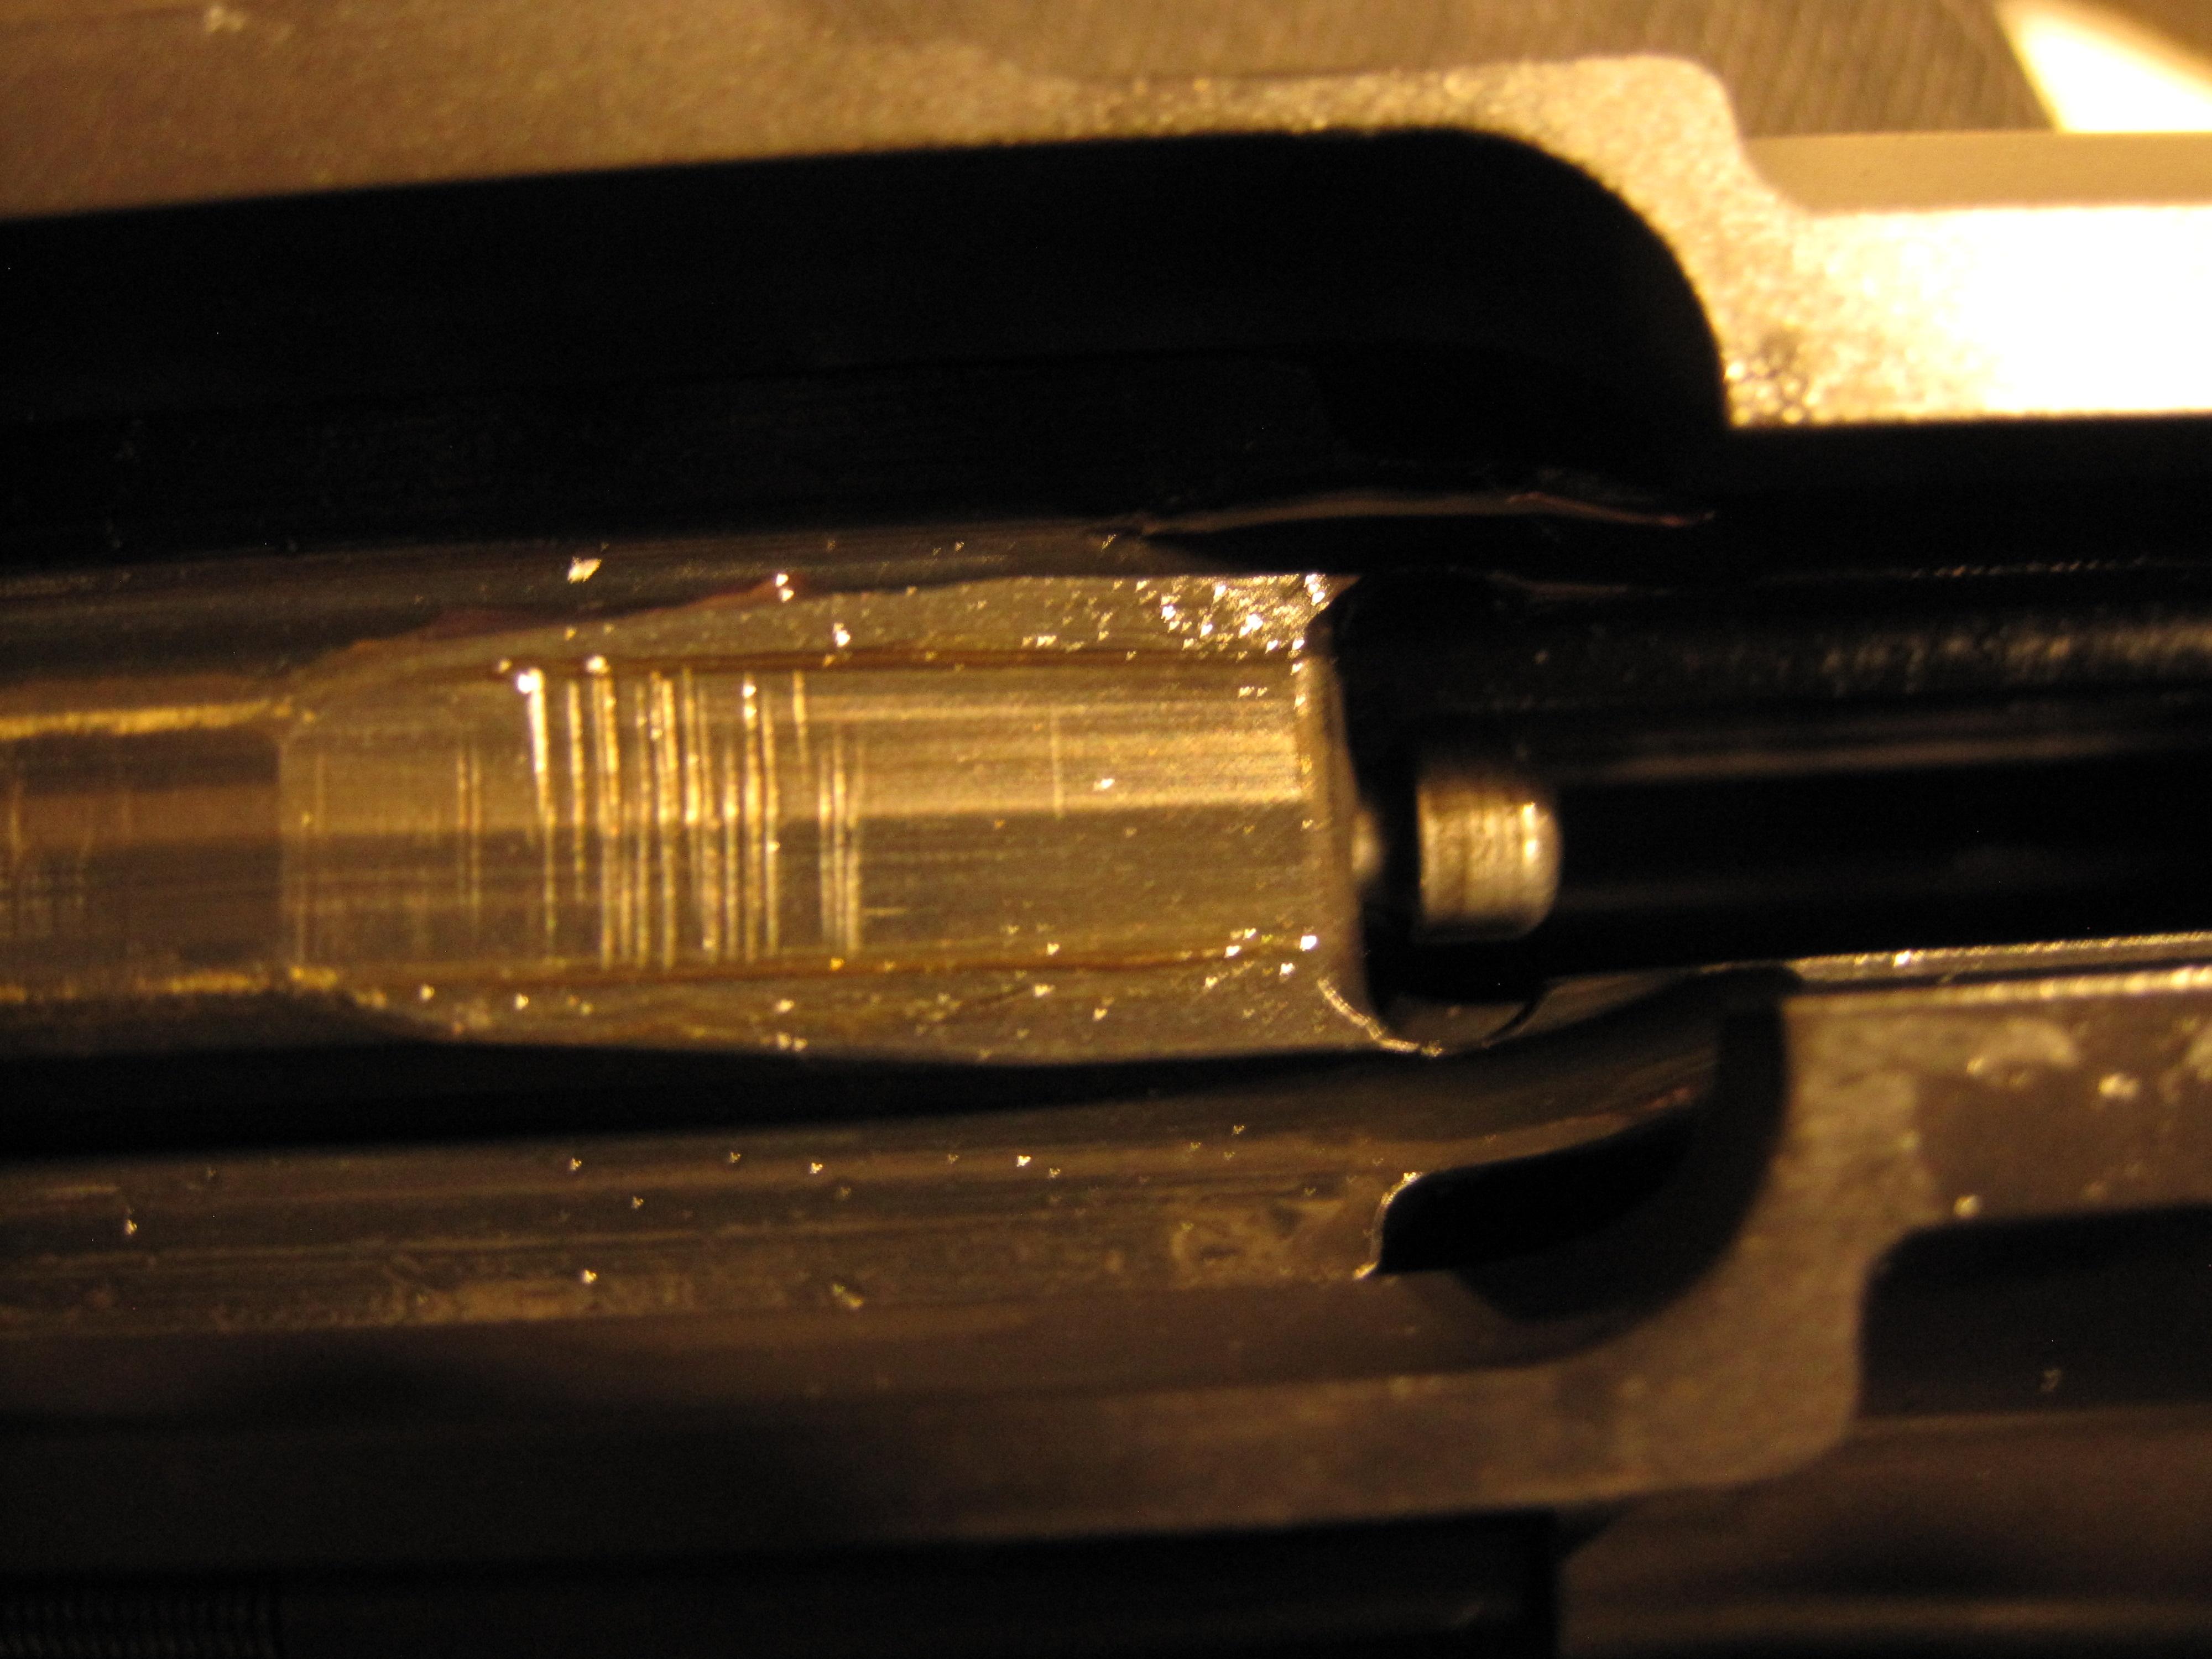
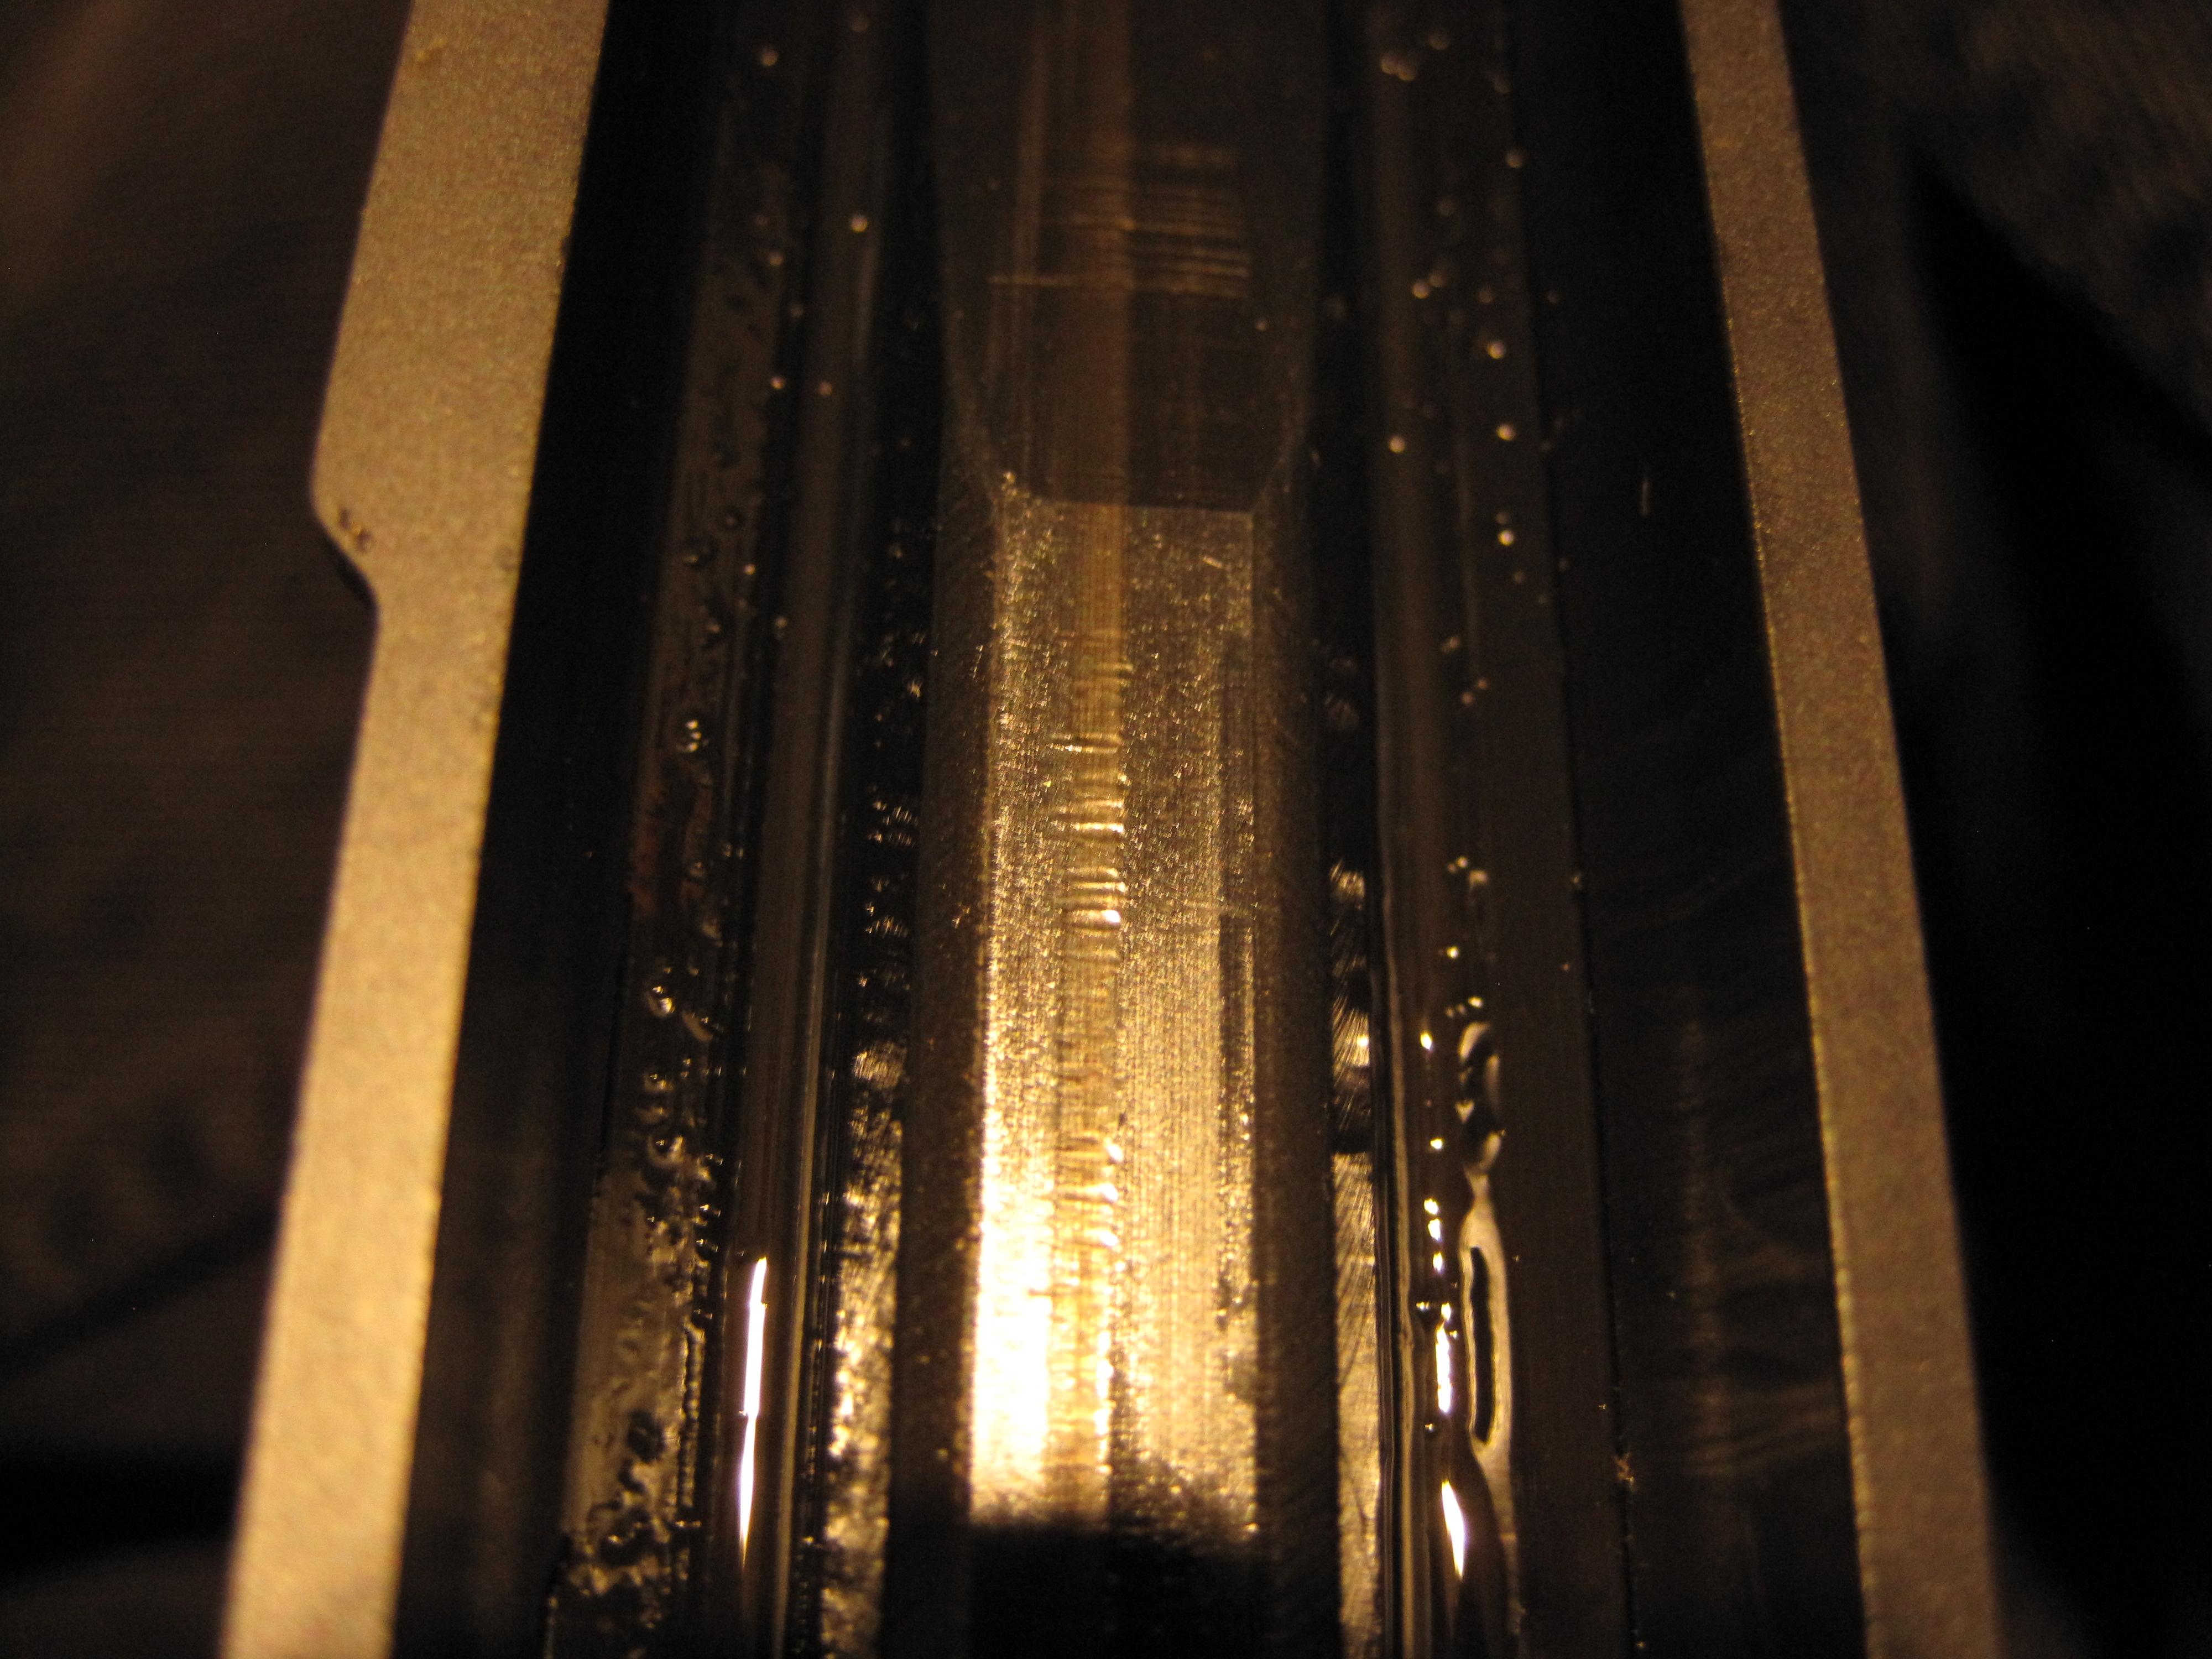
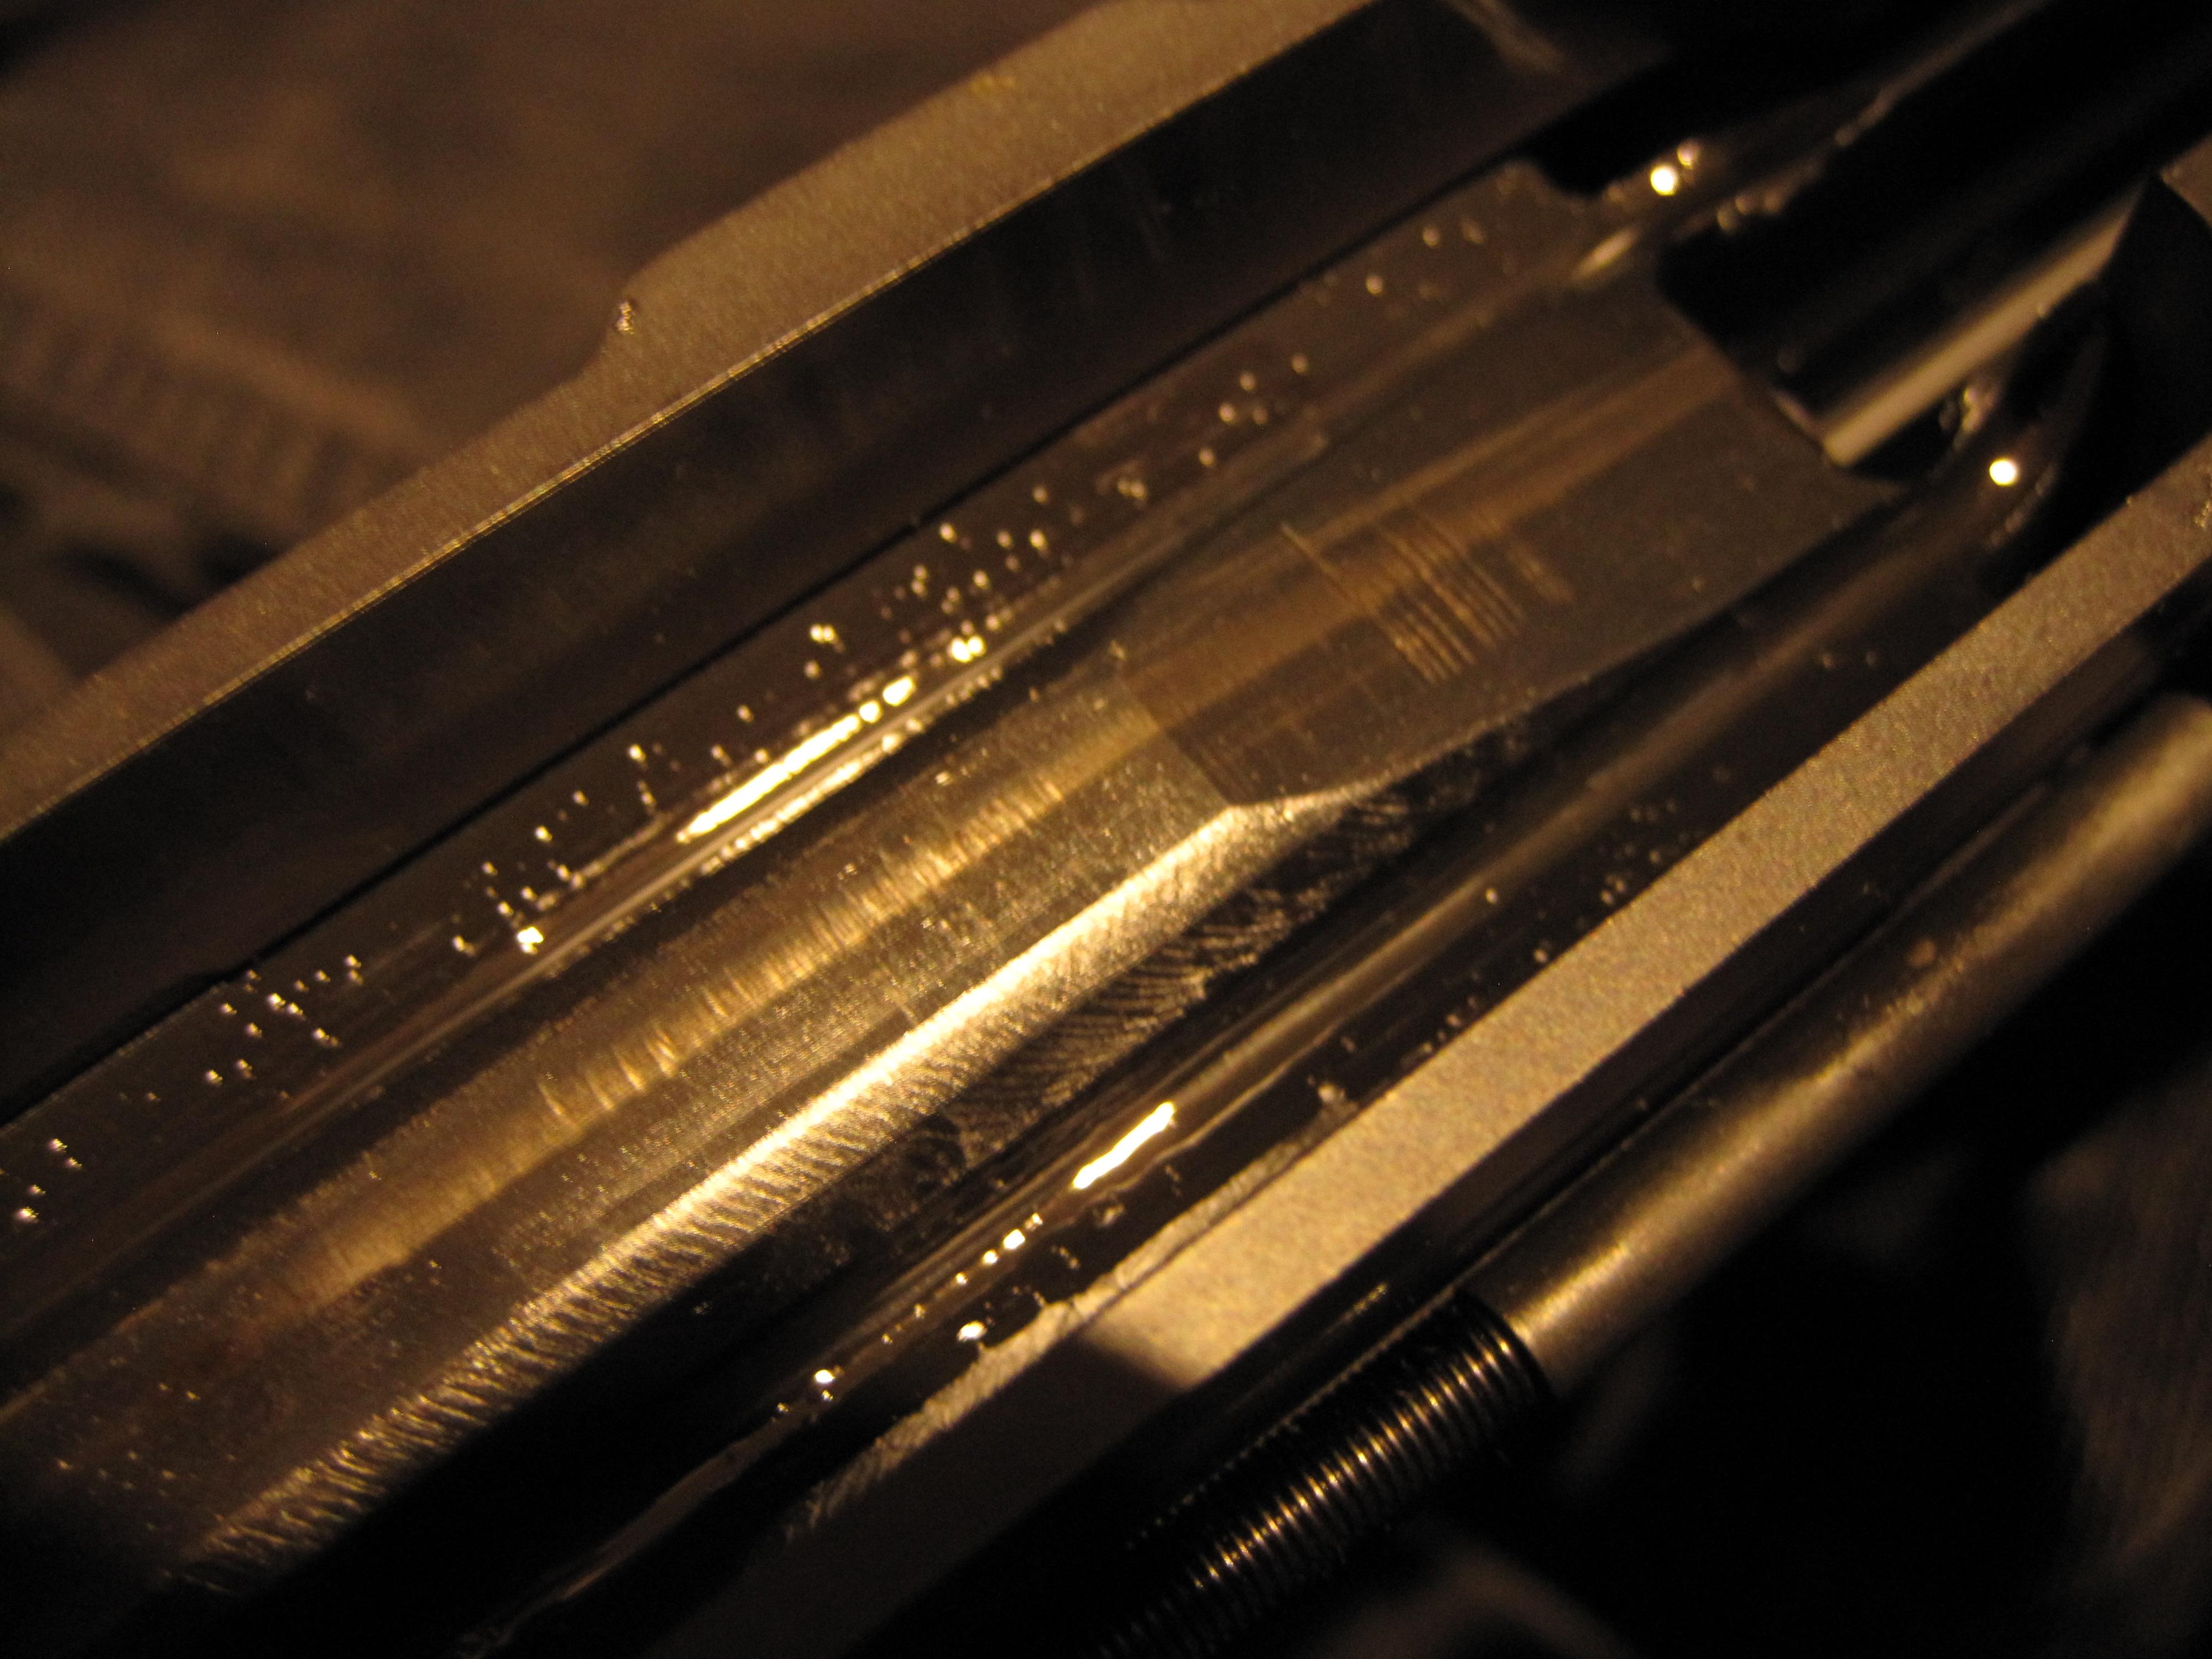
I took it apart and cleaned everything thoroughly later last night which gave me a closer look at a few things I mentioned above. On the plus side; during live fire testing the bolt always locked back on an empty magazine so that seems to be in good shape. The cam pin did indeed take a nick off the notched opening in the upper receiver next to the end of the gas tube. It appears that improved cam pins are available with more rounded edges. The one I have isn't rounded very much on the corners, and not different on one end from the other. After cycling the action a few times the cam pin gets turned to one side enough that it is possible that rotation is impeding the firing pin. I didn't see any noticeable damage on the firing pin itself but I polished the long area with 1000 grit for good measure. The forward assist paw was catching on the side of the bolt carrier in some circumstances and had already worn itself quite a bit. I added some oil and cycled it manually while twisting the forward assist in both directions. It seems to be much better now and doesn't lock up the bolt up anymore. The only other thing I noticed was a series of marks on the bottom of the bolt carrier. I counted them and it pretty well matches the number of rounds I have fired so far. I've included pictures of that because I can't see why that is happening off hand. They are spaced very differently and one distinct group on the ramp, and another on the flat area. There is no significant wear on the top of the hammer and some of them appear too wide to have been caused by the hammer. I don't see anything else that could be hitting it that far back though. I don't see the hammer move at all when closing the upper. Finally; it kicks like a mule. I didn't notice it while wearing leather but when shoulder firing later it left a nice bruise. I don't have a rubber pad on my butt stock or anything else to damp the force. Am I just a Nancy or do I want to look at tuning the buffer system as time goes by? I already cleaned the back of the buffer bumper but there was some indication it could be hitting the back of the tube. I will mark it with a Sharpie marker and see if wears any away the next time I run some rounds through. Looks like the rain might be short lived today so I might get time to run a few more boxes.
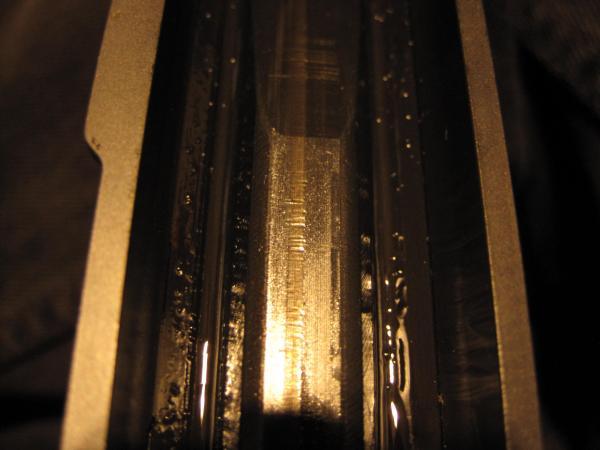
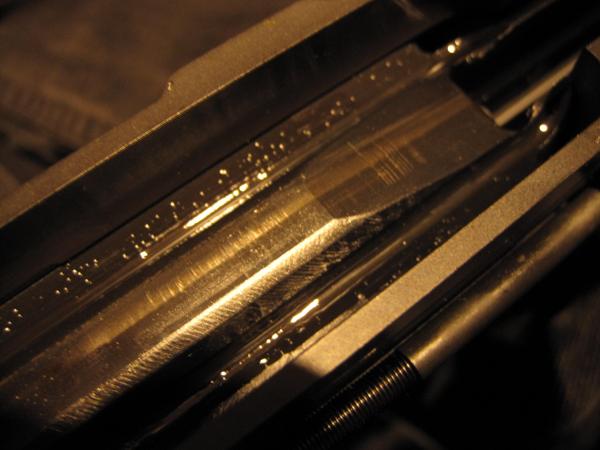
-
Absolutely. Those first few shots were simply a function test. I like to run very few rounds through, and then strip it down to look for wear or anomalies. Luckily outside of prime whitetail hunting season, I can simply walk outside my door and start blasting. Today I uncovered a few things and I'm not totally sure all of what parts are at fault (hammer pin problem). Furthermore I thought long and hard about posting another failure; but I think it's best to admit it for the good of anyone else who attempts a first build. The torque specs on the barrel nut are higher than an AR-15, but in the past I had mangled an aluminum AR-15 barrel nut trying to get it to align the rail on the hand guard. That one warped badly through the rear set of attachment screw holes; note the barrel nut for this AR-308 is made of steel and not aluminum. I went out to shoot a four more rounds and had two fail to fire; though they did fire on the second try. I grabbed a magazine's worth of steel case Tula after that and had three more fail to fire, only to note that my hand guard moved and the barrel nut came loose. Full stop. Thinking back I knew I needed to readdress that, but never took those parts back off again. Right away I removed the gas block, snaked out the gas tube, and ended up adding back the second shim that came in the kit to make it torque down correctly. The hand guard is again aligned but that was a big mistake; luckily I'm still here to talk about it. I also noted aluminum deposited on the front of the hammer where it was contacting the lower receiver. Turns out those Matrix Aerospace measurements were dead on. I had originally left the pocket a little shy because the hammer already stood proud when installed. Tonight I milled off the rest (using an end mill in my hand to shave it slowly), exactly to the measured line. The hammer no longer makes contact during normal operation. It wasn't much extra, but it does offer further proof that the Ceratac really is a copy of that design. Finally; in researching these light strikes (those last three Tula rounds are barely dented, and didn't fire on a second try either; so I left them outdoors); I noticed the hammer holds the pin very tight. So much so that the pin rotates in the lower with the hammer movement. I tried putting the pin in a drill and giving it some 1000 grit paper on the center portion; that didn't help. I also tried a needle file in the center slot where the hammer grips it to keep it from walking; that didn't work either. Tried spinning the hammer on the pin in the drill with oil; still too tight. I am not sure how much further to go with that monkey business. I'm more than likely going to buy new pins and a hammer from a different source. I'm sure I can polish the pin really well and run it through the season if it keep it well oiled; but after checking my AR-15s and verifying they DON'T spin the pin, I'm not eager to chew up my lower. I didn't figure out how to get the anti-walk part out of the hammer or loosen it up, but that may be an option. I'm not sure a drill bit or reamer is a good idea as it might leave a flat which could cause other problems. I will likely re-appropriate a hammer and pin from another build in the short term so I can continue the break in process. Tomorrow is rain so that won't likely be until Monday. Everything is back together at the moment and ready for more minus that hammer issue. The only other wear I noticed was on the flat sides of the cam pin where it contacts the upper. It might need a bit of grease in the short term during break in as it's already turned silver. I think that might be what had kept me from opening the bolt on the first failure to fire round. It's caught a few more times when charging but slid free more easily since then.
-
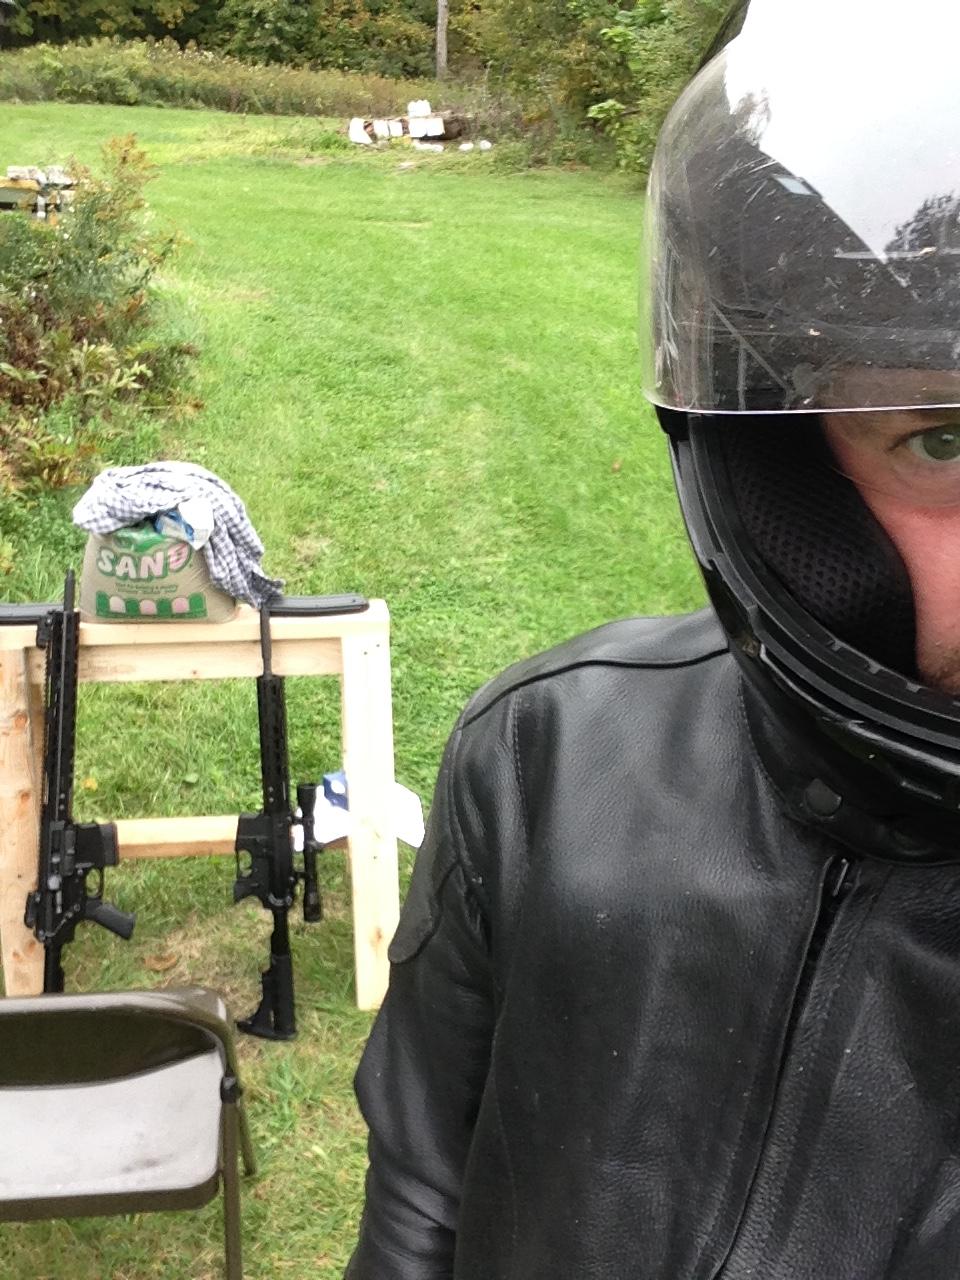
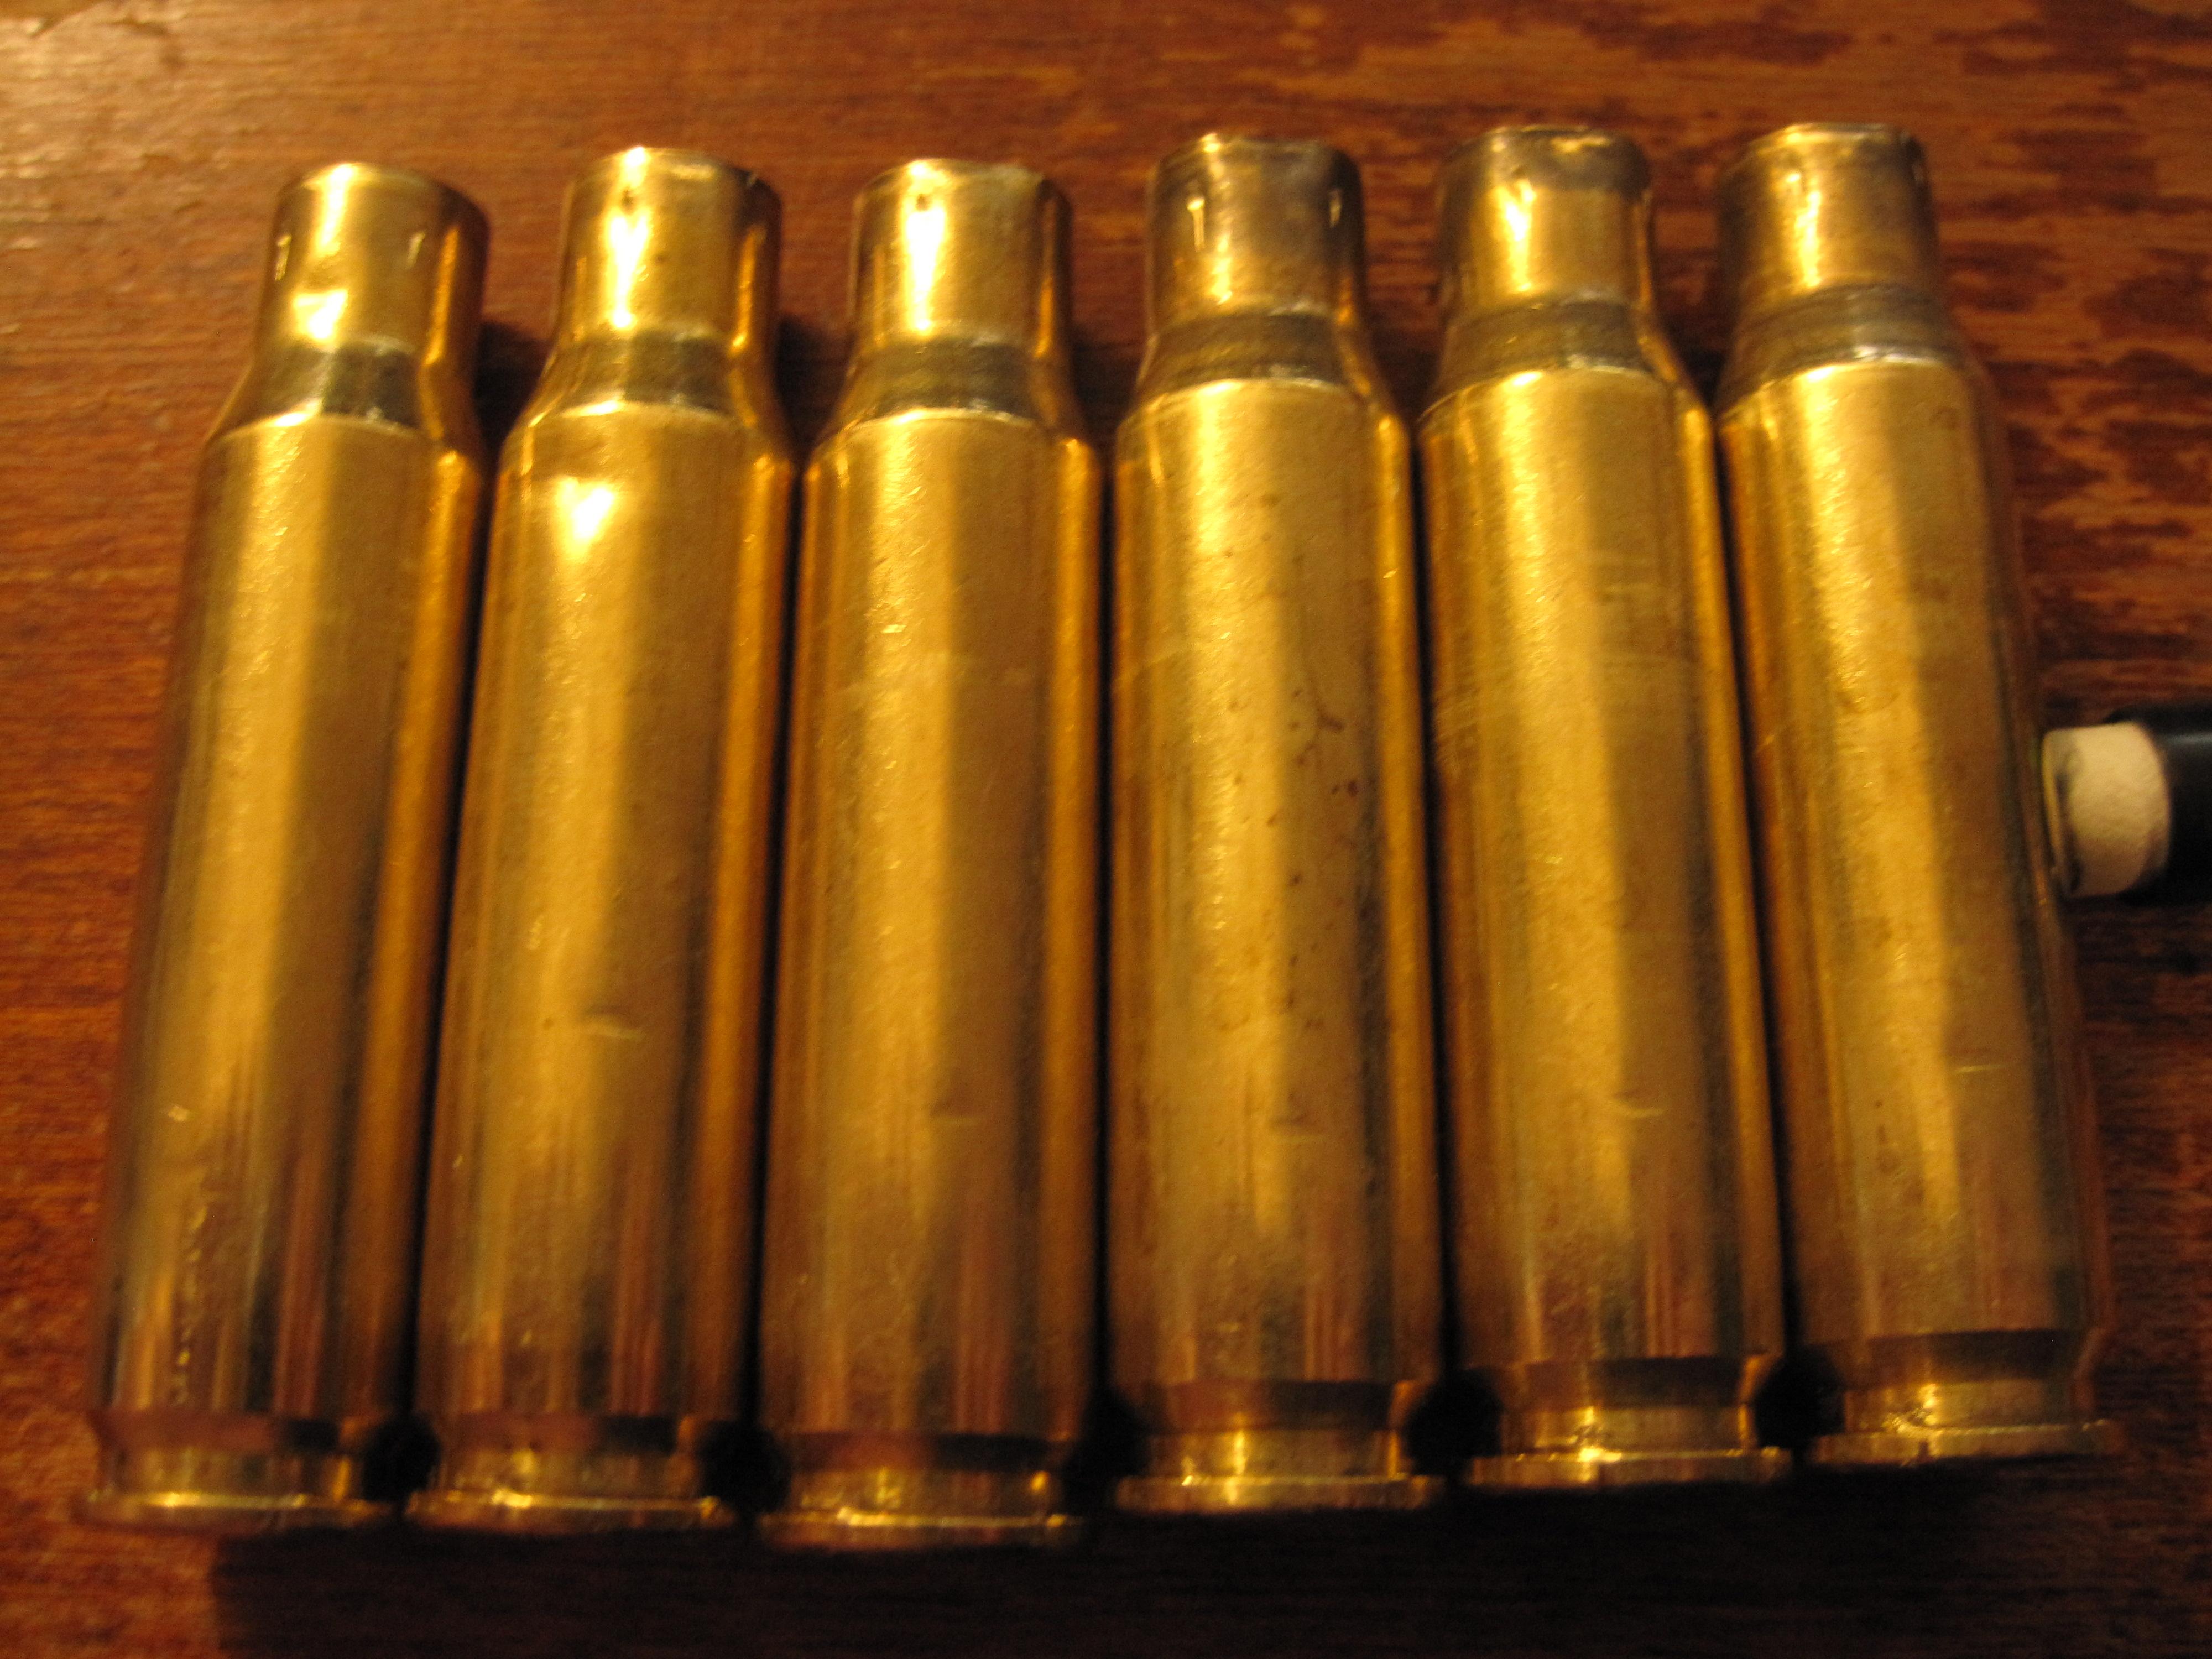
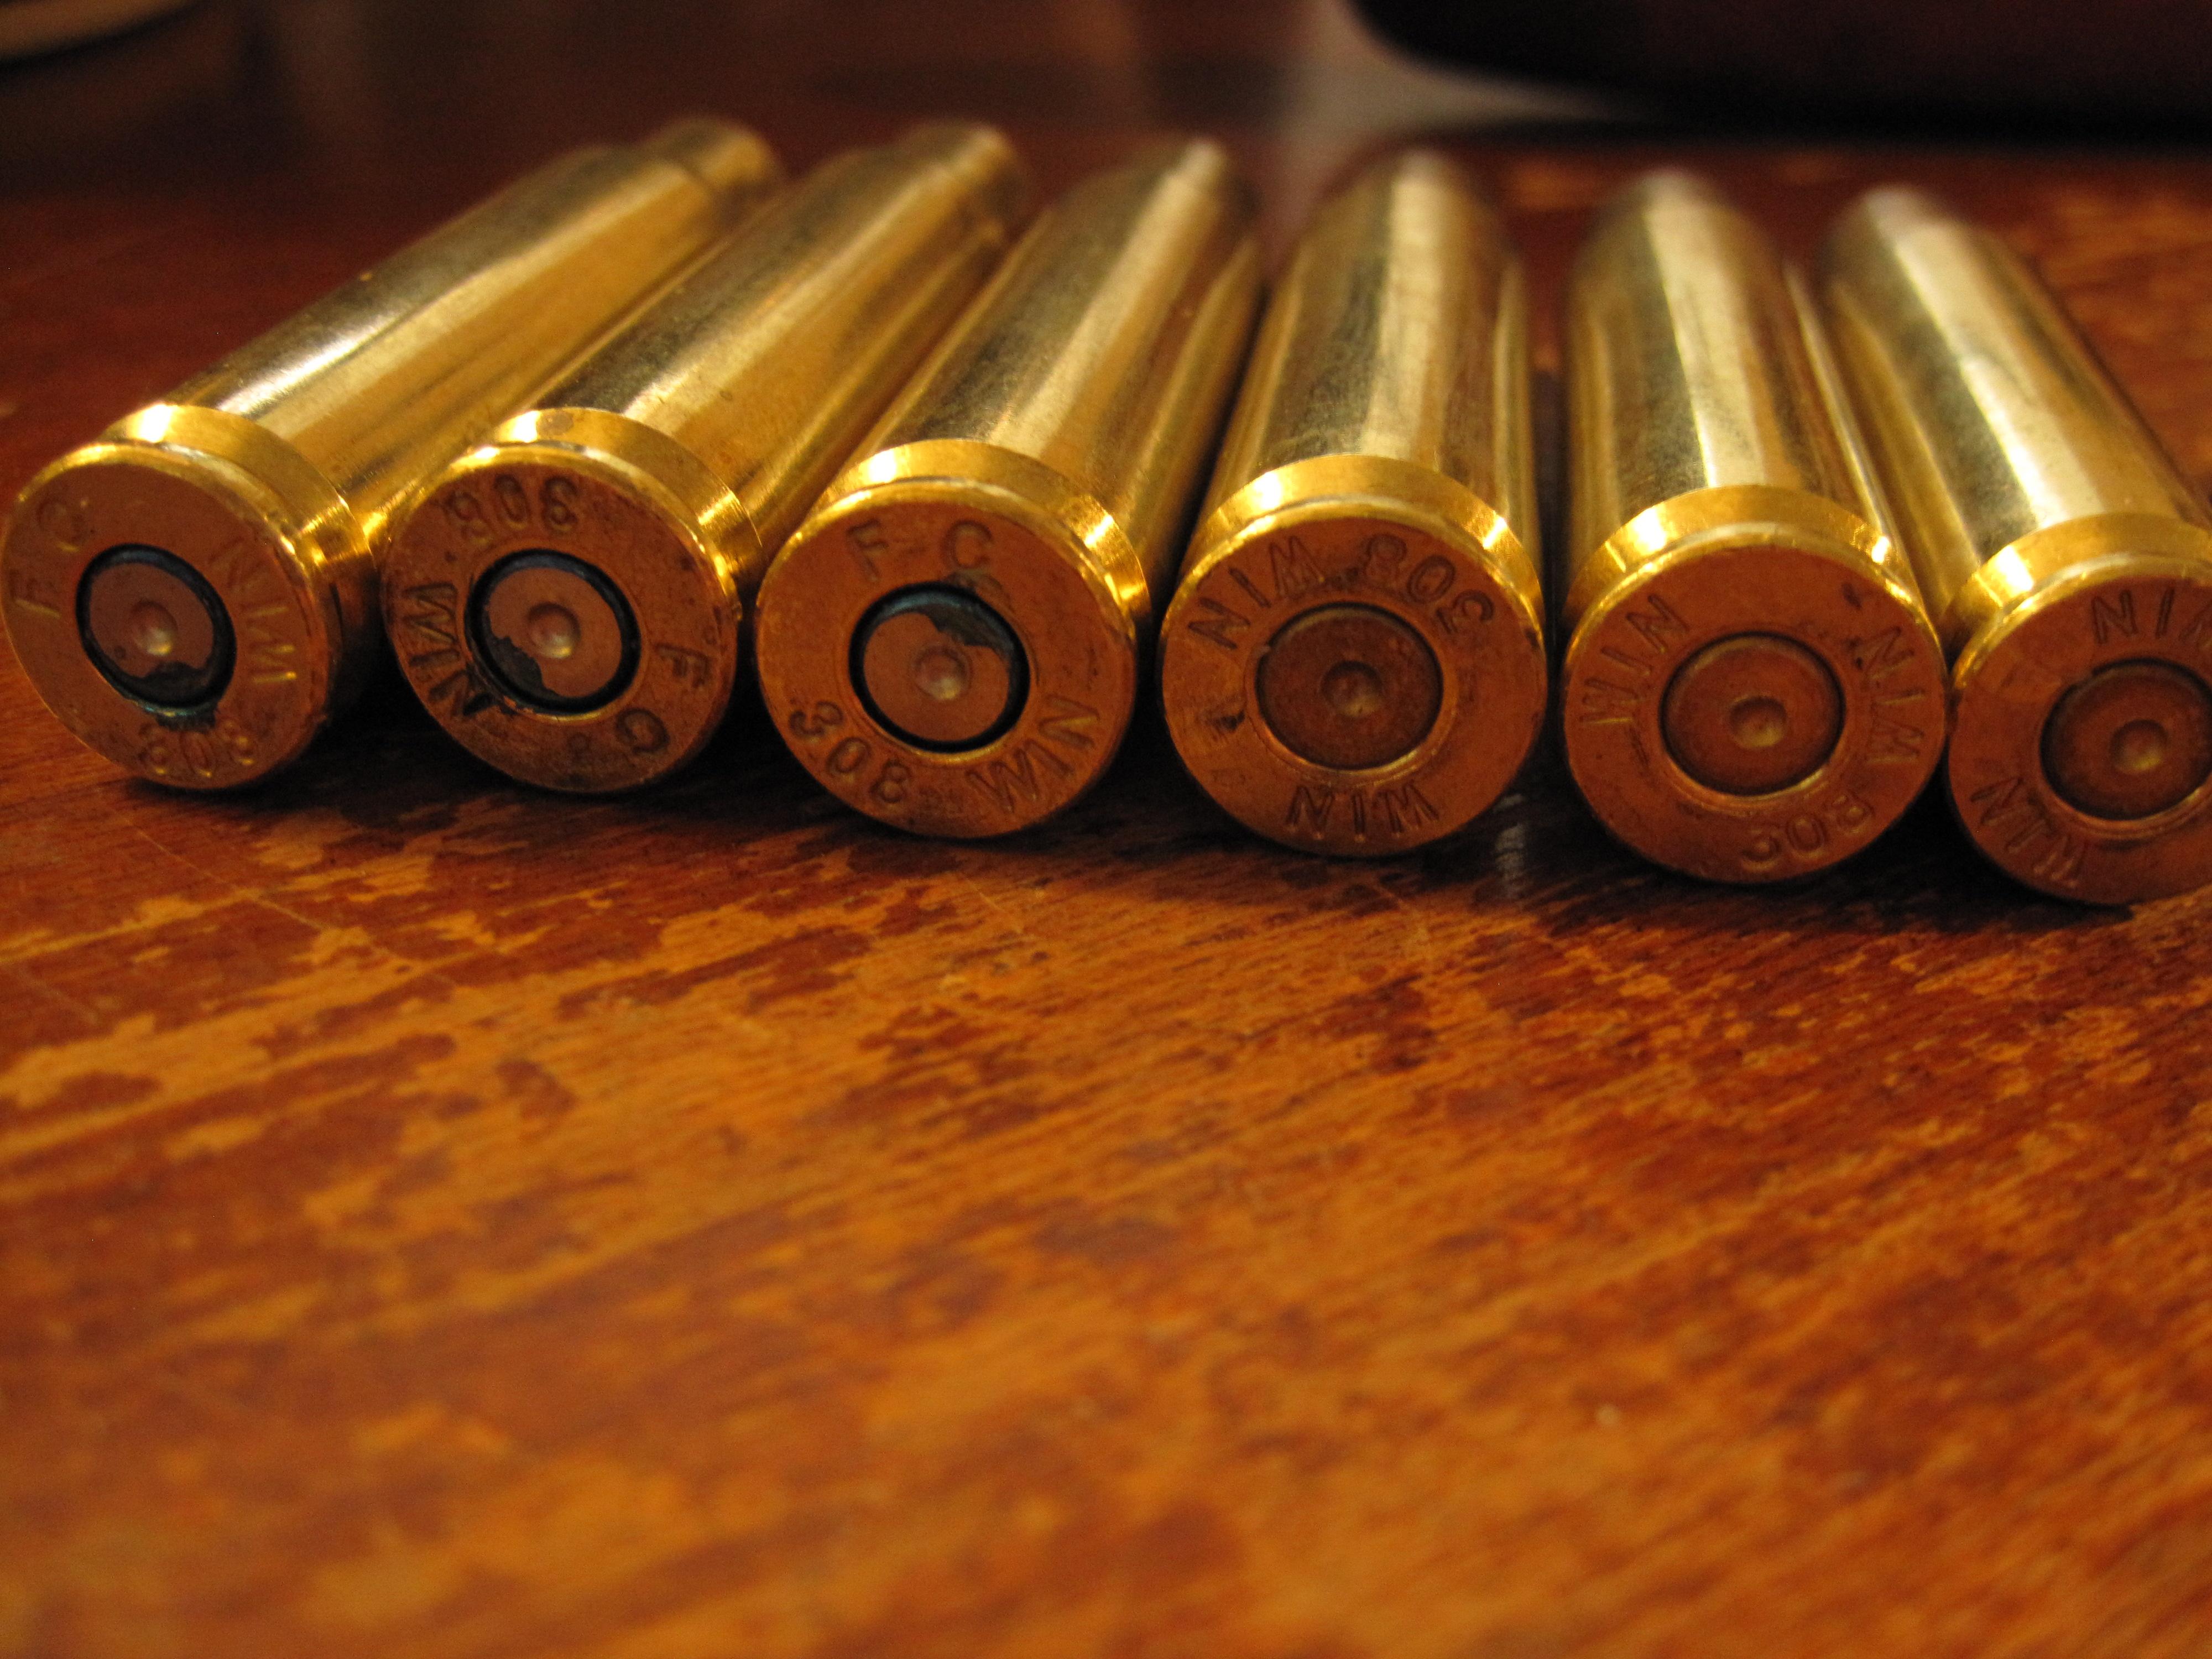
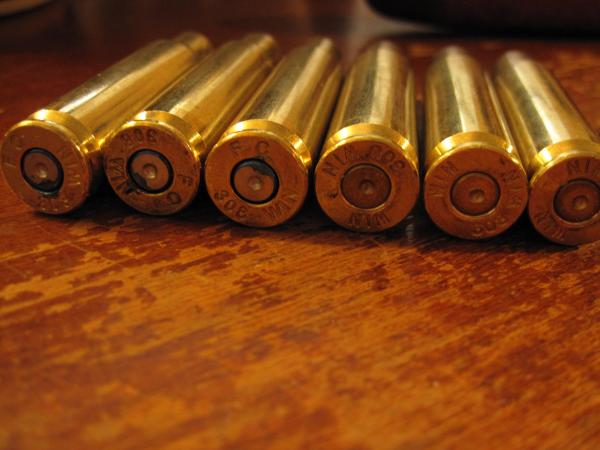
First and foremost; I survived a live fire test. I was a bit cautious given everything I've been through with this build. Unfortunately it's incredibly hard to aim through peep sites with a motorcycle helmet on, so I took that off after the first three rounds. I loaded one round first of 150 grain Federal, then two more rounds after that. The third round chambered and then I couldn't pull the bolt back to eject it. I'm not even sure why I thought something was odd, maybe it didn't cock the hammer? I manually cocked the hammer with the gun taken down since I couldn't get the round back out for inspection; then it fired just fine. The bolt was definitely still closed tight at that point. I loaded three more rounds of 180 grain WInchester Super X and those all fired without issue though the brass was about 2 o'clock where the others were more like 3 o'clock. Inspect my brass if you don't mind. Are those light primer strikes? Should I take another hair off the front of the lower receiver to give the hammer a bit more swing? The marks on the neck seem normal to me for such a new build. I usually run enough steel case ammo to chamfer the edge of the locking lugs which clears those up early in the break in process. Any other thoughts?
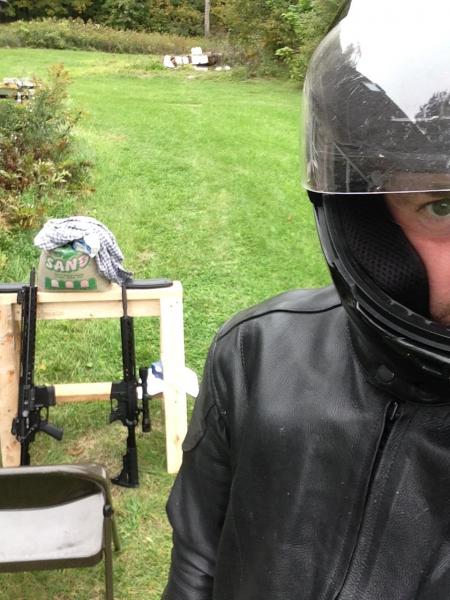
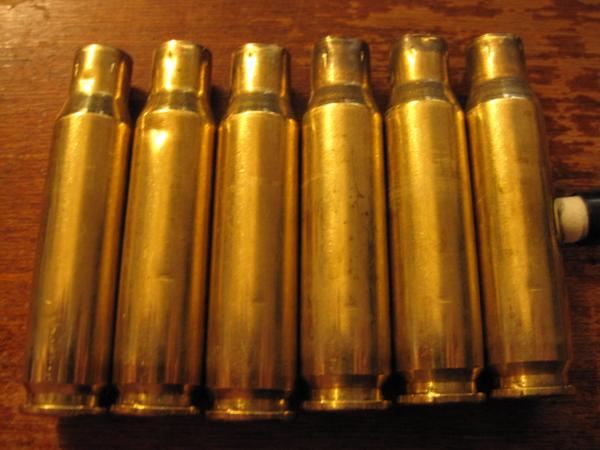
-
So I didn't hear back from Ceratac within the hour they specified. That would be fine if it weren't Friday evening, but I know they won't reply before Monday now. I found the specs over in Raley's Tech Corner: MCFARLAND GAS RING ACCEPTABLE OD DIMENSIONS · AR-10 = .656 - .659 I measured mine three times and got between .6500" and .6495" with a caliper that can read half thousandths, just what I was expecting. The OD was out of spec by 6 thousandths and definitely too small to be contacting the bolt carrier. While I couldn't find any mention of this process elsewhere; I took it upon myself to adjust the coil. I happen to have ring mandrels around so it wasn't too difficult. I knew I would have to overshoot to get it to stretch considering I was well below the low spec. I stretched it to about .665" which is right around a US 3-3/4 band size, and then flipped it over and did it again. I was careful to keep all the coils together and work it slowly so it wouldn't bend out of axis and deform the thin metal. It worked, and I now have a McFarland gas ring that is within spec, and back in the gun. It feels much more normal and provides a bit of resistance on the way in and when rotating the bolt. It's nowhere near as tight as any of my AR-15s, but that seems to be ok. Only now it's dark outside so I'll have to wait until tomorrow to give it the live fire test I had planned for today. I didn't find any horror stories attributed to catastrophic failures from worn gas rings, only cycling problems and jamming. I presume it might have been fine to run it that way, but I wasn't positive if the ring would grow or shrink when hit with the pressure. I also wasn't sure where all the extra blow by would go, I would prefer not to get a face full of hot gas if it were too much.
-
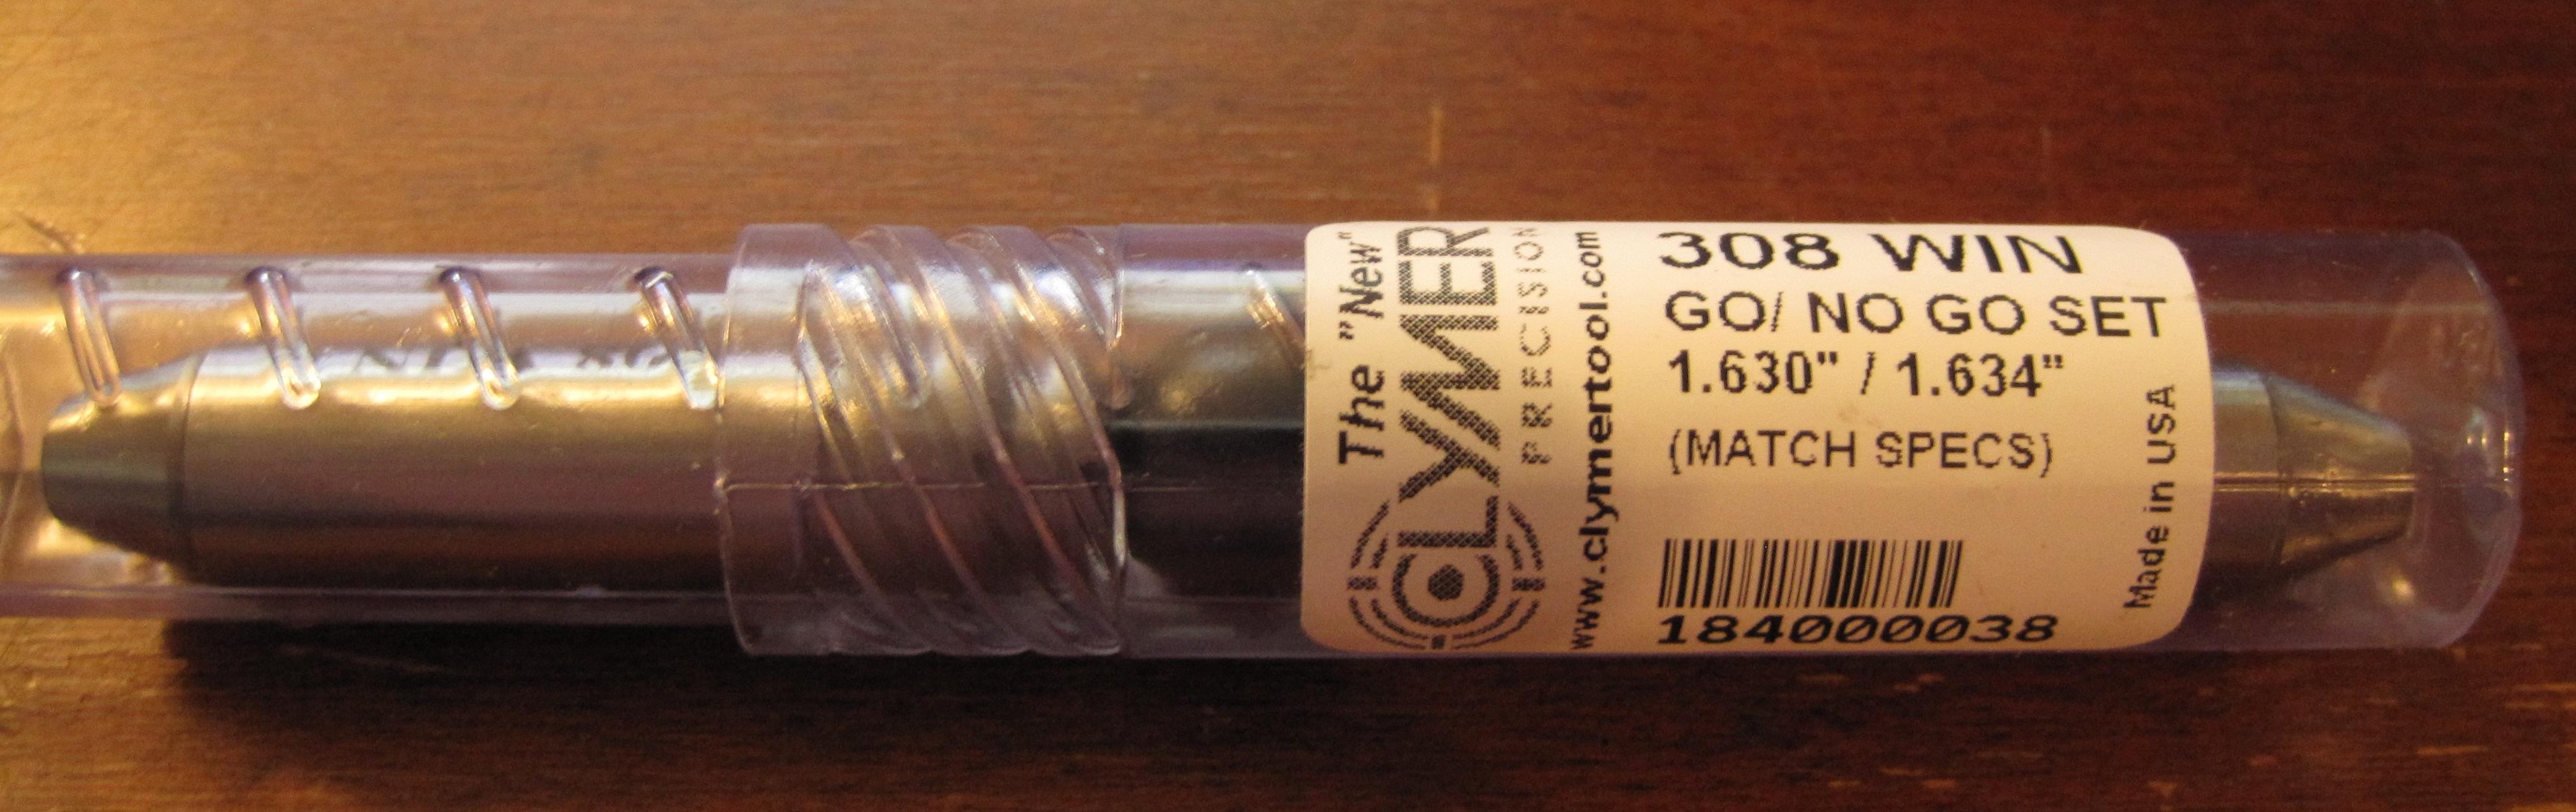
Fed Ex rolled up early in the day with new headspace gauges among other things. I tore everything down and the go gauge was just a bit snug; the no go gauge wouldn't allow the bolt to close with any reasonable amount of coercion. I put it all back together and then decided to double check it for extra peace of mind; same results. It was then that I began to notice how loose the gas rings were inside the bolt carrier. There wasn't any significant friction and the bolt moves in and out with a gentle shake of the assembly. That just didn't seem right to me so I did a few searches but didn't find specific information about the .308 right away. I'm also not sure how different it should be from an AR-15. The other thing I noticed was the gas rings are actually a continuous coil, and not three separate rings. It looks like it could be adjustable by stretching the coil out a bit. I contacted Ceratac about the issue and am awaiting a reply. They said it should come within the hour so I can't complain about speed. I just didn't want to go ahead and test with live rounds if it should actually be nice and snug. I fooled around with the bolt catch issue late last night and have it completely resolved now. I noticed marks on the top of the bolt catch and ended up removing a tiny amount of material on the back side to allow for reliable operation locking it back with the charging handle. The magazine follower doesn't actually catch if the bolt catch button is pressed in all the way when sending it home. In the end I found a post in a California guns forum about adding a slight ramp to the magazine follower, which I also did as a precautionary measure. It didn't take much shaving to get it working smoothly with or without depressing the bolt catch manually.
-
anybody have a go- no go w/field gauge they'd be open to renting out?
Lane replied to MikeD's topic in Building a .308AR
Sounds good; next week is easier for me anyway. They just showed up here a few minutes ago. I have yet to check my build; but I'll get into that in a little while.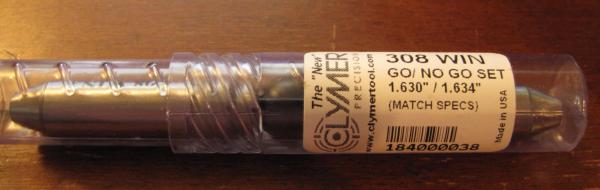
-
anybody have a go- no go w/field gauge they'd be open to renting out?
Lane replied to MikeD's topic in Building a .308AR
Do you still want to rent headspace gauges for a .308? I know this was a few weeks back; but I recently decided I need to be on the safe side with my build since it wasn't checked at the factory. I could possibly ship them out Saturday or early next week if you are ready and still in need. For all I care they can be passed around when you are finished. I don't plan on building another .308 this calendar year. -
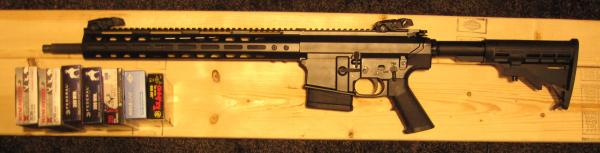
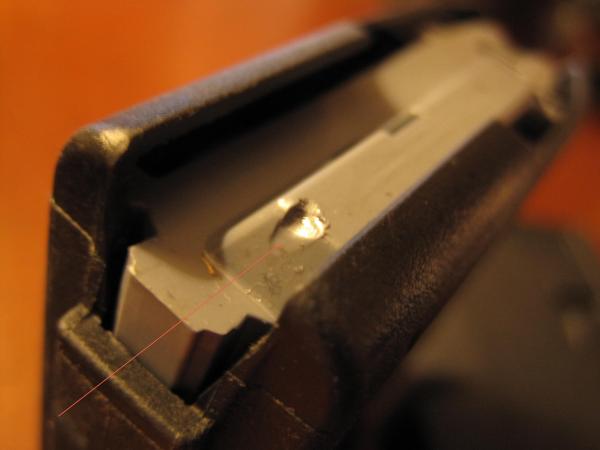
I finished up the build today in anticipation of the .308 headspace gauges arriving tomorrow. I decided to go with a fixed magazine so that I could keep the pistol grip and telescoping stock (shouldn't have ground off the barrel threads after all). I just didn't feel comfortable with a compromise grip on such a large firearm. I also stocked up on ammo for the break in, though I'm not sure yet how much I'll actually shoot through it tomorrow. The only thing I am at all concerned with is the bolt catch. For some reason it is floppy in the slot, and I have a hard time getting it to catch the bolt with the charging handle. I even put a shim behind the catch in the lower to hold it as far forward as possible. That slot came already milled so I'm not sure which part is out of spec. I have to slam the charging handle back as hard as I can to get it to catch. I can't tell if the charging handle doesn't allow me to throw the bolt back far enough, or I'm actually slamming up against the buffer bumper. The only thing I can imagine doing is grinding down the bolt catch a tiny bit on the back side so it catches more easily (or a hair off the bumper if that's it?). I'm going to test fire it first and see if it works that way; I'm hoping it will break in on it's own or perhaps work just fine when shooting. Unfortunately with a pinned magazine the bolt face catches on the back of the magazine follower when returning home on an empty magazine. I'm not sure if it is common practice to carve a slight ramp to allow that action or if I should baby it and push it down every time I want to close to bolt after emptying the magazine. I nicked one of my AR-15 magazines the other day from doing the same thing and it doesn't seem to affect operation. Still waiting for the funds to pick up a scope, but I'll rock the polymer iron sights in the mean time. They worked just fine on my AR-15 for the short time I didn't have a scope on it.
-
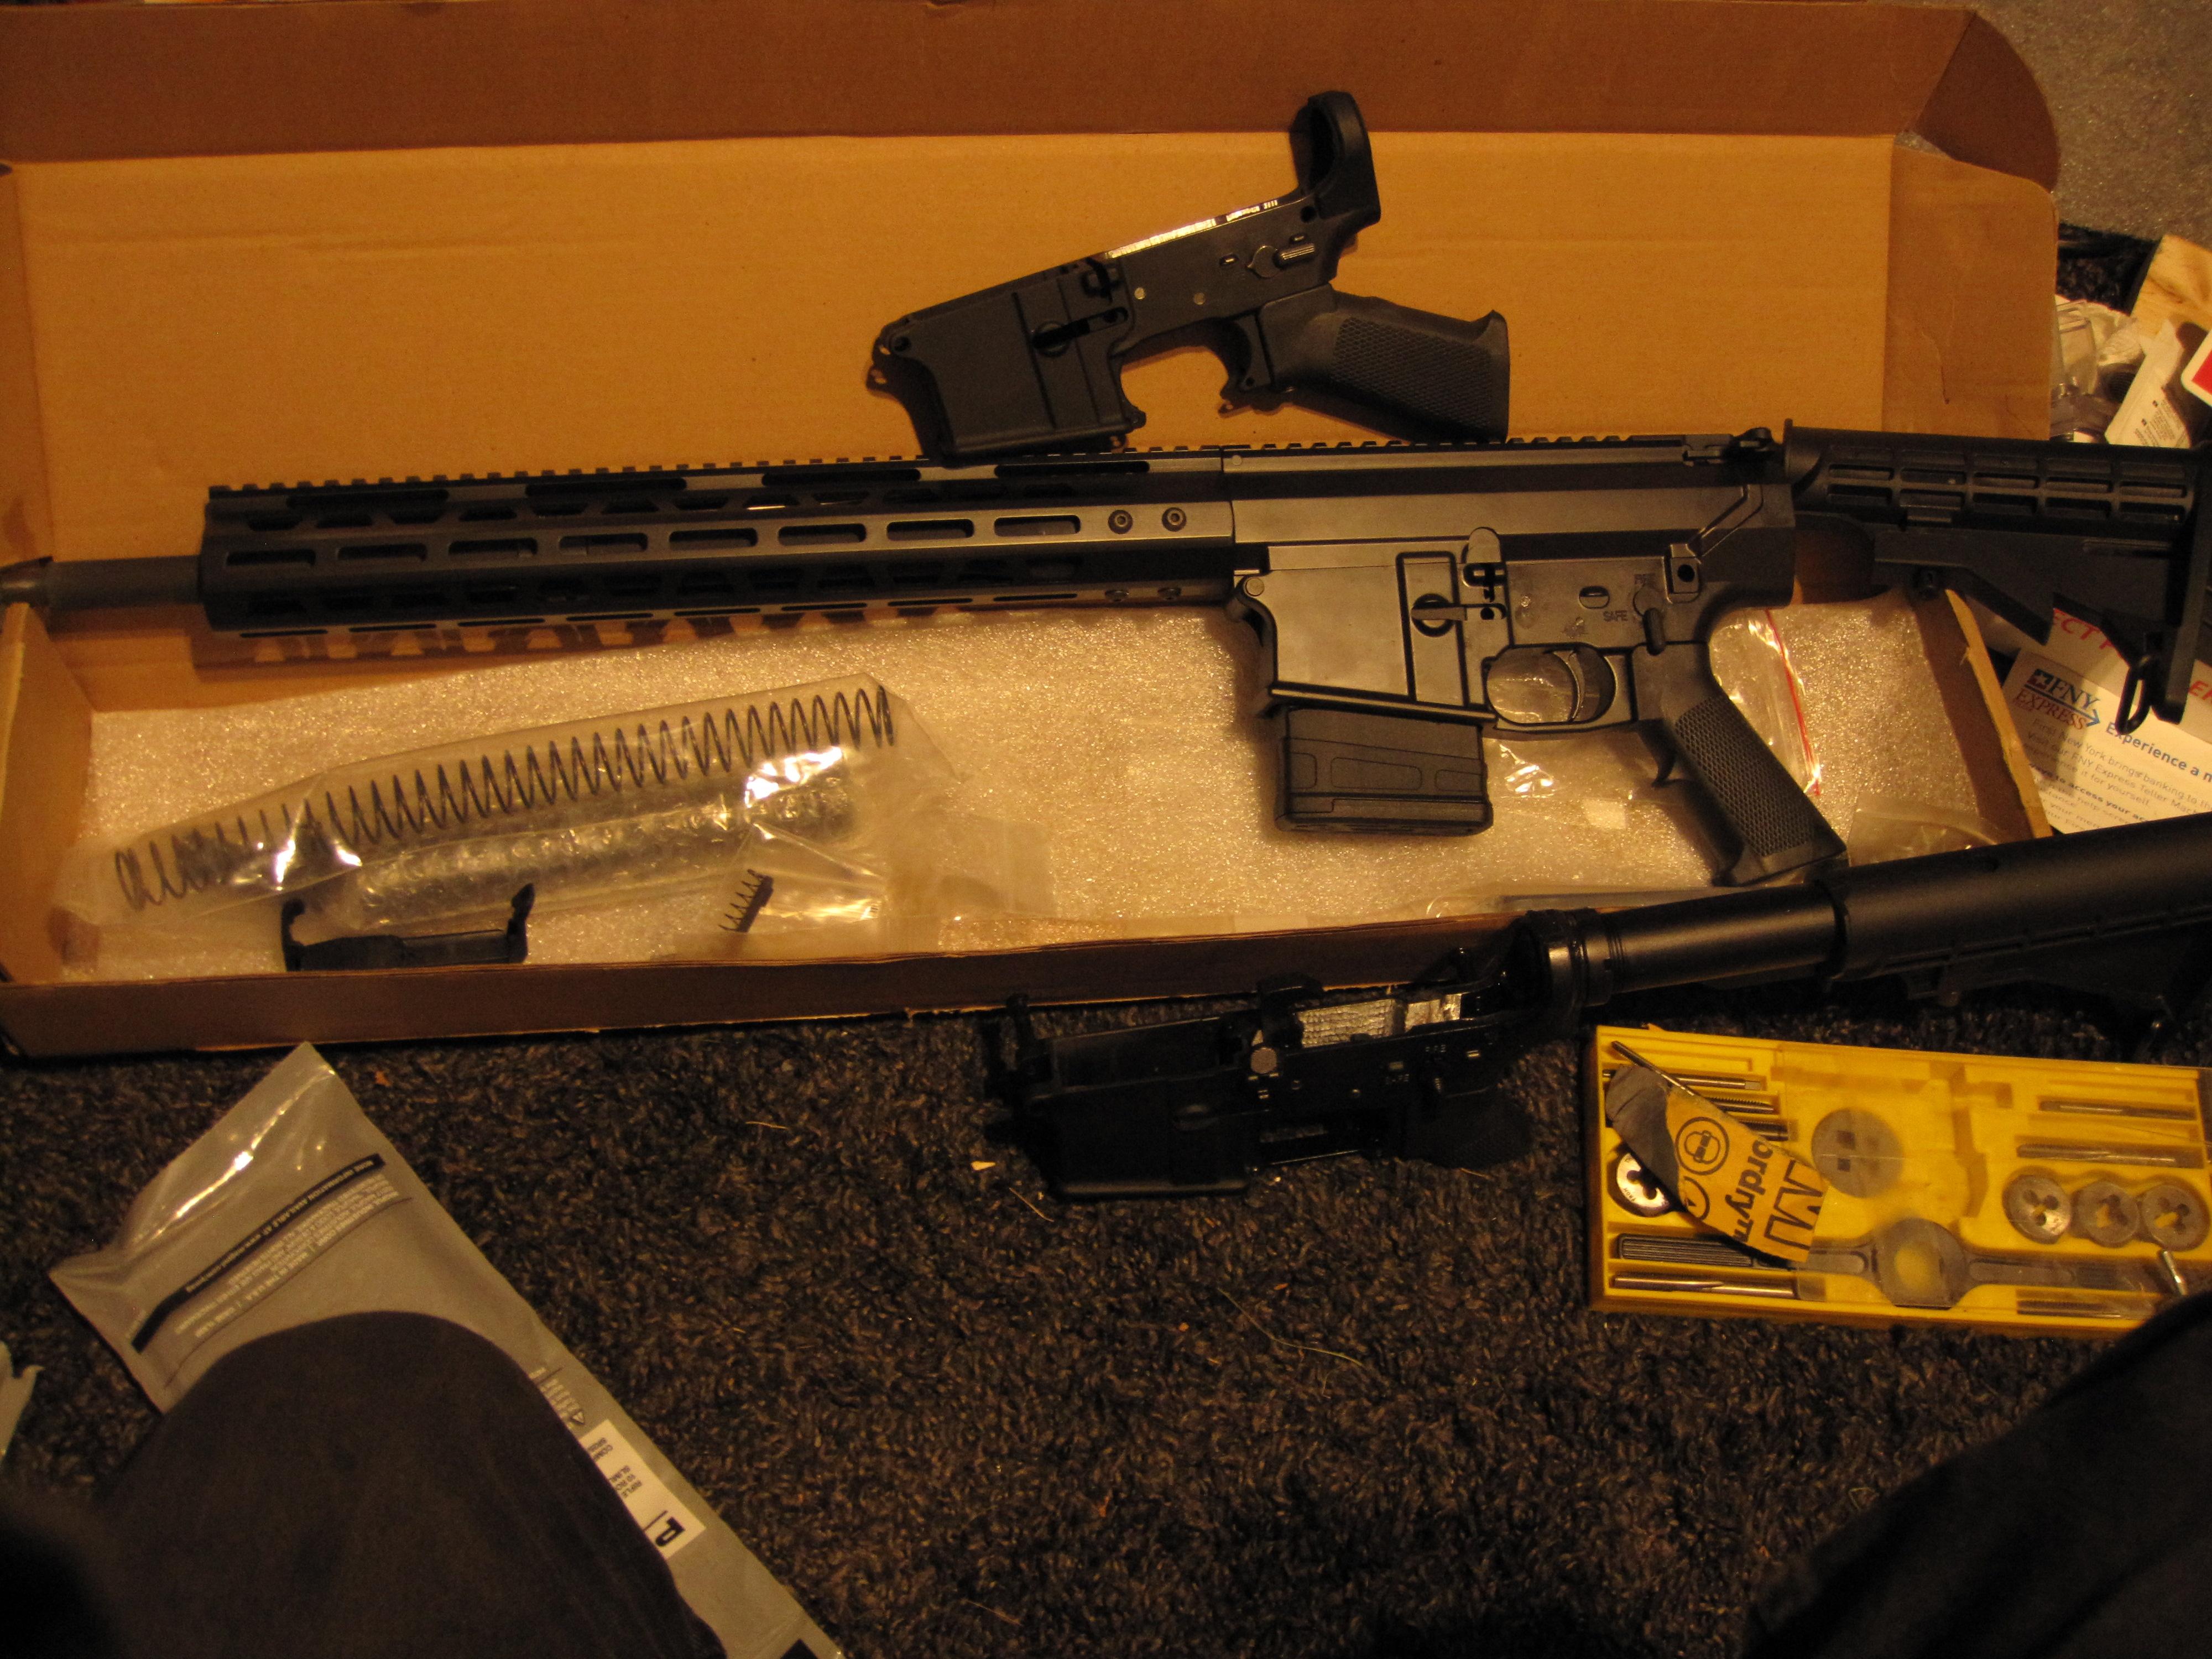
Nearly finished now. I spent a few hours today finishing up the fire control group. Everything works as it should; safety is safe, disconnector functions without a gap, and the trigger has good throw. I only have to finish assembling the other lower parts which is very quick. I'm currently waiting for the lady of the house to get home so she can watch (she still isn't done with her own AR-15 build). The pistol grip as attached is not NY legal but I'm considering options and using it to hold in my selector detent pin. My first AR-15 has a sawed off grip but I'm not sure that is ideal on the larger .308 build. The AR-15 lower sitting on top of the AR-308 has an upside down pistol grip on it which looks a lot like a Sparrow grip. I'm not sure those are 100% legal here but the local gun shop sells them. Unfortunately that upside down install requires drilling and tapping the lower along with all the grip modifications. I'm not quite ready to commit to that on my .308, but I also don't like paying $50 for a NY legal grip. I ordered the .308 headspace gauges so they should be here late this week or early next. Only other thing I need in the short term is a stock of different ammo brands for the test firing/break in. Today I looked at the entire selection of scopes at Primary Arms and picked the same scope you recommended 98Z5V. I was all ready to post the link here and ask about it only see it matched the link you already had posted. That will be my next purchase when funds allow.
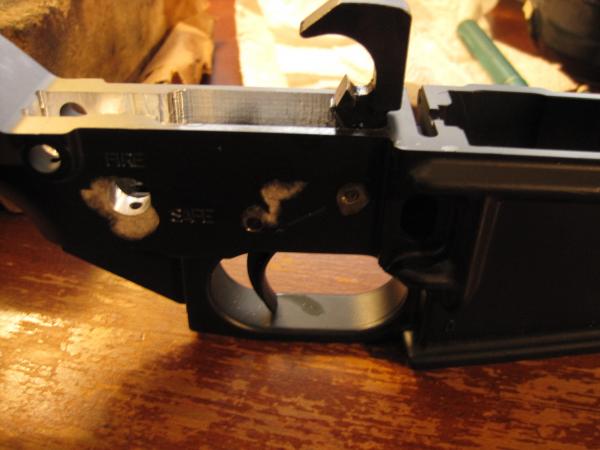
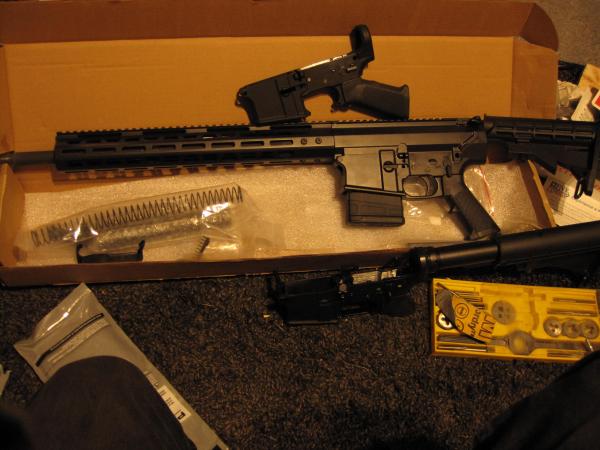
-
That is what I was looking for. I guess I had seen all the information in Tech Note 96 before; but it's good to have a refresher. I still have a lot of reading to do in Raley's Tech Corner, but now I have time to do that... I thought about the masking tape method and would almost prefer to go with paper or cardboard as I suspect they are held to a higher tolerance standard in terms of thickness. In the end I'm just going to order the proper gauges in a few days when I have money available to do so. It's not worth taking a risk since the old timer who agreed to take me hunting wants to fire it too. I figure I might as well get .223/5.56 gauges as well, and take this seriously from now on. I already have them for 7.62x39 since AK barrels require the headspace to be set as they are pressed into the trunnion. It really seems like all the gunsmiths ran for the hills in other states when the NY SAFE Act passed a few years back; and I can hardly blame them. I suspect much of the future work they would have done here would have been neutering guns for law abiding citizens which is totally heartbreaking to do. I cringe every time I grind the threads off a perfectly good barrel (but that is the letter of the law in this state). That puts me out about a week before I'll be able to test fire the AR-308 kit; but you better believe it will be 100% by the time the gauges show up. No sense wasting any time in that respect. All in all I feel it is a good thing; because now I won't have any reason to rush through any of the finishing work that is left. It looks really good so far, and the only other thing I really need is a scope for it. I'm thinking a 3-9x40 is a pretty good jumping off point in that respect.
-
Yes; it was the thread regarding the Armalite tech notes: https://forum.308ar.com/topic/2774-measuring-headspace-on-an-armalite-ar-10/ When I click the link to the Armalite website, I get a page not found error so I don't know what the .pdf file has to say about the process. The masking tape method sounds ok enough, but I would certainly like to read the tech notes at the very least. I also don't want to be the guy that got some mismatched parts and pays for it dearly. Spending the $90 on gauges isn't the end of the world for me, it just means I have to wait a bit longer, and perhaps sacrifice on optics in the short term. Then I'll also have to start another .308 build to make me feel better about buying those gauges. Any suggestions?