
Lane
-
Posts
1,042 -
Joined
-
Last visited
Content Type
Profiles
Forums
Downloads
Gallery
Store
Everything posted by Lane
-
Attached two videos of later testing, seems like you have to download to watch them. All the cans were made in the same vacuum chamber, but I can't swear to gas mix or leakage for any of them. Also shot the video in slow-mo; so they seem to play in slow motion with slowed down sound as well. Pretty sure this would be a formidable option with on the fly gas generation (and higher pressures), perhaps a rather unique build based on what I've seen so far. It's difficult to find any real data about this; most people that mess with it are seeking out some kind of free energy. IMG_0098.MOV IMG_0099.MOV
-
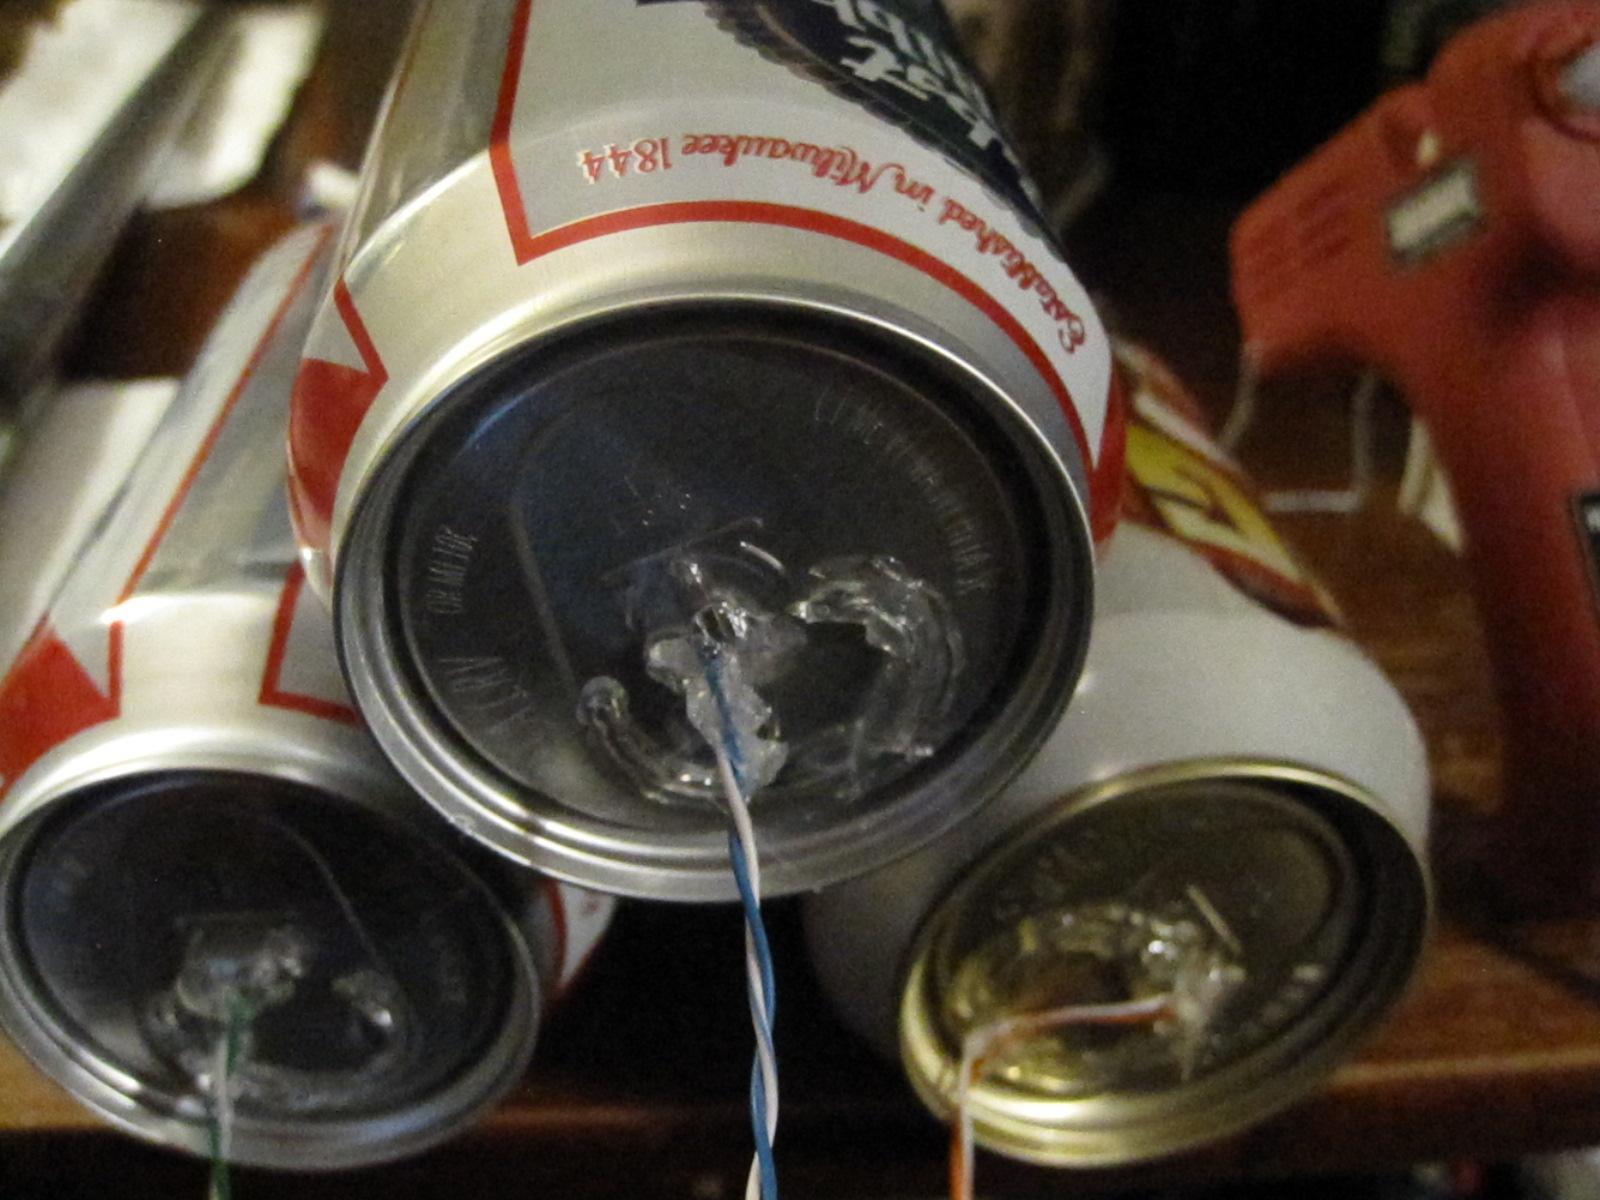
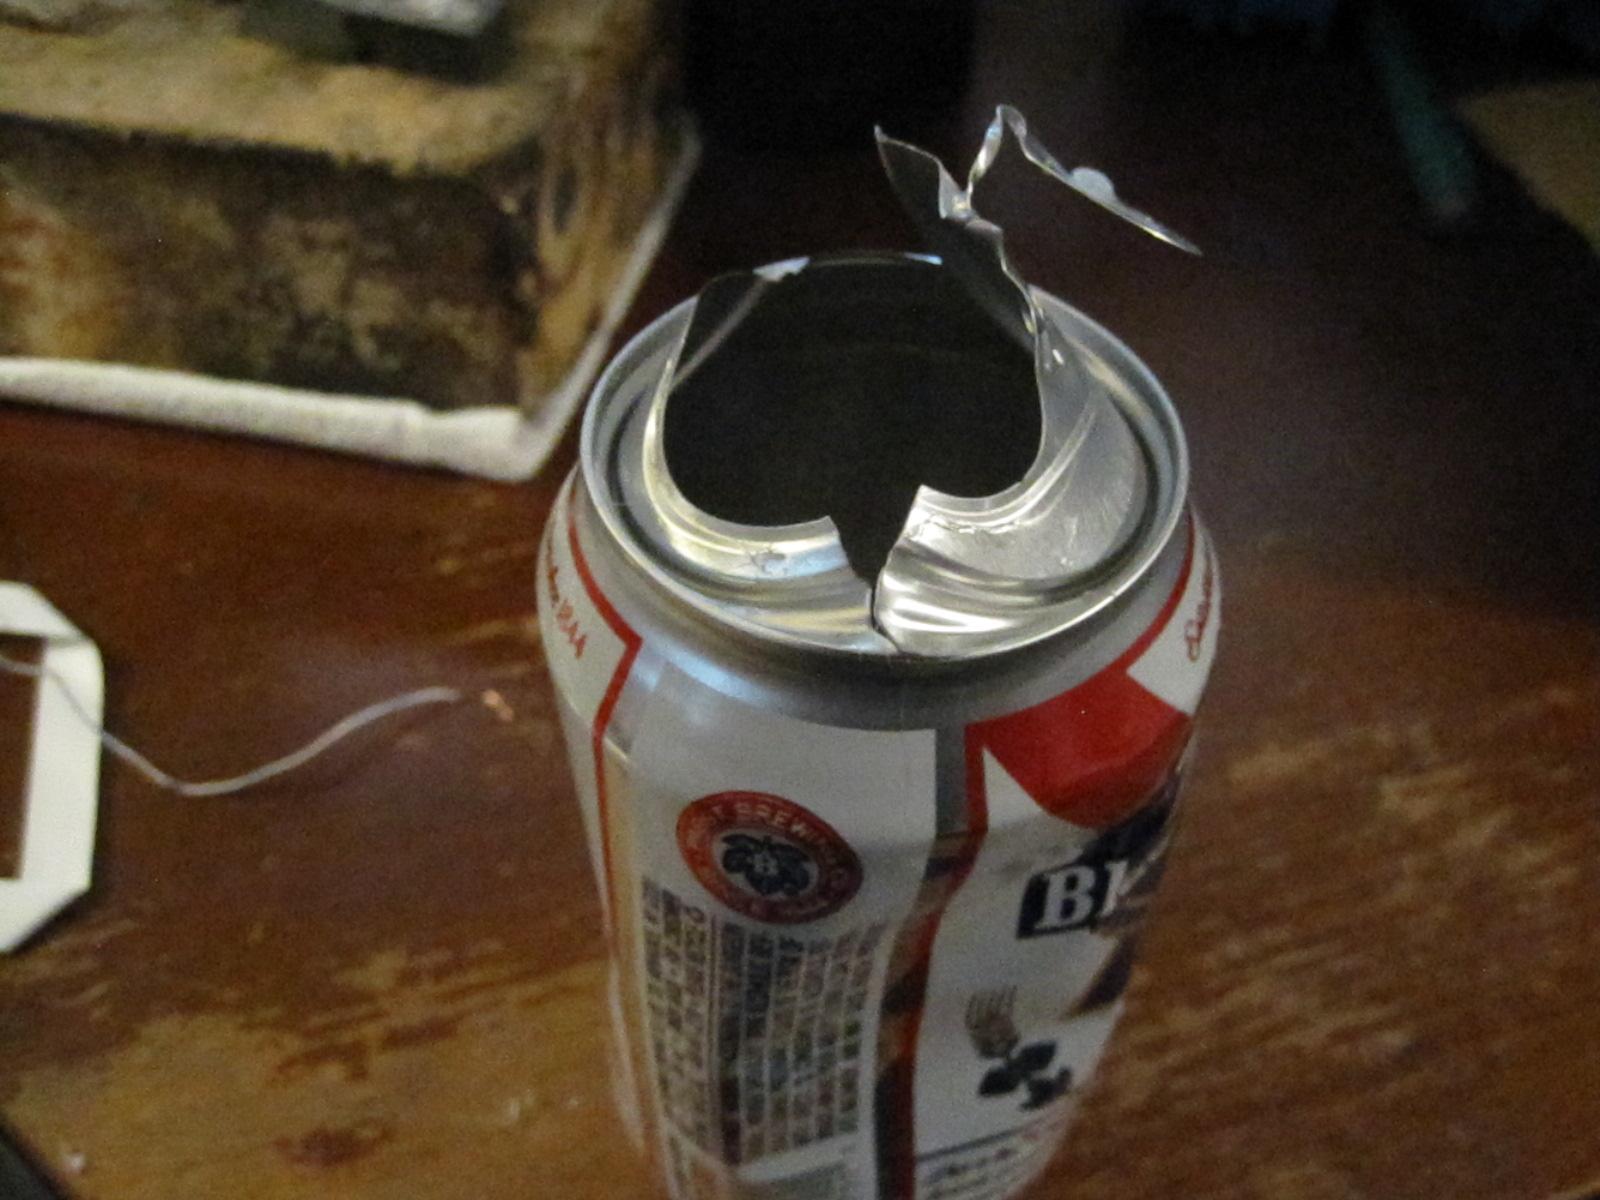
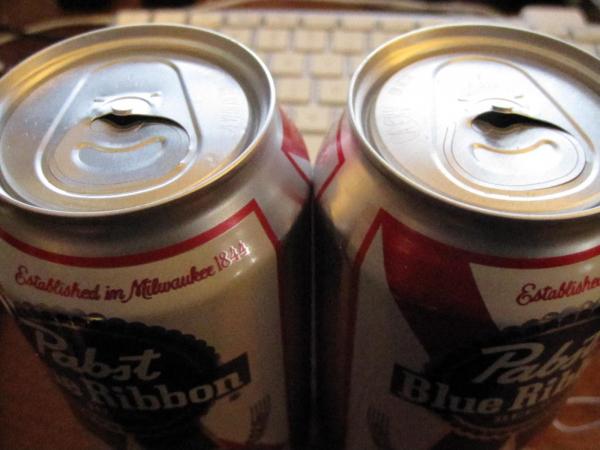
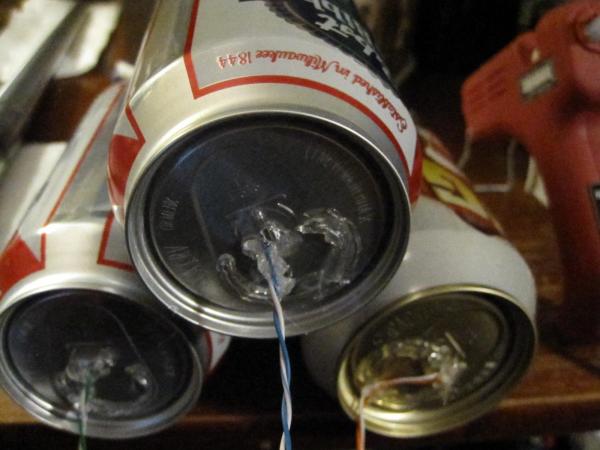
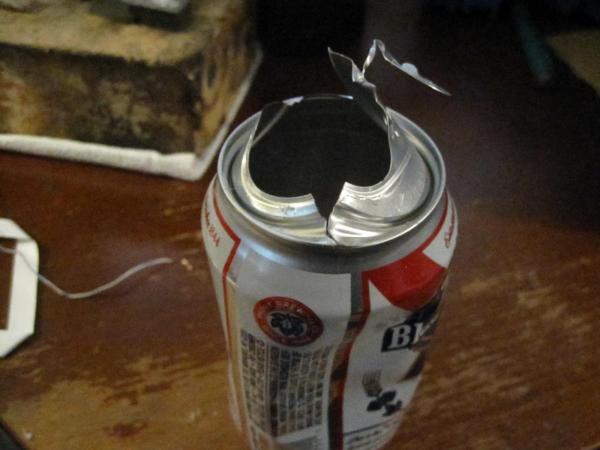
I'm going to derail my own thread briefly after the other night... Thanks @DNP I've been half wondering about this for a while. Think I can have a functional prototype in a few days. The only thing I'm trying to think through at the moment is how to seal a projectile well enough to maintain a gas tight seal, and still have a launch and not a pipe bomb. In an ideal world the whole system could be evacuated to a reasonable vacuum, and then filled up with a gas fuel. Quite frankly; I have no idea how much power can be crammed into a small cannon with this method. I've realized I should be able to do some reasonably "safe" tests with 12oz cans though. I'm currently curious how oxy-hydrogen settles anyway. My initial assumption is it is reasonably well separated; with the hydrogen at the top of the storage vessel. I think the quick and dirty plan will be to stack beer cans upside down in the vacuum chamber (empty) and evacuate the vessel. Then attach a bag of oxy-hydrogen gas to the intake, and open the valve slowly. That should fill all the cans reasonably with the gas, then I can quickly seal the mouth without inversion; around the existing partial seal that has two electrodes in it. So.... That worked, and my ears are still ringing from it. I placed the test can in a small cardboard box, and hooked up a high voltage generator to arc across the wires inside the can. The can shot up about 20 feet which is impressive for a completely empty aluminum can; and the cardboard box exploded as well. Plenty of power in 12 oz of uncompressed gas. I got the gas from a pair of generators that I use for a torch once in a while. Those devices actually run at some pressure; so it's certainly possible to cram the same amount of gas in a smaller volume. Don't see that happening with the can tests, but that first successful test was enough to give me hope that this could actually bear fruit (and likely faster than my other build).

-
If the hydrogen is a liquid it doesn't fall under any of the rules I've seen. I'd say rocket "rock chuck killer" is totally legal in hand size and rifle for all 50 states; if I didn't read that provision incorrectly. I'm not a lawyer, but it seems like rocket fueled projectile guns are good to go.


-
New to ARs, want to build not buy .338 federal.
Lane replied to JakeLo1212's topic in General Discussion
This makes me laugh too... Parents of a friend of mine met in college because of shooting. They both shot competitively. He was on the .22, and she was trap. They met because they were both the best shooters. And then my friend was born... The only reason they met is because they were allowed to carry guns, and shoot competitively with the university's blessing. -
This is actually pretty common fodder for low level physics classes in college. Doing homework, or test problems on launching something into space with ________; fill in the blank.
-
I love the idea of this; and shot potatos a good bit growing up. Being a bit older now; I'm less inclined to trust PVC pipe with my life. Maybe I'll get "bored" this winter though and weld up some failed exhaust components and build one from metal though... Pretty happy with the Can Cannon running on junk .223 brass. Tiny powder charges make it really cheap. I even used it to fire anything I had primed with a wonky looking primer seating; even the mangled primers worked fine in those blank reloads.
-
New to ARs, want to build not buy .338 federal.
Lane replied to JakeLo1212's topic in General Discussion
Welcome from New York state. I wanted to add: This idea of build, not buy, is in fact a very important issue for me; and one that I fully support here. This is the ONLY reason I got excited about AR platform rifles... Once I realized I could build, and not buy; I was SOLD! The experience of building has been worthwhile to me in more ways than I could list off quickly here. A quality finished build is a significant point of pride no matter the cost of components (a budget build is still going to shoot). It's all about the struggles and learning that happen along the way. The process of building is just as much fun as getting everything running just right at the end. The one thing I want to caution you on; is the college bit. I'm not sure where you live, but I read about a case of a college student living off campus who ended up with firearms charges because the university found out. Again; not sure even what state you are in even, but something to consider. My advice would be don't tell any of your friends. -
I found this statement on a website in reference to air gun laws specifically: "New York law prohibits any person under the age of sixteen from possessing any air-gun, spring-gun or other instrument or weapon in which the propelling force is a spring or air. --- New York has no other law governing non-powder guns." The problem with this is: first and foremost; you can't believe everything you read on the internet. I don't know what I do not know. How could I; as a citizen of NYS know that there are no other laws governing non-powder guns (without reading every single law)? If ignorance of the law is no excuse; how would that protect me from an overzealous law enforcer? Essentially; that means I'm probably in the clear here to do whatever I want. But even finding that little tidbit of information wasn't easy. Does this also mean that if I use compressed hydrogen explosions with electric ignition that I could avoid all firearms laws (non-powder gun after all)?
-
I thought about that; but reading definitions of various technical words involved made me a lot less certain. A quick glance at actual air gun laws seem to only specify air or spring power only; magnetic or electric power does not seem to be included. There is a definition for "electric dart gun"; but it appears to require the device to shock the target which doesn't apply here. Armor piercing ammunition happens to be defined as any projectile of steel, etc. etc.; so I'm not even sure if I technically run afoul with that... Might need to stick with induction "drive" instead of reluctance, and be forced to use aluminum (which isn't all bad, keeps me closer to my weight target for full size projectiles). Is a steel BB exempt because it was fired from an air rifle; or is this another case of illogically overlapping laws? Don't forget. NYC requires a license for BB, pellet, and airsoft guns. Probably paintball guns too. I would not be shocked at all to find out that the whole state of NY is governed by some extremely poorly conceived laws that might apply in this situation. Quite frankly; I still can't even find the NY state legal definitions of some of these terms used in the laws I am aware of. Could you imagine having to go to a NYC gun range to shoot your BB gun (and wouldn't that be embarrassing)?!?!? They see me rolling up to the range in my Dodge Aries; getting out with a larger, locked case in hand. Go inside to check in; showing my club membership card, NYC license to posses, drivers license, and then information for an emergency contact. Once that is recorded in the ledger and notarized, I am finally issued a lane assignment and proceed to a shooting station... Unlock the case that has been handcuffed to my wrist to reveal a mint Daisy Powerline 340 with red oak grips and extra unloaded magazines in the foam cutouts; alongside and a tube of 350 premium projectiles. Then proceed to shoot 18"+ groups at 15 yards with projectiles barely moving 200 FPS downrange. Carefully watching projectiles spin off far left and right every few shots... Finish up shooting ten magazines half filled; pack up, and drive off to enjoy a double non-fat soy half-caf pumpkin spice latte with triple foam no nutmeg at any one of the 350 Starbucks nearby. Do they have signs on the wall telling you "one or two pumps ONLY for variable pump air rifles" too? Never underestimate the amount of stupid in NY. In short.... I still have absolutely no clue know what the laws are regarding this kind of device, even after some basic research. Certainly not going to call up the New York State Police SAFE Act hotline and start asking questions...
-
New to ARs, want to build not buy .338 federal.
Lane replied to JakeLo1212's topic in General Discussion
This appears to be the @98Z5V build so you can read up on it before he arrives. -
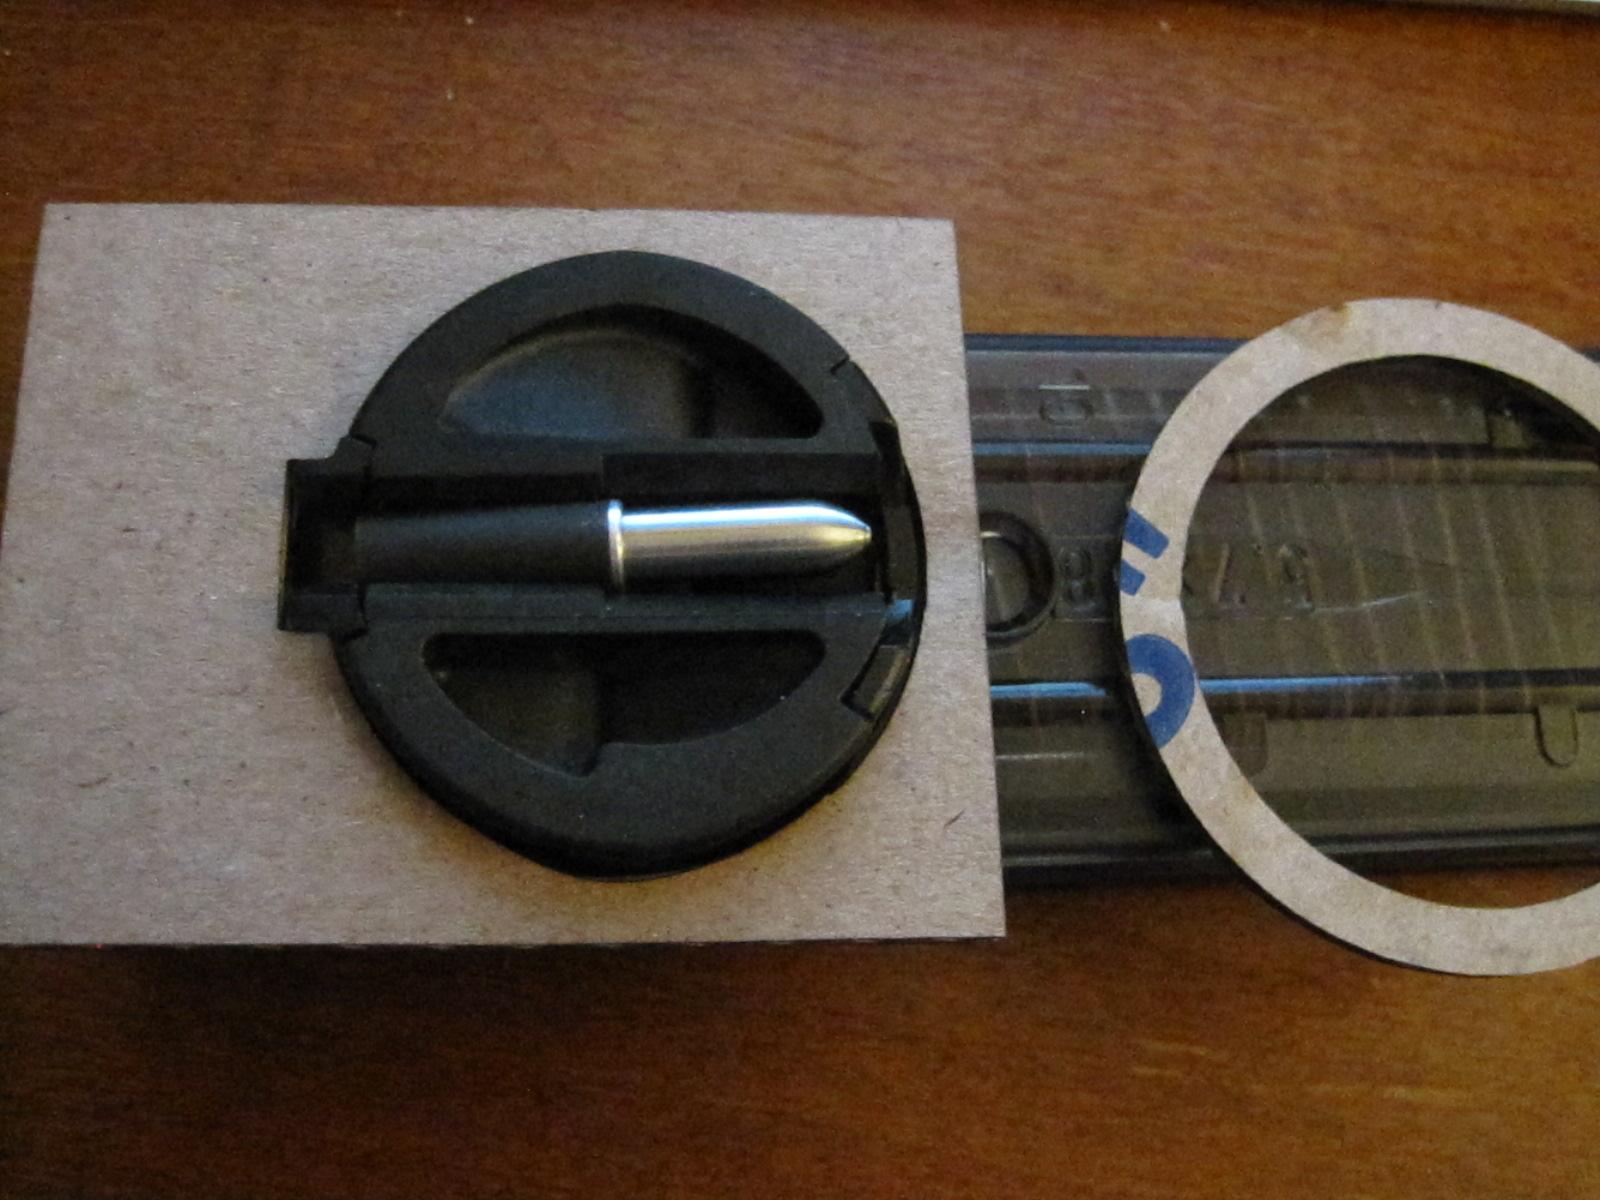
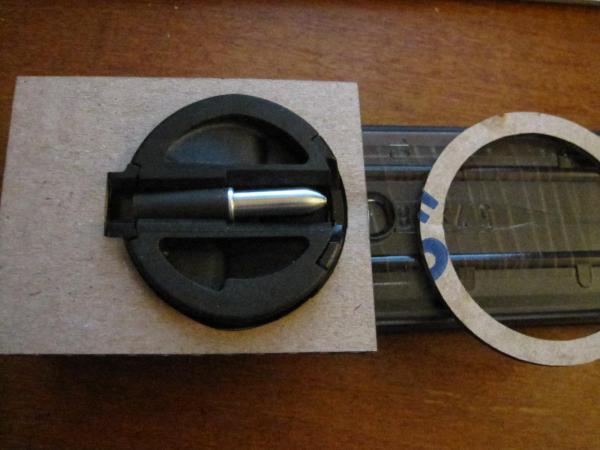
Quick update; with a picture. The laser cutting mostly worked for the P90 magazine mount. Things fit, but I designed a few of the parts backwards in my rush. The ring parts needed the square frame, and the locking part needed a rotating frame. Minor to fix. It does help me to be able to see any test these parts in hand, so it wasn't really a loss. Determined that I was wrong (and should have figured this out before now). A P90 magazine can't be loaded backwards. Any projectiles that need to be magazine loaded will need to be roughly the shape of a full 5.7x28 cartridge (not projectile)... Though, I'm guessing some profile embellishments will be allowed, like boat tailing, and perhaps smoothing the neck transition somewhat. Found a number of scholarly articles about various induction based designs and testing. From both Army Research Laboratory, and Sandia National Laboratories. Highly technical in some cases, but it won't hurt to review some of the design details as well as outcomes. Still considering the ability to fire aluminum projectiles over steel; which would require that slightly different induction driving setup. I suppose the ultimate determining factor is going to be performance. Still wondering; can a hybrid projectile do both? Can I have a steel tipped, aluminum tail projectile firing the same coil in different ways as it travels through? 918254.pdf 45_GHERMAN.pdf 10106476.pdf ADA329260.pdf
-
Last one for a bit. This seems like the p90 magazine "thing". Getting setup for the laser cutting of this mounting bracket. I'll post back once I get it hooked up and working. Looks like 45 degree twist on the upper part, and a solid lower circle for insertion (it will ultimately cut two components, just need to draw them on top of each other for measurement purposes).

-
One other thing... Here in New York; I'm not sure about a thumbhole stock... I'm really not sure about any of the laws in relation to this build. Especially if it could be designated as a "semi-automatic". It's going to have to be a "Boar Grip". And it might even need to flip out so it could collapse into the design. That's the only way I can see to avoid the thumb hole (as shown in the drawing). Stay SAFE out there.
-
For reference. I don't think I own any shotguns shorter than the max build length here. It's going to be heavy no matter what... But that was kind of the point. There is a possible "trim length" shown. The same build specs, with only a 24" barrel (and things compacted more tightly into the design).
-
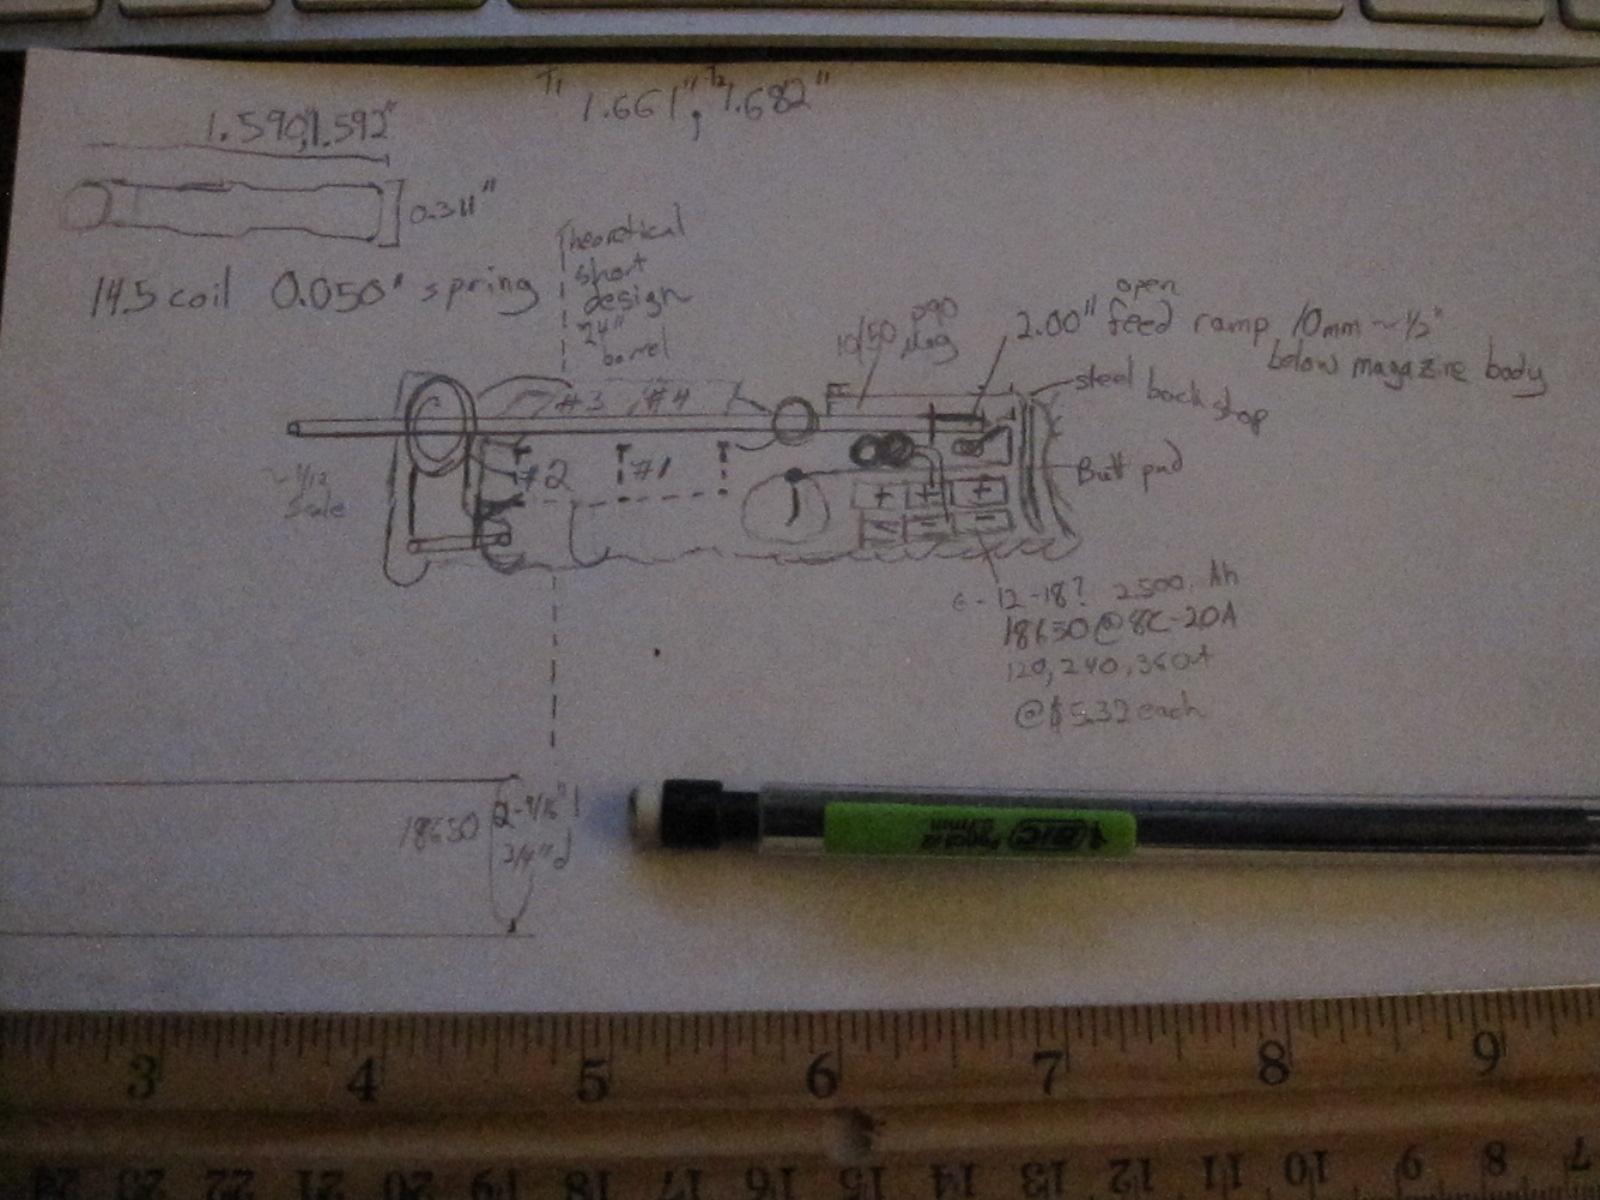
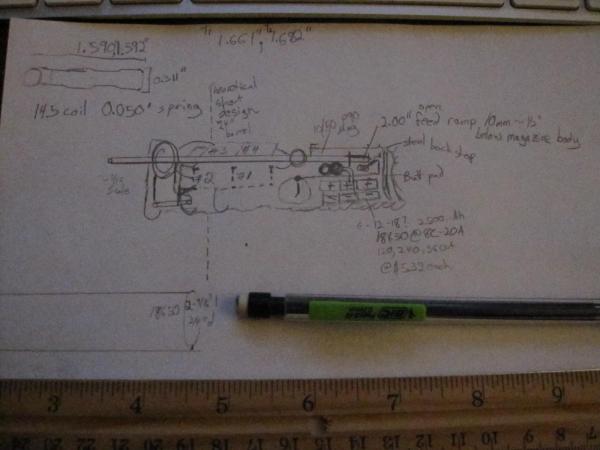
Vague 1/12th scale pencil sketch to layout some of the technical aspects of this build. The magazine rides back as far as I can get towards the buttstock. A lot of the "empty" space is going to be crammed full of wiring (like the HV charger, and some basic triggering elements). Still haven't really begun to figure out how to strip a projectile out of the magazine. There are a lot of options for that. Even a simple solenoid isn't a bad idea given everything else is already electric. Not opposed to making it a manual bolt, or a straight pull action affair either for simplicity sake. Even a spring powered hammer action would be appropriate enough. I have a reasonable idea how to setup the feed ramp, but I still don't know how to attach the magazine. Going to study a 3D model of the P90 design and try to work it out. There aren't any threads, or ridges to speak of; it just seems to kind of sit in a plain round hole and clip in a notch on the back end... Though; there's a strange 2.5mm offset on one of the rims of the circle. Not sure what that's supposed to do yet. It appears the spring in the 10 round is the same as the 50 round magazine, which explains why it's so tight with a limiter. Maybe I should just work with it that way for compatibility sake. Already have a few cardboard models for things like the capacitor banks (so I can get a feel of their size and scale in real life), as well as some CAD drawings. Planning to setup a test bench for this, and might as well lay it out as close to the ideal design as possible. From the business end, it "reads" barrel output, large HV coil, trigatron tube, capacitor banks, physical trigger, smaller pre-launch coil, HV supply, battery power, feeding system, magazine mount, and a pair of steel plates as a safety backstop (in case the projectile goes backwards), then the buttpad. A lot of designs use IR optical triggering to determine where the projectile is at a few points, and facilitate timing for triggering. I'm not sure if that's going to work if I'm firing off an arc discharge of any reasonably size. That remains to be tested... I'm not sure if simple opto-isolators will be sufficient, or if I have to work without them. Another method is electric contacts in (inside) the barrel. I'd like to avoid it; but there may be no other choice but to omit a computer/microcontroller from the design entirely. If I were able to use optical triggering, I would want 3 of them very close to the final HV propulsion coil. Three; because I need to know a rate of change as well. Gravity (vertical angle of shot), friction from the barrel, and air resistance inside the barrel, are going to be slowing it down (where a gunpowder projectile would be (hopefully) still speeding up at this point in a barrel). Some other full scale sketches in the drawing too. I was shocked though; some of my freehand bits turned out to be actual 1:12 scale by "default". Seems like things are falling into place. Just created a cutting document to score glass tubing in the laser. That gives me the ability to start testing spark triggering again in a controlled manner. Vacuum chamber should be here soon for potting coils.
-
This is the only thing that matters? Yes; I believe.
-
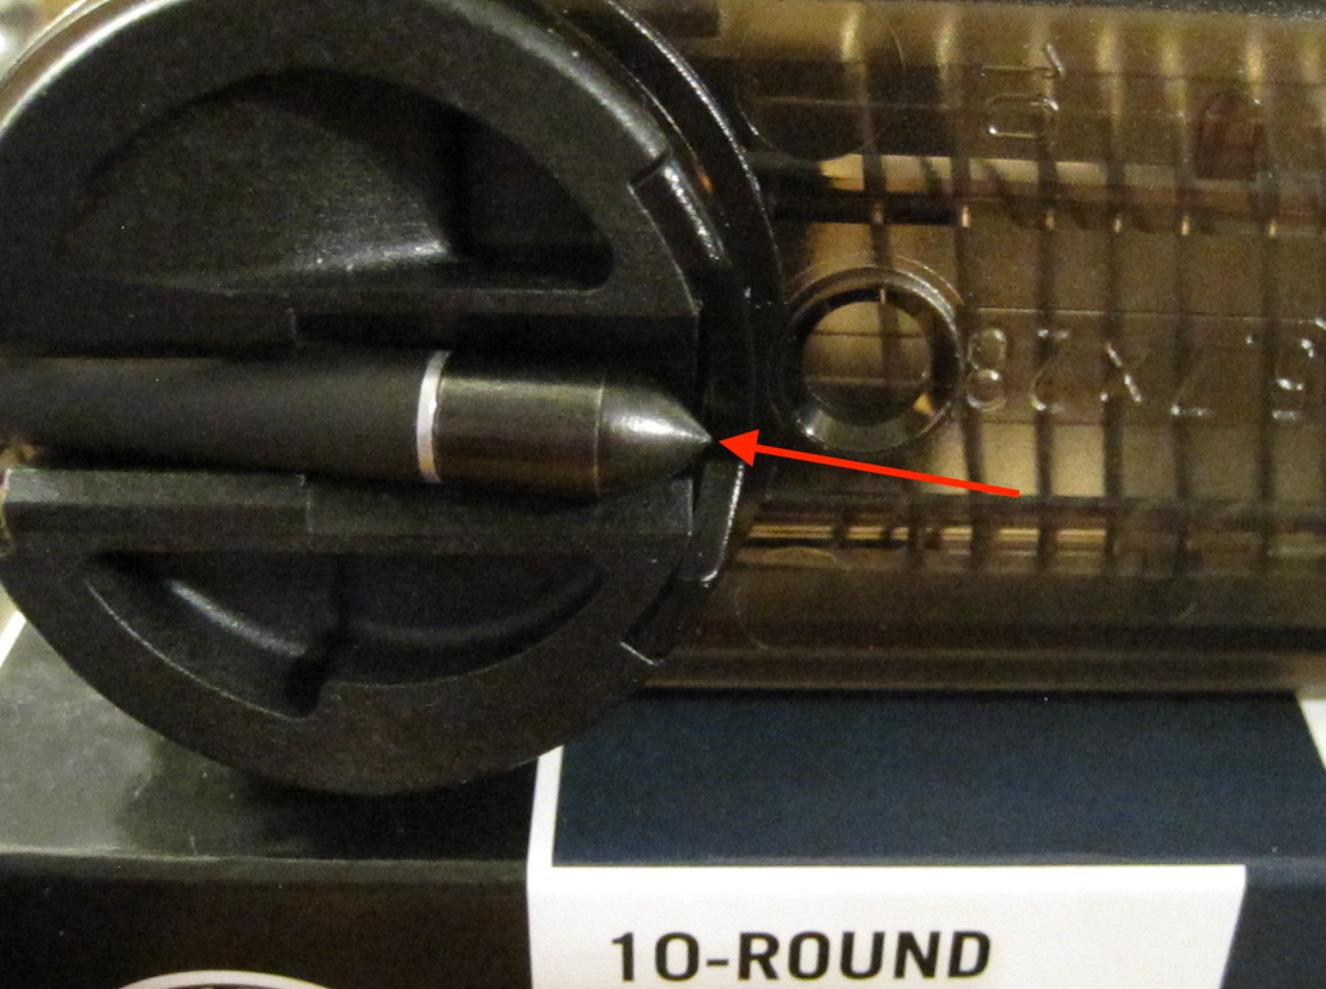
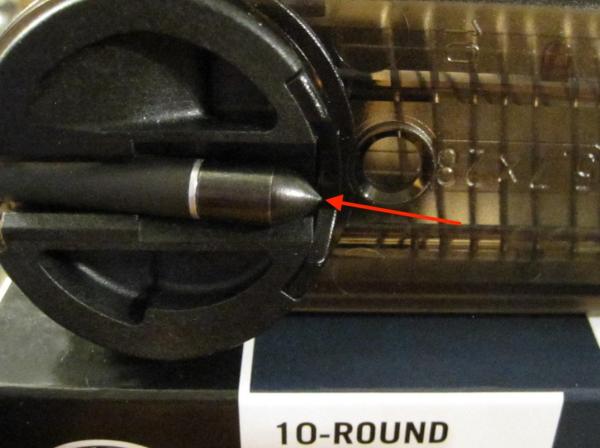
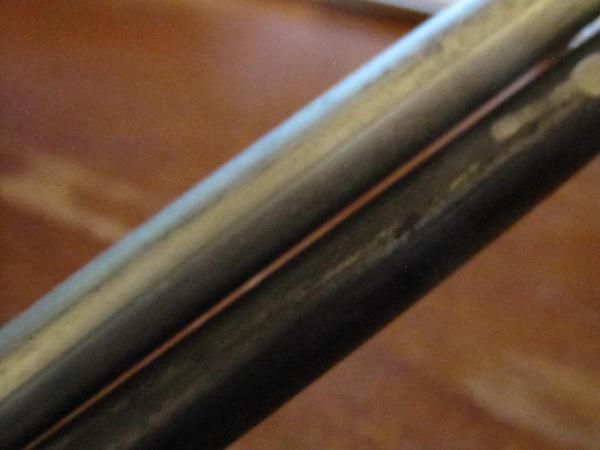
Thought I was going to trim the tail of the loaded component shown in the magazine. But started playing with it first. Dropping the baseplate and letting the spring loose enough let me see I was in the wrong. The tip of these needs to be blunted and polished so as not to rip apart the polymer magazine as they ride the elevator. Picked up some 5/16" steel rod in two different types (sorry for the poop picture quality). Not sure exactly sure what the composition is yet, but I really only care about that once I test them in an actual coil (then figure out what is "special" about that kind of steel). Need to machine them down on the lathe, making the appropriate blunt and rounded point to ride pretty in the elevator; and also a rebated rim in the rear end, maybe with a drilled tail hole as well. The Unimat lathe has a pass through, I'm pretty sure this fits... I hope so. The 5/16" steel rod does fit snug in the barrel. Just needs a light polish. The arrow head prototype was just that. A quick sketch prototype I could play with in my hands... That point is a failure here, in this current design. I also want to make new points that are more heavy in the front (shorter rear threads), so I can try a solid aluminum tail as well. Need to cover my bases here. I'll whip up some CAD drawings of each in a bit... Still trying to finish up a quick magazine mount so I can start presenting to a barrel. My current guess is with a bit of compression I don't need feed ramps at all if the point is nice. So far the magazine is feeding fine with less spring pressure.
-
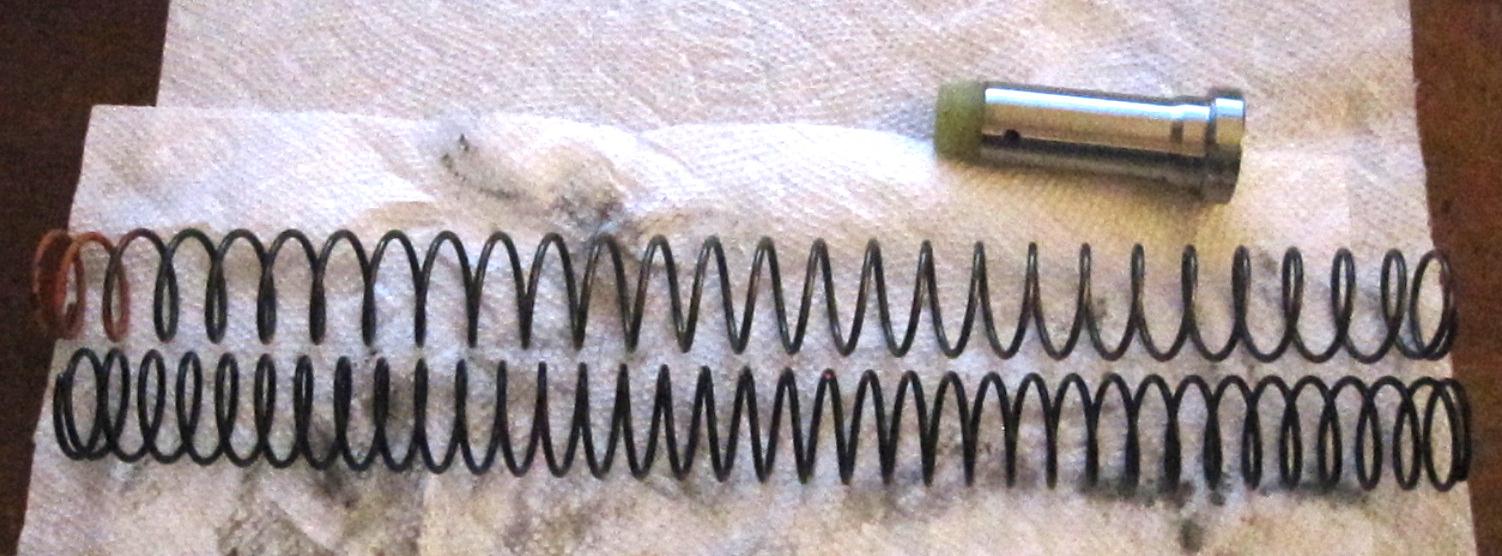
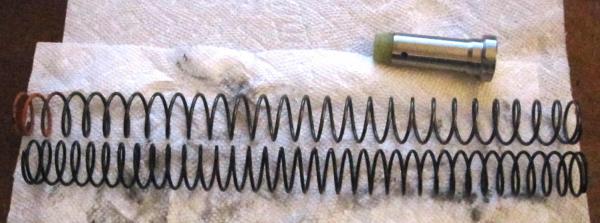
So I finally decided to go after this problem again... I reviewed the notes I had posted during the build, measurements of the spring; and loads of other threads here over the passing years. It finally occurred to me that the only problem I could be having was the spring. I referenced the spring coil diameter I posed early on, and used a calculator to multiply it by the number of coils. Sure enough; the compressed spring would be longer than the whole buffer, not just the part where the spring is allowed to work. Without even taking apart the gun to check; I ordered a Springco Orange spring. Again; I had read enough here in other threads around here to know that was going to be my solution. Spring arrived, and it went to install it. First thing I checked was how far the original spring would compress on the buffer. I could still stick my finger in the end and feel at least 1/4", maybe 1/2" before touching the buffer bumper. Sure enough; it was binding up and making it impossible to ever hit the buffer bumper in the gun. Also nearly impossible to lock the bolt back with the charging handle, since the bolt couldn't travel far enough back unless I slammed it really hard jamming up the coils in the buffer tube. Dropped in the Springco Orange spring, replaced buffer. Locks back with ease, and plenty of room to spare. At this point I think I'll revisit the adjustable gas block next time I fire it. I might be able to close it up a bit more with the proper spring. Might not. But I'll be sure to pay attention either way. Is there a preferred sealant for that grub screw on an adjustable gas block? Is Loctite blue enough? This should be the last thing I needed for this build. Quite frankly it was working before, albeit a bit violently. It would lock back on an empty magazine which meant it was binding up the spring enough to clear. Looking closely at the old spring, there are some wear marks on the coils where it was wearing from that friction. Springco Orange spring on top, original spring supplied by Ceratac on the bottom.
-
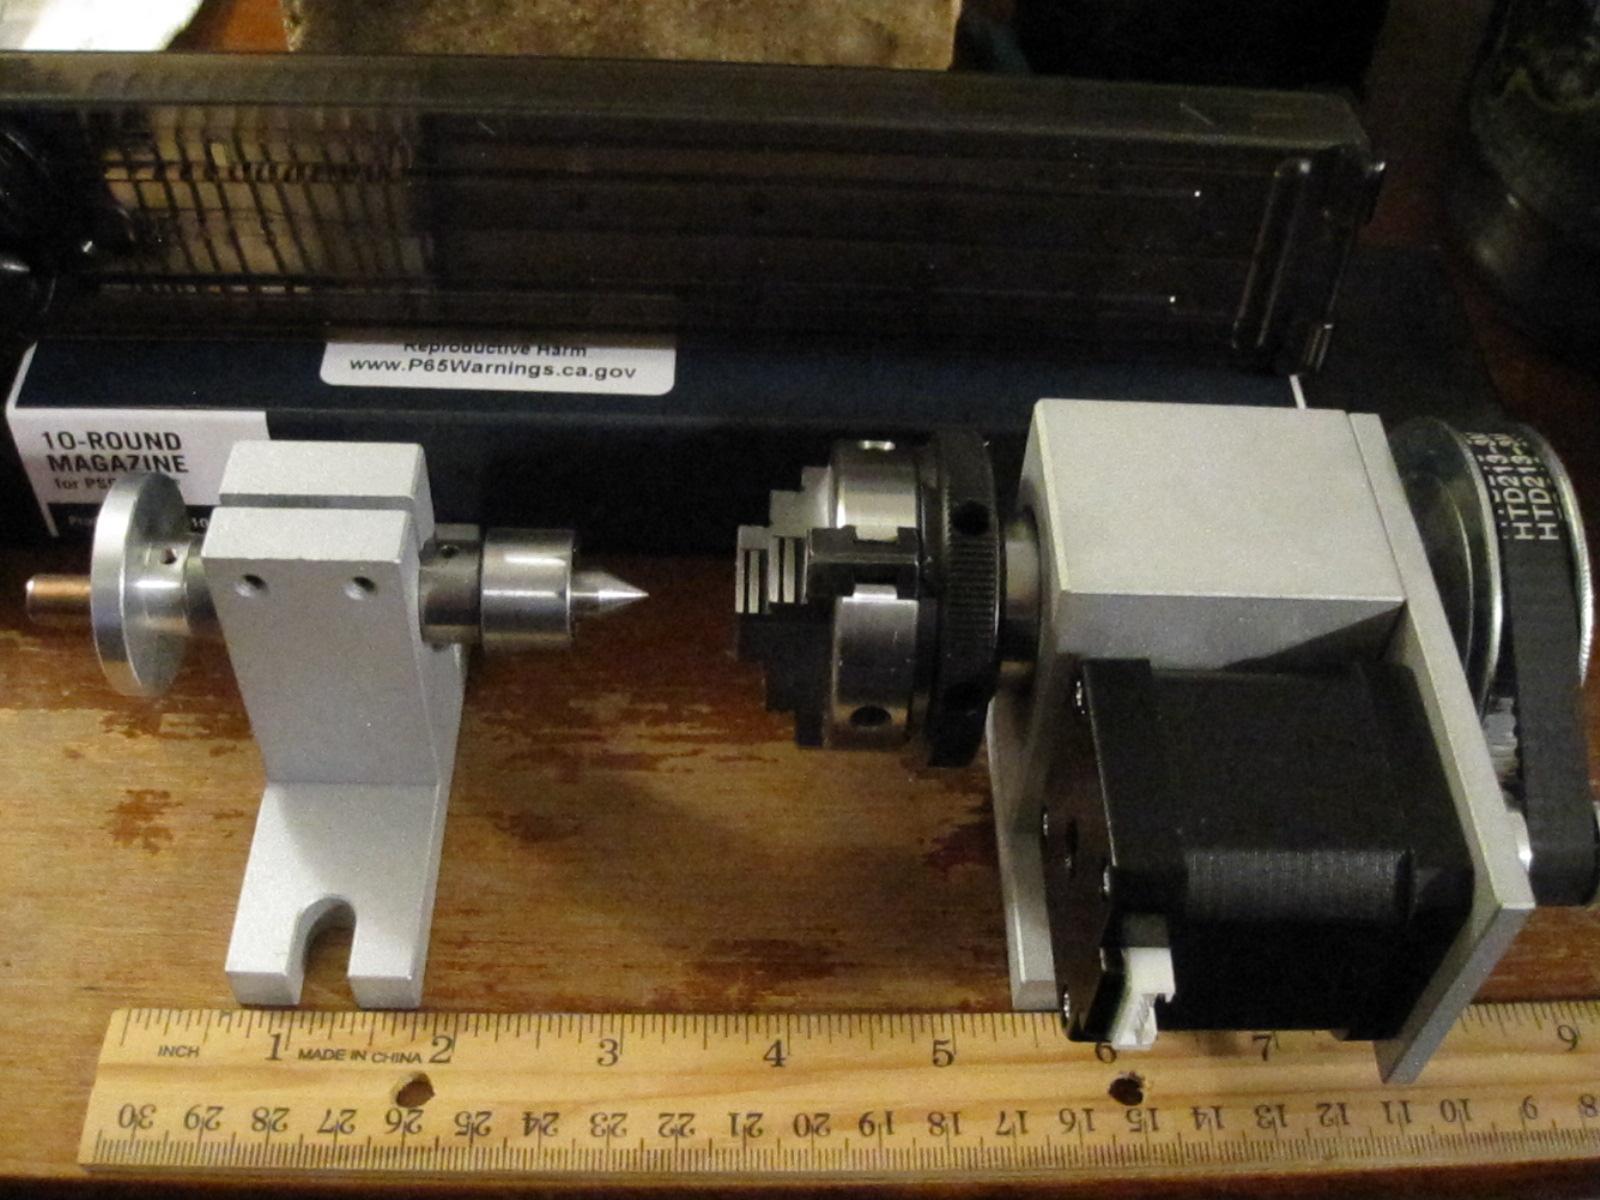
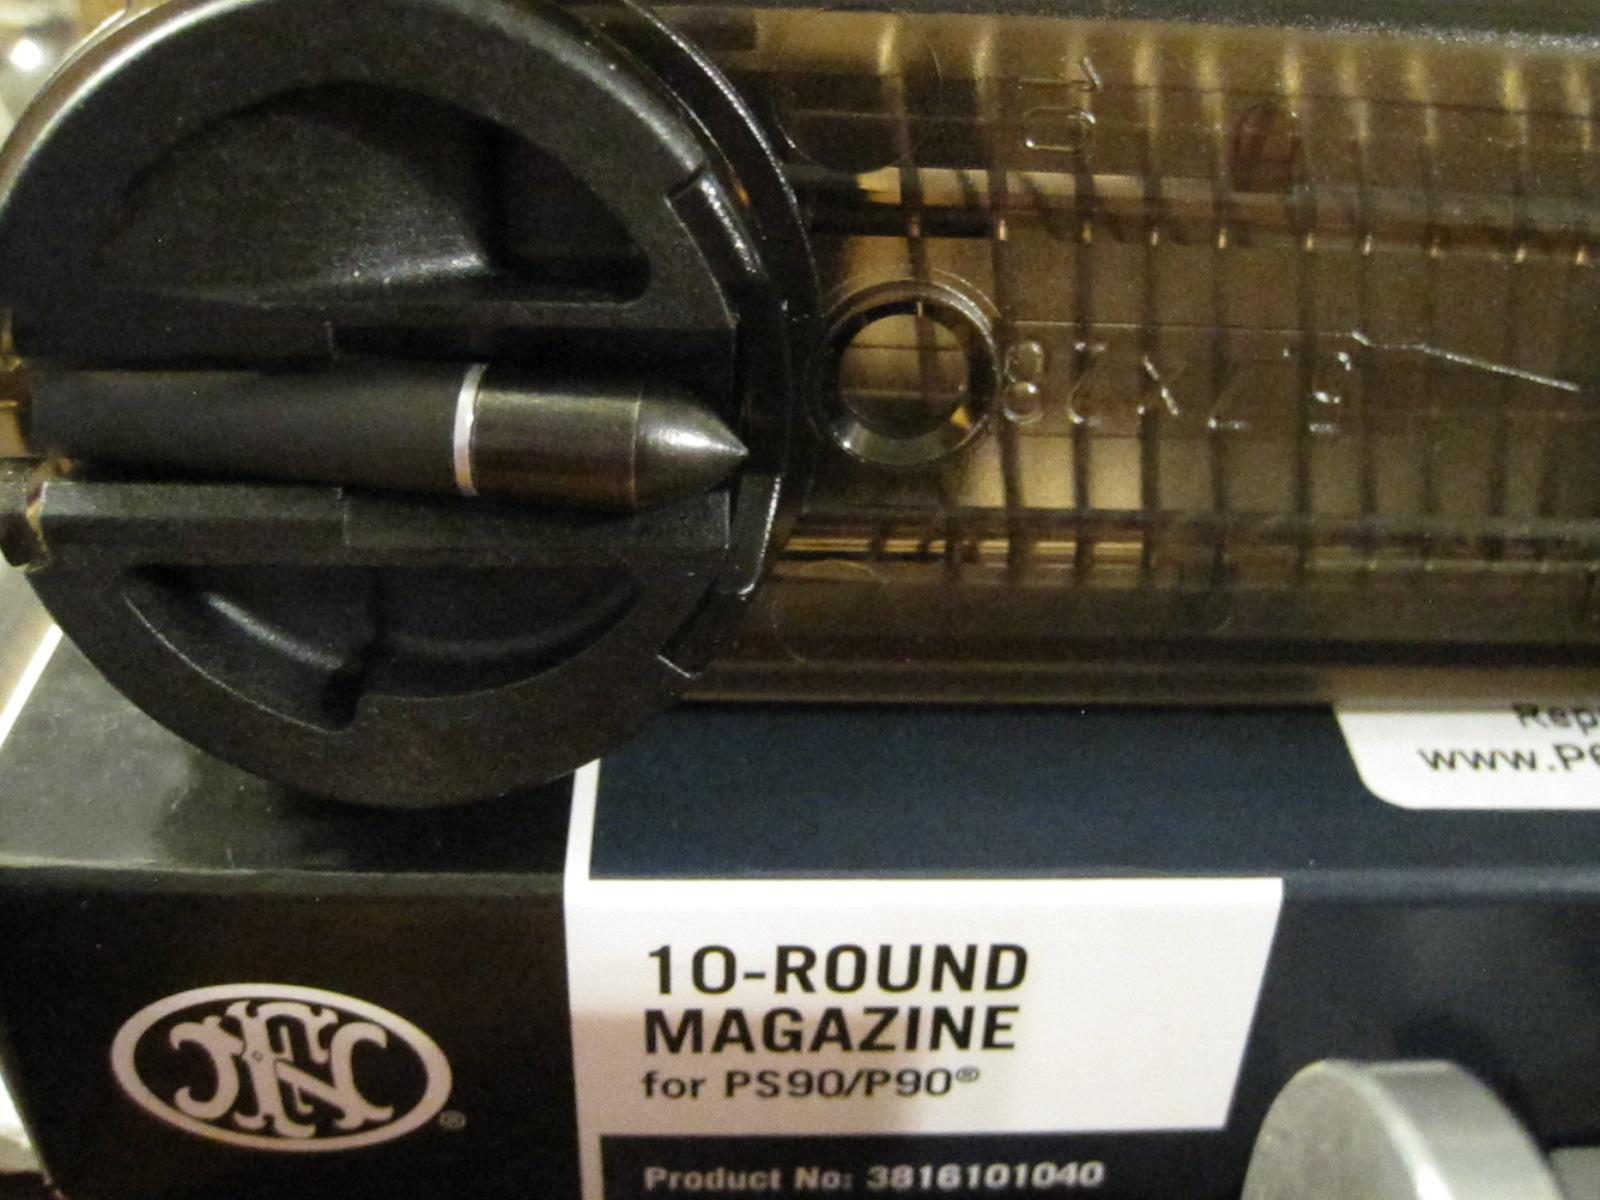
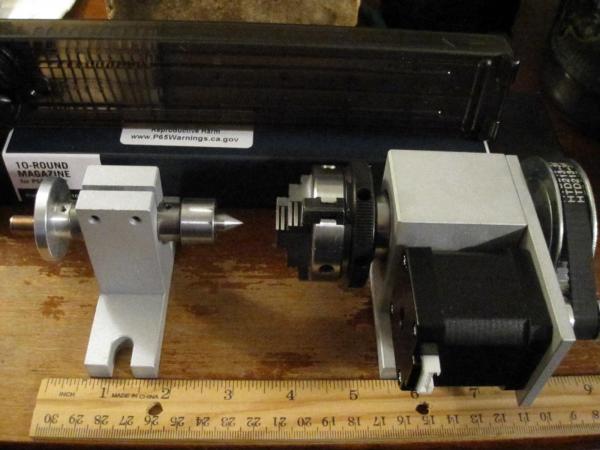
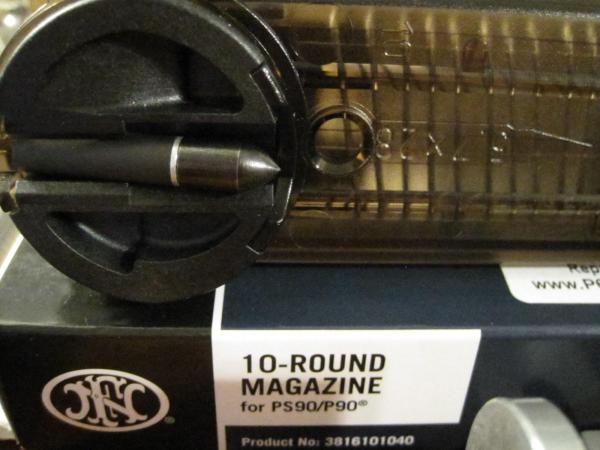
Couple of quick images to add to the last post. Ordered a rotary to use as a CNC 4th axis; and only just a moment ago realized that I can use it as a coil winder as well. It's not super fast, but has a built in brake (holding torque from the stepper), can already "count" the turns, and will chuck up any size winding core I want. Plenty of torque for winding even stiff wire. The rotary unit will also fit inside my laser cutter, so I might opt to do some of the things I had planned on the CNC, with the laser instead. Cutting glass tubing for trigatrons for example should be fast and easy with a laser. P90 magazine looks like it should work fine, except the spring inside is extremely tight with the 10 round limiter. Given the simplicity, I might just wind my own new spring, shorter with less push to make it easier to work with. Looks like the limiter would also be a breeze to remove/replace for the full 50 round capacity. Sadly, even without a P90 in my collection; I bet the powers that be would still LOVE to bang me with a high capacity magazine charge if it were known to them. I guess I'll stick with 10 rounds for this build... It does still call into question; what is a magazine? Is a plain cardboard box potentially a high capacity feeding device? What explicitly defines a container as a magazine? Asking stupid questions because I only intend to fill this P90 magazine with inert hunks of matter. Might as well be a pile of steel balls in a tube. Could a Bic Clic Stic (writing instrument) be considered a high capacity magazine if it contained the original spring, and more than 10 BBs inside? Is the law about intent; or is it loose enough that half the things you can buy in Home Depot could be considered high capacity magazines? Don't worry... Those laws are in place to keep us all extra SAFE.
-
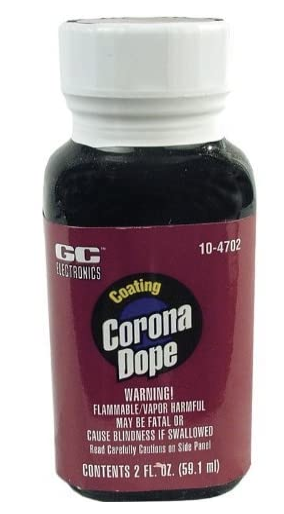
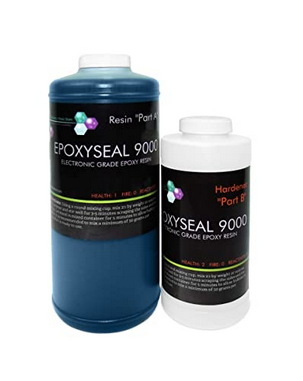
Been reading on and off about what is needed to get this into the next test phase. P90 mag should be here in a few hours, so I can start messing with that. Still need to develop some functional attachment and feeding method. Shouldn't be very time consuming once it's in my hands. With a bit of measuring, 3D computer modeling, and some kind of 3D fabrication output; there are plenty of quick prototyping options for that bit. Ordered a vacuum chamber to pot the coils. Reading about the properties of possible coil potting options; realized I have a new problem... Not even a big problem, but one I need to incorporate into the coil winder. If a dielectric potting solution is measured in kV/inch of thickness; I need to find a way to separate all the coils by enough distance to allow that material to fill the gaps if I want to get silly with the voltages (which I do). This probably means winding each layer and potting them alone, allowing coil wire relaxation even... Then mating those coil layers and soldering the ends together to form the whole coil. Not at all what I anticipated early on; but seems necessary if I want to hit even modestly high voltages. Then the whole unit can be potted under a vacuum. At this point 4kV and 20kV still remain pretty acceptable targets (at least for design specifications early on, I do have a 40kV trigger module though). Doesn't that mean I should consider 100kV too? Even the very best potting solution I can find would require 35 mil gap between all coil wires to support 20kV operations (70 mil thickness at 40kV); and I don't even know where to buy that product. I presume I need an even larger gap; as the next best solution is 42 mil. These solutions are likely epoxy based, and will be very stiff and brittle; so I couldn't pre-coat the wires and then wind the coil afterward. I did find a product on Amazon that can support 20kV at 50 mil thickness. So that's at least an option if I can't get something significantly better. I will be focusing on the 4kV options up front as a way to work out some of those details before I step up to the big leagues. Should still have enough glass to make a few trigatrons. Not 100% sure about my ability to install electrodes into a sealed glass unit though (melting the glass and creating gas tight seal on those metals); especially if I want a vacuum, or alternative gas. I am relatively confident in ionization triggering for this project though... Even have a bunch of test "triggers" on hand. That was a relief, as I had been considering other options like gas pressure triggering (it's too slow and unpredictable). Might still try the gas discharge for fun in some iteration of this build as things progress. There is evidence that blowing the projectile down a tight barrel is helpful (if I could use that pressure dump to my advantage). It could work out in a single stage build with very specific controls in place (though I still doubt it). Once I have some trigatron tubes to mess with, I can start looking at arc distance in air (inside a tube) for various voltages, and make some adjustments to my goals. Ultimately; it seems like I'll need to be painting epoxy on a lot of the high voltage electronics sooner or later. Still trying to keep this as stupid and simple as possible in the long run; but actual test results will guide the build entirely. Still don't have a deep enough understanding of what it would take to fire aluminum projectiles. Don't really want to commit to any design before I shore up that specific detail. There is some chance at least; that it might be ideal for what I'm working with in this build. Do not want to waste a bunch of designs, materials, and testing trials before making a decision... Especially given the really tricky test projectiles I already have on hand.
-
What do you have on order or in the mail? Part 2
Lane replied to imschur's topic in General Discussion
I don't really know what it all means... I've been out of the loop for a bit. I know you used Firefox. But WT F is EI? Or OG? &client=firefox-b-1-d &ei=Uls4Ya_YLLP09AOFyruAAw &oq=RRA+2-stage+trigger+problems &gs_lcp=Cgdnd3Mtd2l6EAMyBggAEBYQHjIGCAAQFhAeOgcIABBHELADOgkIABDJAxAWEB5KBAhBGABQqIcBWKmjAWD4tgFoAXACeACAAa0BiAHBC5IBAzAuOZgBAKABAcgBCMABAQ &sclient=gws-wiz &ved=0ahUKEwivyez74u7yAhUzOn0KHQXlDjAQ4dUDCA4 &uact=5 -
What do you have on order or in the mail? Part 2
Lane replied to imschur's topic in General Discussion
This is the same URL.... https://www.google.com/search?q=RRA+2-stage+trigger+problems Without all the ... Stuff. Trim off the & and everything after (usually). -
What do you have on order or in the mail? Part 2
Lane replied to imschur's topic in General Discussion
^^^ Jesus; that URL!!! ----------------------------------------------- P90 mag for the electric build. A springco orange spring (from the same place to "save" on shipping). Seems like that is actually an outstanding issue with my Ceratac build. I kind of worked around it way back... But when I went to shoot it again recently, I realized I had released the scope to re-torque it too (no accidents). Now I can't find my feeler gauges to torque the mounts neat and straight. Soon though. Have been able to stock up on more factory .308 ammo recently. Planning to once fire the brass, clean, prep; and then sort it. Date code on the box seems to indicate it should all be LC 21 LR; and mostly from the same manufacture date even. Saw a good amount of hunting ammo appear in a local store recently, which had been bare for months. Contacted @CRracer912 about the spring from that Ceratac build that happened right after mine; but that spring was replaced already. I can only assume it was the same, and also bad (but can't prove it yet). Ceratac stopped selling that kit a while back anyway; so there won't be many "new" ones to compare with. From my quick calculations, the spring it came with binds by about 1" in depth. The buffer could NEVER hit the back of the tube as a result. Will post back in the original topic when I get all the details worked out. Orange one should be here later this week... -
Used to have one of those right here; as I had tried it for cutting off 223 for 300 blackout (never worked well at all). I'll try to find it and give it a try. Can't hurt at this point. I can even work on some previously "wrong" glass tubes if I don't mind the potential for blood. Might as well water my grass, and my liberty trees if I'm going that route...
-
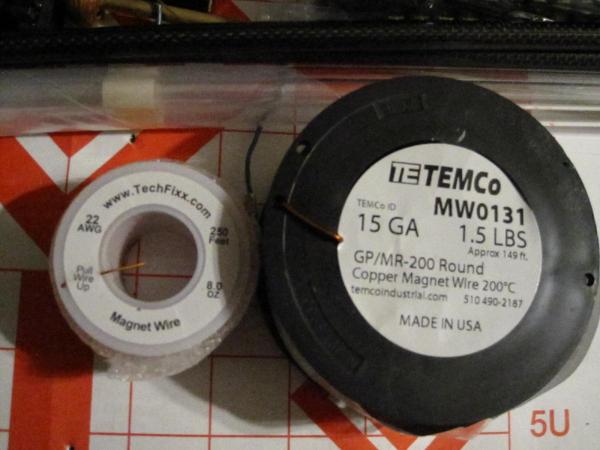
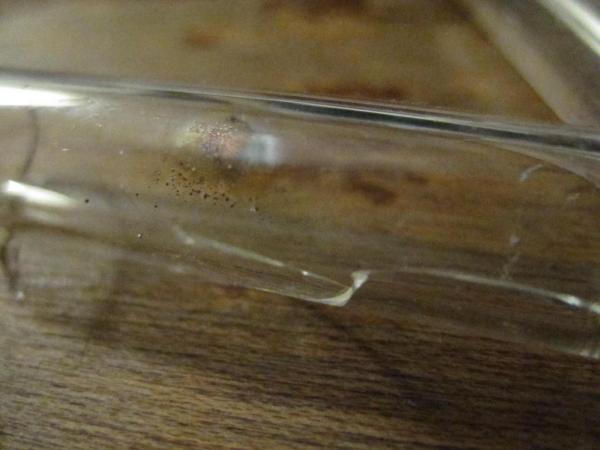
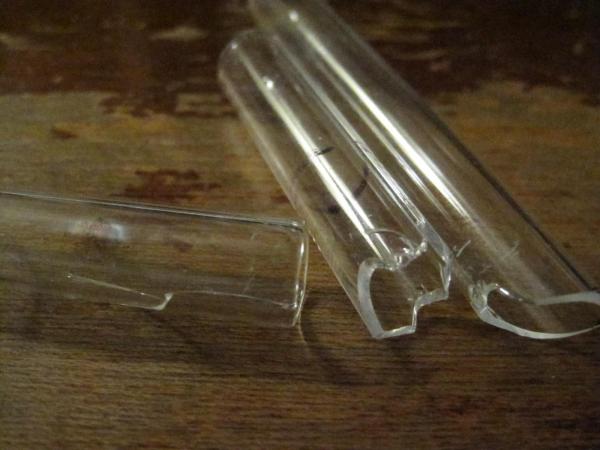
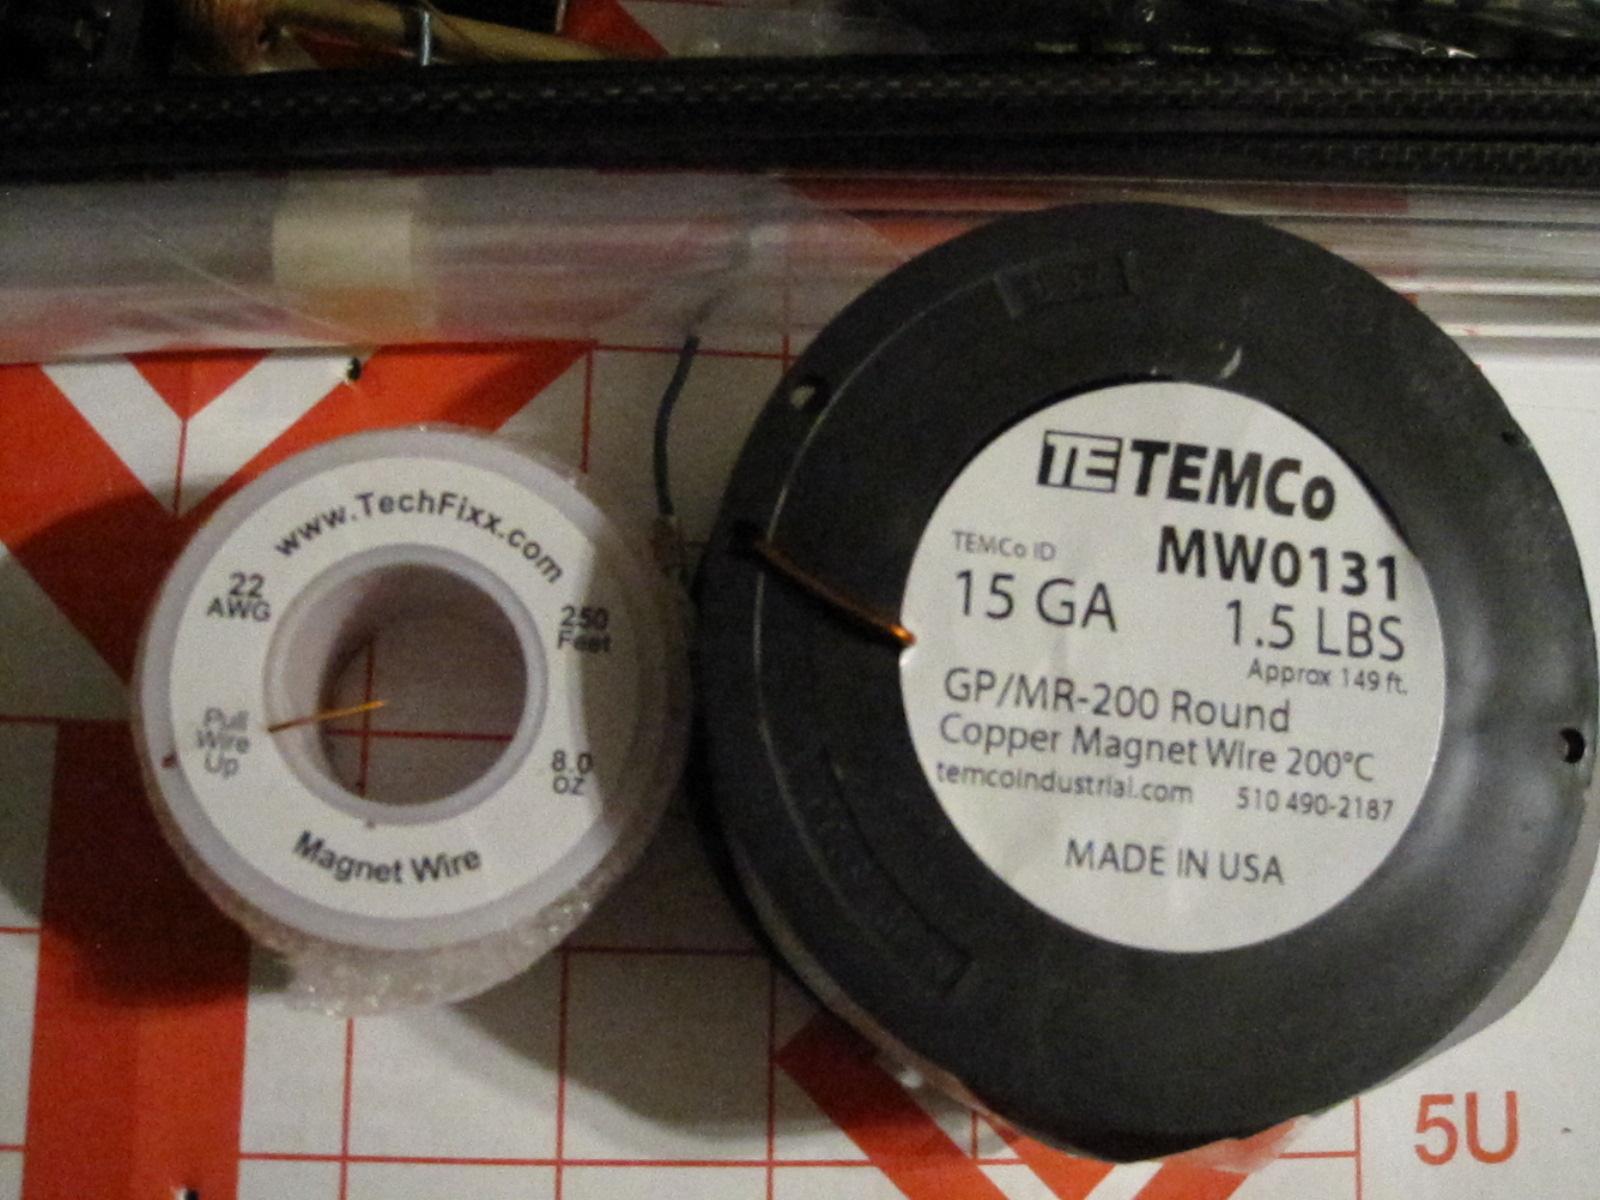
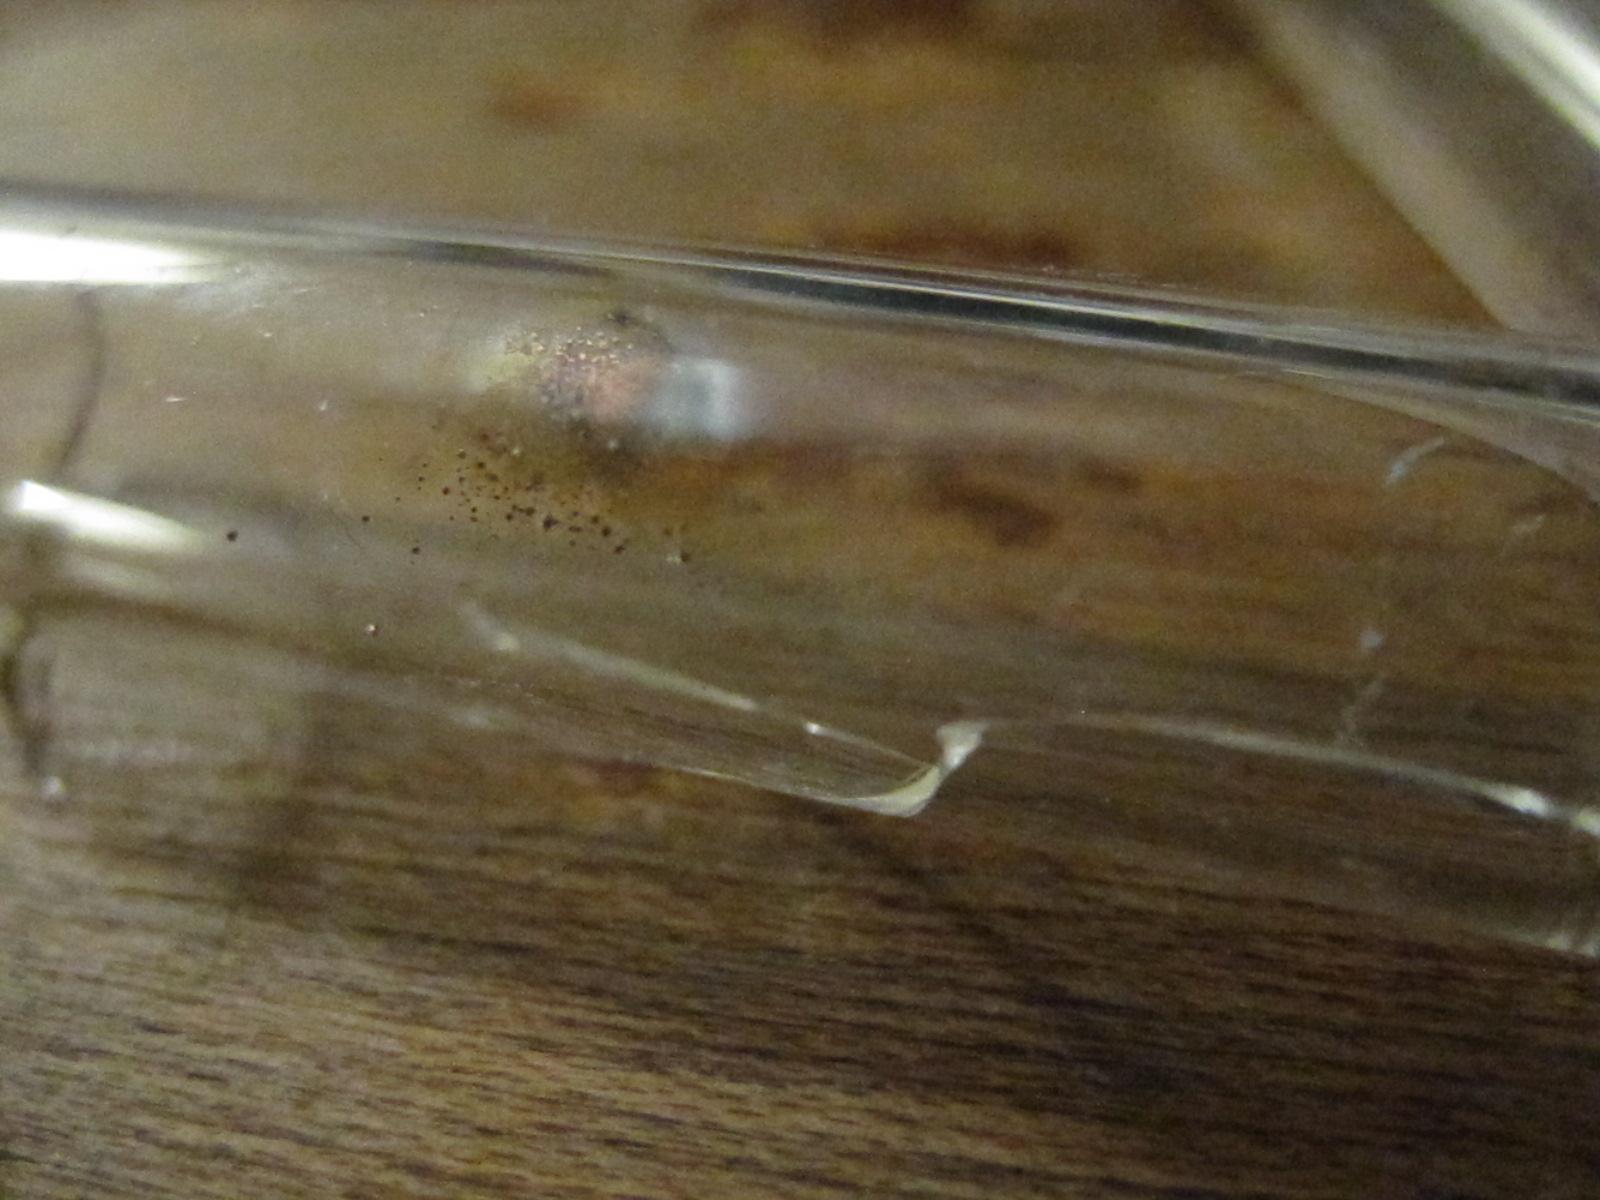
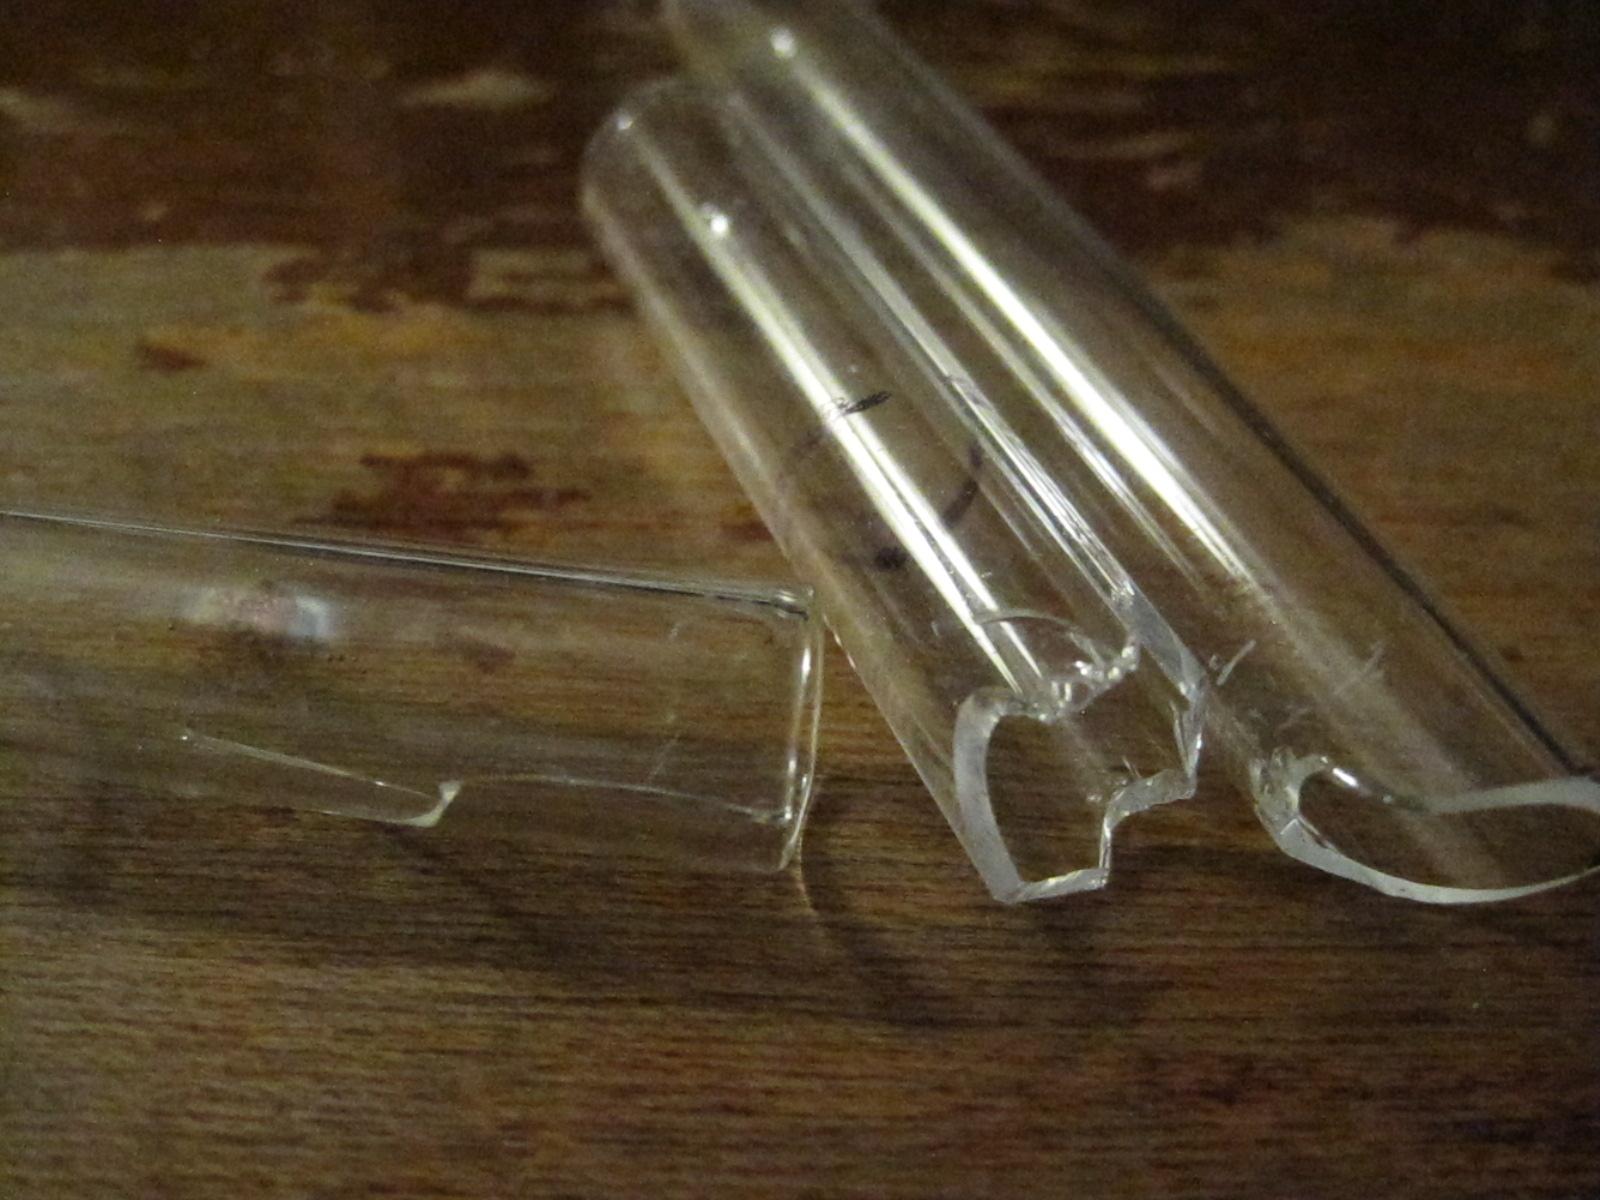
Had typed up an update days ago, but didn't bother to post it as I was waiting on things to show up; now it's gone. Short of that was: I took two steps instead of one the other day when testing. Blew up my first SCR already as a result. I had soldered wires to the capacitor bank instead of continuing to use cheap clip leads for the connection; AND swapped in the SCR (previously spark triggering)... Had I continued using the clip leads it would have added about an extra 1 ohm which would probably have been enough to keep from over-current spike upon triggering the SCR. Par for the course though. I knew at least one would be expendable. Perhaps more. Ordered a P90 magazine so I can start fabricating some type of feeding system, and get a handle on the overall layout of the build. Two sizes of magnet wire have arrived. At this point though, I need to build a coil winder and be carful about those details. Coil winder needs to have a ratchet to keep the wire from becoming loose if I let go; or at least some kind of brakes to hold it if I need to stop and make adjustments. Some shorter acrylic tubes showed up. They are a bit larger in I.D., but I simply want to have a way to compare with carbon fiber in case there is a noticeable loss due to eddy currents in the CF. Tried to break some glass tubes to make trigatron test units. But so far I've not done well at scoring the tubes (and getting them to crack in the same place). I have a few more to try before I need to order more. I need a really sharp file, though some people suggest chucking them up in a lathe. I did try to test fire in a rudimentary air filled glass tube, and ended up with little copper bits from the electrodes stuck to the glass. I suspect it would be a problem, but only one way to find out. Also cracked the tube further upon firing. The final piece of the puzzle at the moment seems to be a vacuum chamber to allow me to resin pot the coils (without air bubbles). With such strong forces, the coils would otherwise move and wear out the insulation quickly. Planning to use the same vacuum chamber for another project though; so it won't be a one use item. Still shopping around for that, and the best dielectric resin I can come up with. There is a commercial product for this, but I might be ok with just epoxy or something depending on the available information. Still looking into that as well. Don't need to stress about it until I have multiple coils already wound; so I need to at least start building the coil winder first.