survivalshop
-
Posts
11,250 -
Joined
-
Last visited
Content Type
Profiles
Forums
Downloads
Gallery
Store
Everything posted by survivalshop
-
Lets see what that gets her now
-
Whoops , forgot the link . https://www.botach.com/lancer-l7awm-7-62mm-magazines/
-
As long as you use a 308 Buffer system in the Carbine Receiver extension ( Buffer tube ) you can use any size Barrel you want . You need to find out what length the Receiver extension is , the Armalite & DPMS types use different length Tubes & will require one or the other Buffer & Spring for their perspective systems . DPMS type system uses a std AR 15 Receiver Extension ,Rifle or Carbine systems , Armalite systems are a different length & require their 308 components . it may sound confusing , but its not , just use the system that matches the Receiver Extension length or what is designated by the manufacturer . Not sure what difference that Stock system will make with Commifonia laws , good luck on that one .
-

-
As by jtallen83 , the stock type or manufacturer has nothing to do with Gas system length . The Buffer & Buffer Spring do . As also said the 18" will be a little tamer with a rifle length Gas system . The 308 cartridge has a lot of power & the shorter the Gas system , the more you feel . I also have a 16" 308AR with a rifle length gas system .
-
10 round , various colors $ 29.95 20 round , various colors $ 36.95
-
I have never installed a scope that was so far off at 25 yards , it would make it unsafe to shoot down range . It only takes about three of four rounds to adj. the scope at 25 yards to make sure its on paper at 100 yards , then a couple more rounds to center it at 100. This thread is about a pistol anyway so all this talk about scopes means nothing . All the talk about wasting ammo while sighting in any firearm is kinda like saying practice is bad for your aim This makes sense ,when you think about it , shows how much i know about them , like almost nothing .
-
I haven't watched a game since they started that $hit ! I look at it this way , they have a right to protest , but not on my time , on their own time & when the NFL will not stop this , on their time , they are just pandering to the Multi-million $ jocks , who are way over paid for playing , just a game ! I say my time , because I pay for my TV stations & they in turn pay the NFL , so it MY time & if I want to watch a football game , I don't want to see these a$$holes bringing up personal $hit on MY time , so I don't watch any of them, period . Fukum .
-
Sale looks over
-
I think its all about weight reduction , for race guns .
-
Welcome from Florida
-
There are a few things in this article I don't agree with. IMPROVING TOOL ALIGNMENT: 5 WAYS TO “FLOAT” NOVEMBER 11, 2016 GLEN ZEDIKER LEAVE A COMMENT “If it’s not perfectly aligned, then it should float…” Here’s a few tips on improving concentricity in the handloading process. Glen Zediker Water seeks its own level. Moving parts seek their own centers. Trick is getting the centers to agree. When centers coincide, that’s “concentricity,” and that a prime goal in the process of creating better ammunition. Anything under pressure and moveable, such as a cartridge case being sized or a bullet being seated into a case neck, moves toward a path of least resistance. If all the tooling associated is straight, and the case hisseff is uniform, then the result is “straight.” However! That’s in a perfect world. In reality, which is accepting existence of tolerances and misalignments, taking steps to help two conflicting centers come close together comes from providing some free-play in the apparatus. I call it “floating.” And it works, and here are a few ways to use it. Now, free-floating can work two ways. One is to incorporate a float into the mechanism in use, and another is to create float, and then use that to center a piece prior to snugging it down. 1. Shellholder This first one might seem a tad amount clumsy, but it’s really easy to get used to in operation. Presses with conventional shellholder arrangements use a spring clip to retain the shellholder in its slot atop the press ram. Get this clip gone! It cocks the shellholder askew. The solution is to incorporate an o-ring to retain the shellholder in its slot. Get one at any real hardware store. Size that works is usually 7/8-inch outside diameter, 11/16 inside diameter, 3/32 thickness. The o-ring fits into the exterior channel previously occupied by the spring clip. To install a shellholder you just roll the ring down a tad, slide in the holder, and let the ring back up to block its exit out the front. This modification lets the shellholder sit flat, as it should, and also provides some wiggle room so the case can align itself with the die opening. [Photo from Top-Grade Ammo] 2. Sizing die lock ring Speaking of wiggle room, there’s a whopping lot of it in a 7/8-14 thread set. That’s pretty coarse. Taking up the play created by thread-to-thread gaps goes a good ways toward “straight” installation of a die into a press. There are a couple of ways to help this. One is to always (always) tighten a die locking collar ring when there is a case inside the die, and the ram is fully extended upward (handle all the way down). This bit of pressure helps to bring the die into straight alignment. Problem is that it also makes the daggone die hard to remove. Just get stern with it. After initial removal, subsequent re-fittings are easy. I use a “strap wrench” (plumbing supply and real auto parts stores have one for you) if it’s stubborn to turn loose after being tightened initally. Pliers result in cosmetic, but not real, damage. Lock rings with wrench-flats are dandy. Always put an index mark from die lock ring to die body to press top. That’s a simple way to verify return to “zero” when a die is installed back into your press. And ALWAYS install and remove the die holding ONLY the locking ring! Never-ever the die body. Any teeny body rotation within the locking ring, which is easily undetectable, requires repeating the process of die adjustment. I prefer clamping lock rings, like these from Forster. Those with a set screw can cock when the screw tightens in against the angled threads. For these tricks, choose a case that represents your best: get one with the most consistent neck wall thickness. 3. Expander/decapping assembly There’s some “feel” involved in this one, but it is worthwhile. To get the expander in your sizing die sitting on center, run up a case fully and then slowly withdraw it until you feel the expander lodge inside the case neck. Then put a little pressure down on the handle, in the direction of raising the ram, while you tighten the locking apparatus. When it’s possible, and it almost always is, secure the pieces-parts when they’re doing their jobs. For instance, tightening the locking rings on a decapping stem when the expander is holding inside the case neck helps bring the stem into straight alignment, and the expander along with it. 4. Lock-ring o-rings Here’s one I suggest but don’t usually follow… Lemmesplain: It works but I prefer these other means because they’re more “secure.” However! Installing an o-ring up under the die body locking ring (sizers and seaters) provides a cushioned flexibility that provides for takeup in the amount and “direction” needed when a case is run up into a die. O-ring size is 7/8-inch inside diameter and a thickness of 1/8-inch. O-ring trick: the flexible ring allows for some “wiggle room” to help case and die centers match. Trick is reinstalling the die to hold the desired setting, and the index mark really helps. Hold only the lock ring when threading the die in and out!! 5. Bullet seating die stem This one is pretty simple: tighten the lock on the stem when there’s a seated bullet run up into the die. Threads are finer on stems than on die bodies, but better is a better. This is for a conventional-style seating arrangement. Those that use a spring-loaded sleeve arrangement, like a Redding Competition Seater, are good to go as are. The preceding is a specially-adapted excerpt from the book Top-Grade Ammo just released by Zediker Publishing.
-
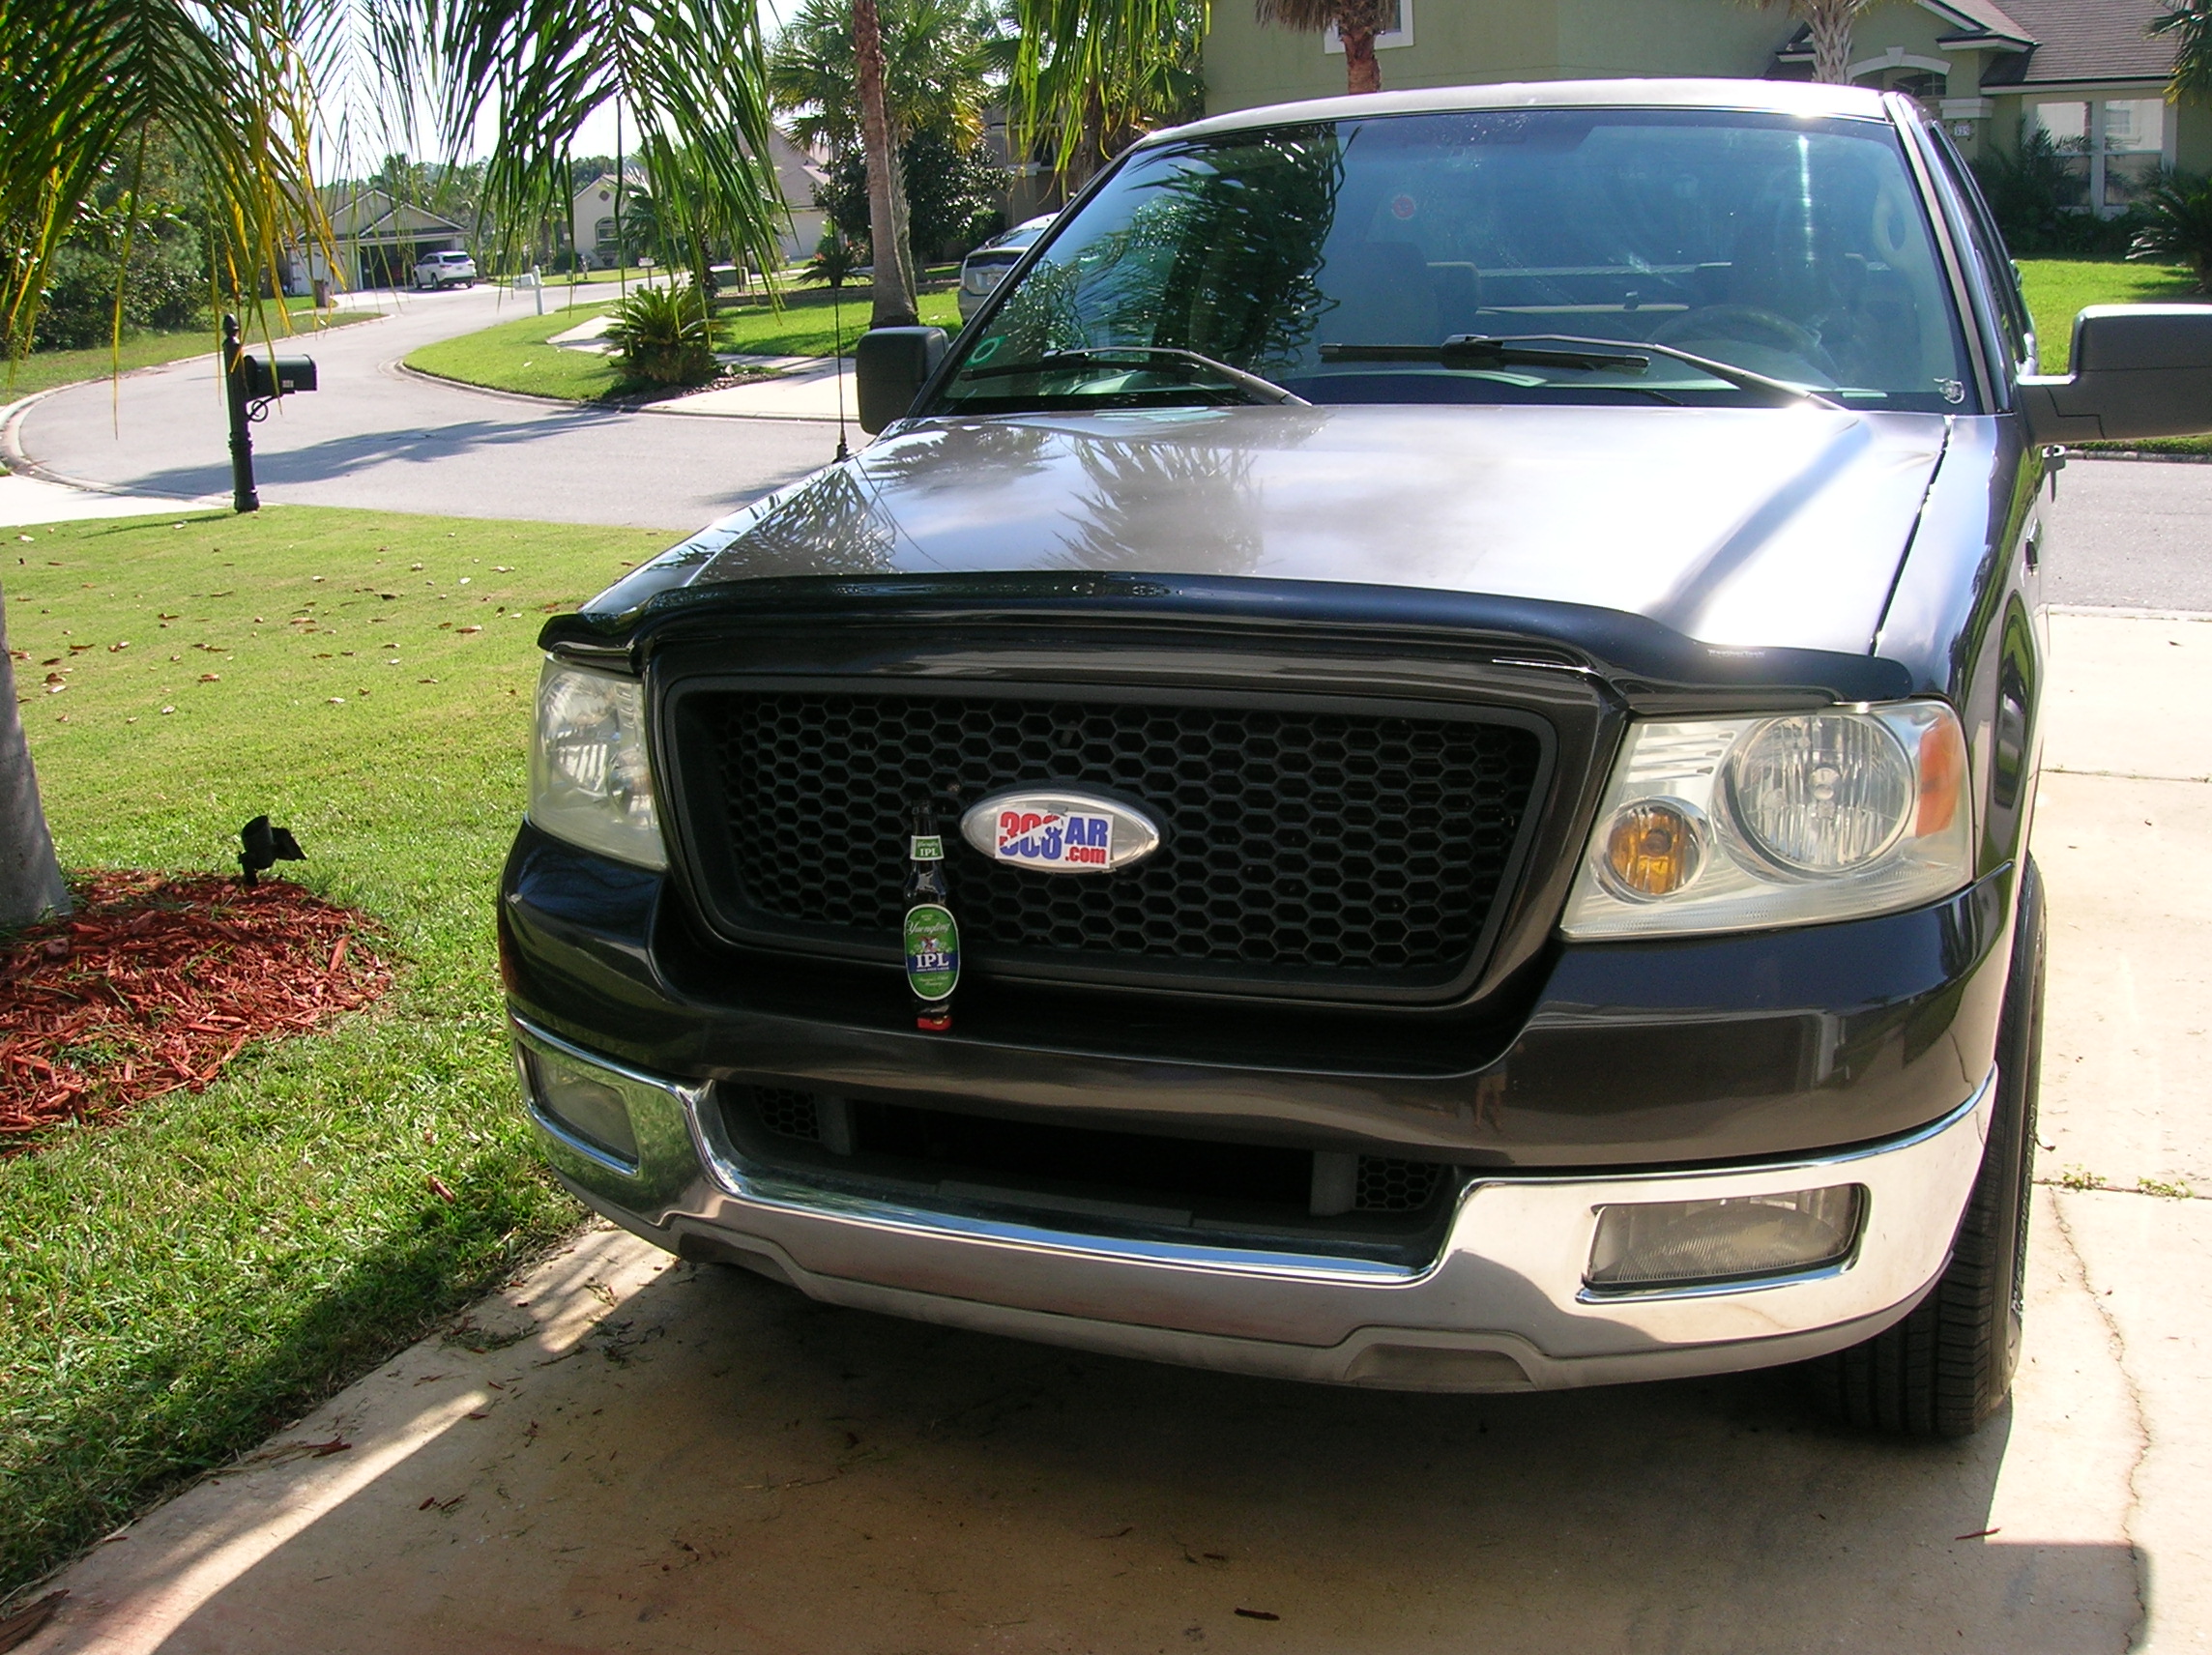
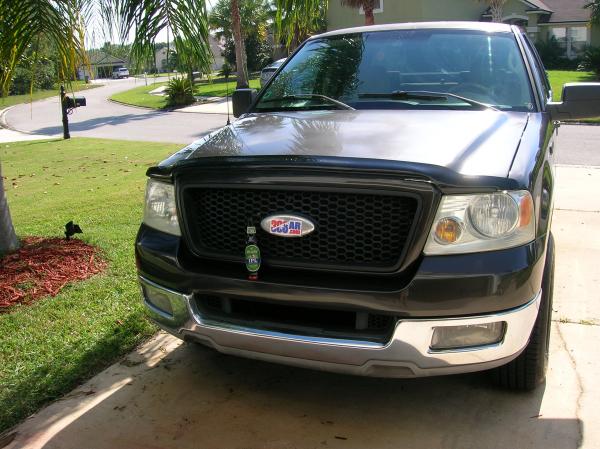
Any Stickers left ? I need a # 1 ,# 2 & # 3 ? My FORD emblem in front of the Truck is washed out by the sun , so I'm going to do this , they actually fit with out trimming .
-
I know deep down Trump was going to win , but topped off my stores the day before the election , just in case, glad I didn't need much . .
-
All Geissele Triggers on Sale Now! Brownells - Serious About Firearms Since 1939. HOT SELLERS IN STOCK MAGS SALE & CLEARANCE LEARN SCHEMATICS B-G2S-E 2 Stage & B-GRF Rapid Fire Enhanced Triggers Geissele SSA-E Super Semi-Auto Enhanced Trigger Geissele AR-15 G2S Two-Stage Trigger $199.99 $159.99 $240.00 $194.99 $165.00 $134.99 Geissele SD-3G Super Dynamic Three Gun Trigger Geissele Hi-Speed DMR Trigger Geissele Super 42 Braided Wire Spring & Buffer $260.00 $209.99 $279.99 $224.99 $59.00 $48.99 Geissele Super SCAR Trigger Geissele Super Semi-Auto Trigger Geissele Tavor Super Sabra Trigger $349.99 $264.99 $220.00 $179.99 $350.00 $284.99
-
I had a friend when I was young that lost his finger when his ring caught on something on a silo , jumping into a Hay pile , trying to impress a girl , we finally found the finger but it was too late to reattach it . Go ahead , say it , hard as finding a finger in a Hay stack !
-
I get several daily & don't remember that one , but I'm old & that $hit happens !
-
How did I miss them ? No L7's though , but I'm sure they will come .
-
Any time you build a specialized rifle , it will need some adjusting or you could get lucky , but with the different ammo types , some will give issues until the Action is tuned . The Can will help with the heavy Bullets . Are you sure the BCG is not over pressured . Under gased is easy to determine with the last round lock back of the BCG with the Bolt Catch . Over gas'ed can cause some real weird issues , not to mention the Pistol length gas system & its potential issues . I would only use a M16 type BC with any AR , my reasoning is the light weight BC can have issues with actually having enough inertia to strip the round from the Mag. & the more in the mag . the harder it is to do so . You need to accurately determine what is really going on . You just have to go though the normal testing to figure it out . The Tubb's spring is a good choice , weigh the Buffer to make sure what it is . Any Pistol Gas system is going to be dirty , some ammo brands may be better then others or in reloading , its your Powder choice to keep the unburnt Powder to a minimum . I'm assuming the super sonic's are working ?
-
You live on a race track ? I couldn't help myself MikedaddyH.
-
This is interesting , though I'm not crazy about the disclaimer about setting up the Expander stem, at the end 30-06 Full Length Sizing Dies Unique to Forster Dies The combination of our elevated “E-Z” Out™ Expander Ball and butyl rubber Co-Ax™ Washer corrects misalignment of the Decapping/Expander Assembly and prevents the case neck from pulling off center during the expanding procedure. Our design also reduces the effort required to draw the “E-Z” Out Expander Ball through the case neck because it takes full mechanical advantage of the power developed in the linkage of your press. The elevated position of the Expander Ball means that the expanding operation happens with the press handle near the bottom, where it produces the most leverage. The expanding operation is hardly felt, making sizing much less laborious. The “E-Z” Out Expander Ball system requires that the Decapping/Expander Assembly be adjusted properly at all times. The Decapping/Expander Assembly is set at the factory; however, if the “E-Z” Out Expander Ball is readjusted and set too high in the die, case neck and spindle damage will result. See the complete user instructions for reloading and each sizing die. - LEARN MORE Visit our Site BUY NOW or Find YourForster Products Reseller
-

80% complete lower Dimension's.
survivalshop replied to Thompsonbarrels's topic in General Discussion
I'm a little confused as to what you are calling the Bolt Cavity on a Lower Receiver . Bolt Catch maybe ? If you can go to a Dealer or a stocking shop & see if they will let you take some measurements from a striped Lower Receiver or one of our trusted Machinist on this sight , of course . -
Need some advice / first NEW build upper
survivalshop replied to snipernuts's topic in Building a .308AR
The Gas Block you have appears to be a two piece clamp type of attachment ( I don't care for this type of clamp attachment ). It should seat flush against the Barrels , stop flange for the Gas Block . There are a couple ways to align it , one would be to attach the Gas Tube & seat the Gas Block against the Barrels stop , with the gas tube inserted into Upper Receiver & measure the Gas tubes gap on both side of it compared to the Charging Handles Channel in the Upper receiver & center it as best possible . Another way is to mark a center line , in line with the Gas Port in the Gas Block , then mark a center line with the Barrels Gas Port & match them up when tightening Block down . A marker should work , mark the top of the bbl. & the face of there Gas Block where it seats on the Barrels stop flange .Acetone or Rubbing Alcohol should remove the marks when done with them . Use LocTite on the screws , blue should work , because you might want to take it off at some point . Should give you enough of an idea of how to set it up , use both methods to check to make sure its centered . You can also measure Gas Port locations , from Gas Port hole in Gas Block to end of Gas Block that seats against the Barrels stop flange & the Barrels Gas Port to the Barrels stop flange for the Gas Block & compare them . The Gas Blocks Port will be larger then the Barrels Port , proper size Drill bit Shanks can be used for measuring reference . If your Barrel has a dimple cut into the bottom of it , the Gas Block may have a reference on the bottom clamp to help with alignment & none of the above will be needed . -
This ^^^^ , Measure the inside dia. of Upper receiver & the outside of the bbl. to see how close they are to each other . Decent digital or dial caliper will work . I also have never had to do the freeze / heat thing to assemble a barrel on any AR . You can run the risk of cracking the Upper receiver , if its too tight . What Finnish is on the Barrel's Extension & some photo's would be nice .
-
The 150 gr. loads may feed better then the 180"s , them or 165's , I have never liked exposed lead tip Bullets . Anything in those weights in a Hornady SST loading are accurate & drop Deer , with out much trouble . Some Rifles are just plum picky about what you feed them .